The Material Room in Poser can be a tad intimidating. It actually looks more complicated than it is: knowing what does what is key to success here.
Today I’ve setup some new materials for a dress which had several material zones. Applying my maps to the first zone, it would be very tedious to apply the same maps for each zone. Here’s a quick way to do this in Poser Pro 2014.
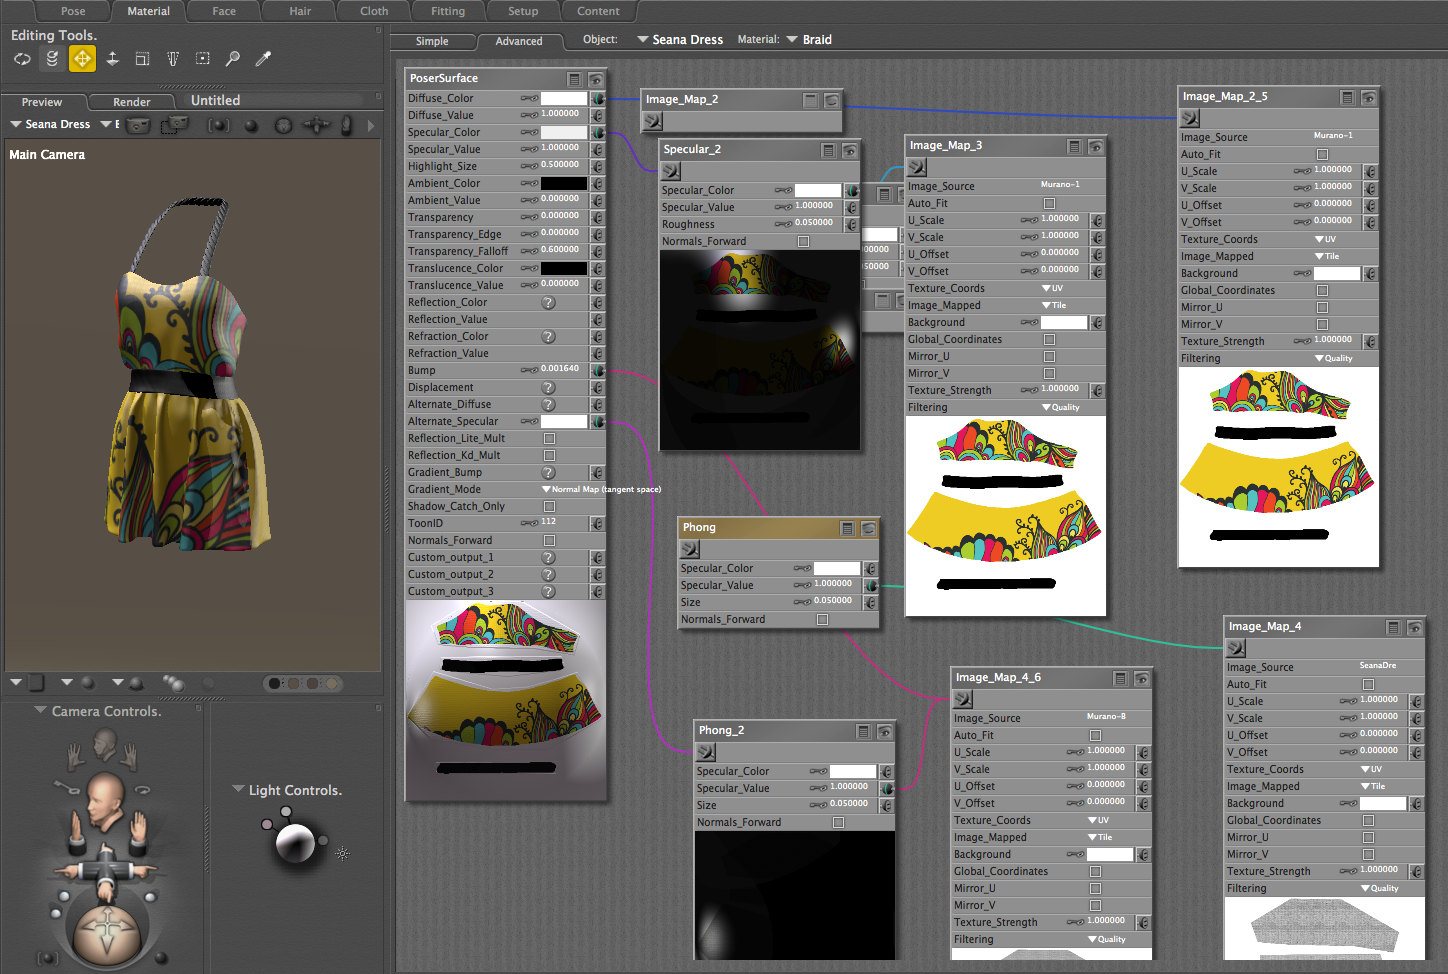
First, make sure you’re on the Advanced Tab in the Material Room. Pick one of the material zones and apply your textures and other changes to it.
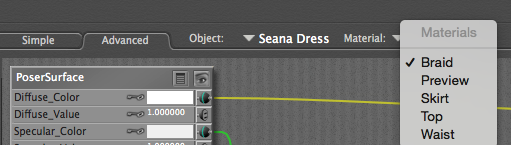
I’m assuming that anything applied to the current zone should also be applied to all other zones. In my example, I’ve setup the braid of the dress, but I want the same settings to appear on the preview, skirt, top and waist zones as well.
On an empty part of the node window, right-click to bring up a context menu. The same menu can be accessed by right-clicking onto the top part of any node, or by left-clicking the super tiny triangle at the top right of the nodes window.
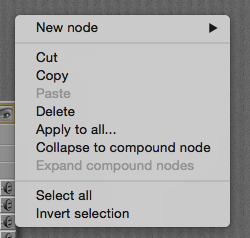
Choose Select All to select all nodes in the current zone (or rather, in the current window). You can alternatively select them manually by SHIFT clicking each one you’d like to copy.
With all nodes selected, bring up that same menu again and choose Apply to all. Poser will bring up the following window, telling us that it will go ahead, but disconnect existing nodes in the other zones. Let’s make a mental note of that.
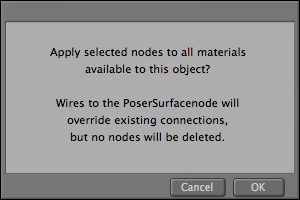
The appearance of all materials on our object should now have changed to the one you’ve setup. Great!
But wait… take a look at the zones that you have not setup: although Poser has copied the values and correctly hooked up the new nodes, it has disconnected the old nodes without removing them – just like it said it would. This means you’ll probably have several unattached nodes lurking around.
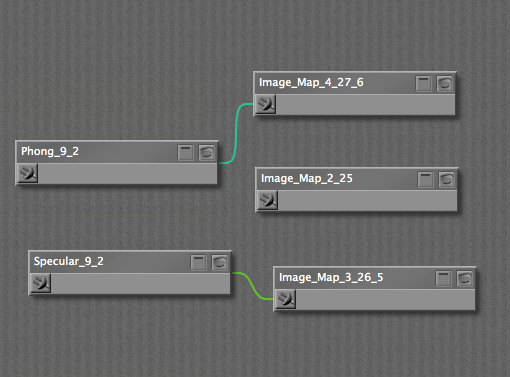
Such nodes may be attached to each other, but not to other nodes. While they don’t do anything bad, or in fact have any impact on your renders, they do take up memory, make Poser a bit slower and clutter up the joint. They are also saved if you create a material preset from this setup. Sometimes they’re sneaky and hide behind other nodes!
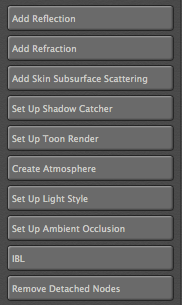
Lucky for us there’s a wacro we can use to get rid of them (I don’t know why these scripts are not called macros). Take a look on the right hand side in the Wacro Drawer and find the option labelled Remove Detached Nodes, at the bottom of the list.
Apply it and all your unconnected nodes will be removed from the current material zone. Either switch individually to each other material zone and apply this wacro, or SHIFT-click the option to remove all empty nodes across the entire object.