There is a convenient way to create seamless texture tiles in ZBrush using the oft neglected 2.5D functionality. Like many things in ZBrush, it’s extremely easy – if you know how to do it. The principle is just like the Photoshop Offset filter.
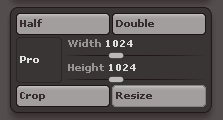
Before we start, it’s probably a good idea to resize the current document to something square, from its default 4:3 aspect ratio. To do that, head over to Document, de-select Pro (which would otherwise constrain the proportions of the document) and type in a size of your liking. 1024×1024 for example. Now hit Resize.
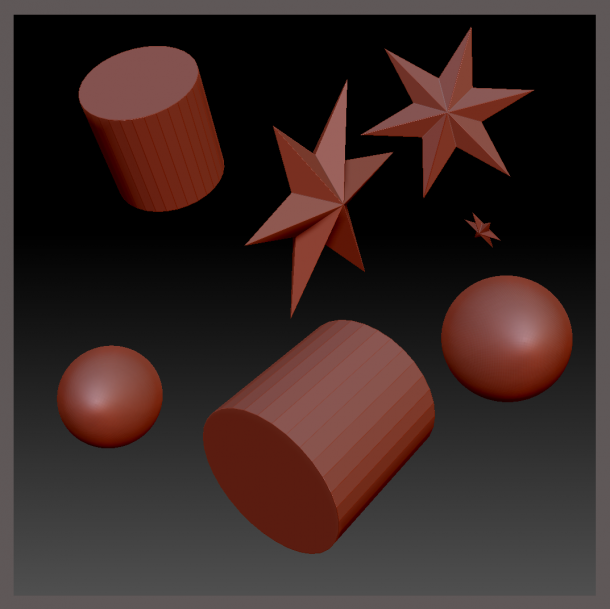
If there’s anything on the current canvas, select Document – New or hit CMD+N to clear it. Now start drawing what you need with 3D tools, leaving a bit of space around the edges. Perhaps something artistic like this:
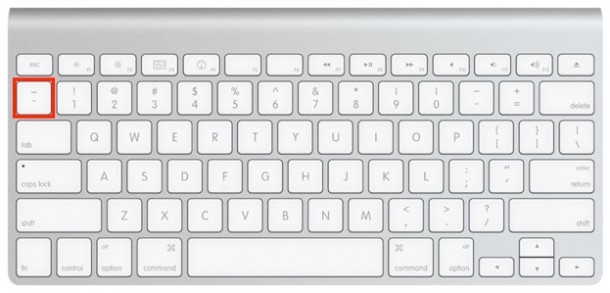
To offset the image and draw more assets across the seams of our tile, hold down the Tilde Key on your keyboard while dragging the canvas. You’ll see the image loop in on itself when you do.
Note that the Tilde Key can be elusive on anything other than a US keyboard; it’s the little wavy line we never use for anything (~). Here is its location on a US Mac Keyboard:
On a UK Mac keyboard, it’s in the same position as above, but it’s labelled with a plus/minus and paragraph icon (±§). On international keyboards it’s in a totally different position (see Dimitri’s link at the bottom of this article).
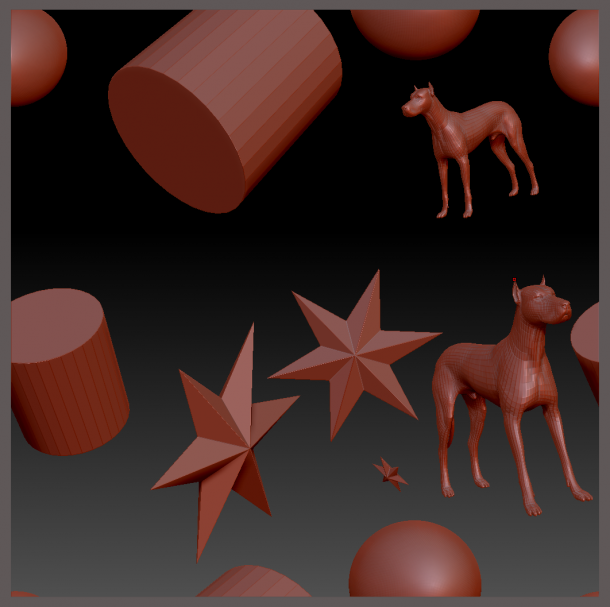
Now fill in the blank areas with other assets and save out your image via Document – Export. You can use your creations as alphas, textures, surface noise tiles and anything your heart desires.
Further Reading
- Joseph Drust uses this technique in his demo on architectural design (over at the ZClassroom).
- And Dimitri Shimanovskiy has compiled a handy list of where to find that elusive Tilde Key on international keyboards.