 Note to myself:
Every three months I forget how on earth I get Word and Excel to talk to each other. It then takes several hours of internet research, trial and error and LOTS of stress to figure this out. Enough is enough!
Sit back, make yoruself a cup of tea and relax. We’ll get through this again. Here’s how I need to do this:
- Open the Stickers.xlsx file in Excel. It’s just a table with one column counting sequentially down from 1 to 65 – or whatever number you’d like to start with.
- Amend the first number to starting position, then hit return. All cells are then updated.
- Save the file – leave Excel open for the next sheet.
- Open Word. It’s best to start a new document for every sheet we’re printing.
- Go to Mailings – Start Mail Merge – Step by Step Wizard
- A lovely dialogue opens guiding your through things that aren’t obvious. So let me talk you through this:
- Select Labels from the menu, then hit Next
- Hit Next again, which automatically brings up the window to choose which label you’d like to use. We’re using the Avery A4 L7651 option (that’s 65 on one sheet, the little ones).
- Next select Browse to select the Stickers.xlsx file we’ve made in Excel. It’s good custom to save this file in My Data Sources under the My Documents folder.
- It shows you that only one table is available, so say OK and be presented with yet another window showing you those entires. Click OK again.
- Click Next and “arrange your labels”. That means nothing other than “please type the first label as you’d like all of them to look like”. Not so much arranging if you ask me, but I’m just the user here – not the guy whom it made sense to naming this dialogue.
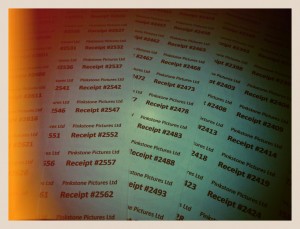
- Anyway, type in Pinkstone “Pictures Ltd” in line 1, then “Receipt #” in line 2. Change the font of line 2 to 16 and bold. Copy this arrangement for later sheets.
- Next we need to insert this sequential number we’ve been so eager to create. Position your cursor just after the #, then go to More Items and insert the only option (a number) this window gives you. Then Close it.
- Now Update Labels – and don’t be shocked to find your layout all screwed up. We’ll fix that in the next step.
- After hitting Next, we’re ready to print – even though we’re only on Step 5 out of 6.
- Select your printer, put ONE sheet of labels in and PRINT
Eternal Happiness 😉