Carrara has a very cool sunlight / moonlight feature that comes as part of the Realistic Sky option. With it you can transform your default distant light into the sun or the moon and reposition it in your scene.
Here’s how to do it:
Nothing Like The Sun
Head over to your Scene Properties and under Atmosphere, select Realistic Sky. The sun and moon will not come out with any other option.
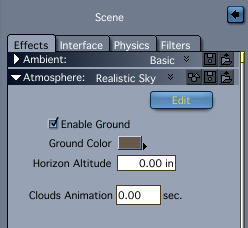
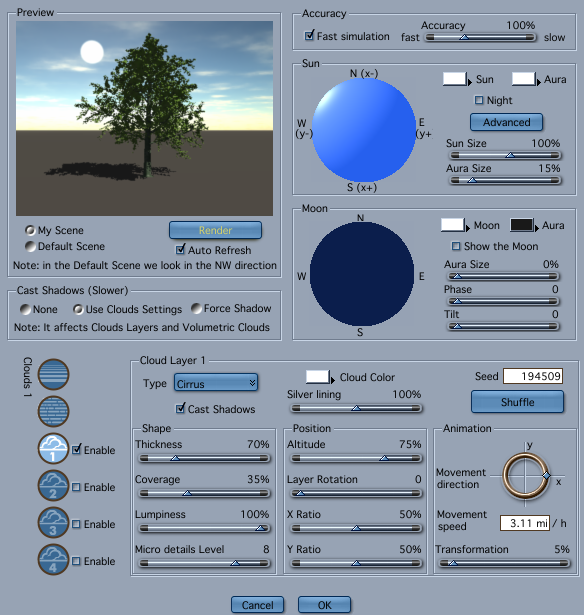
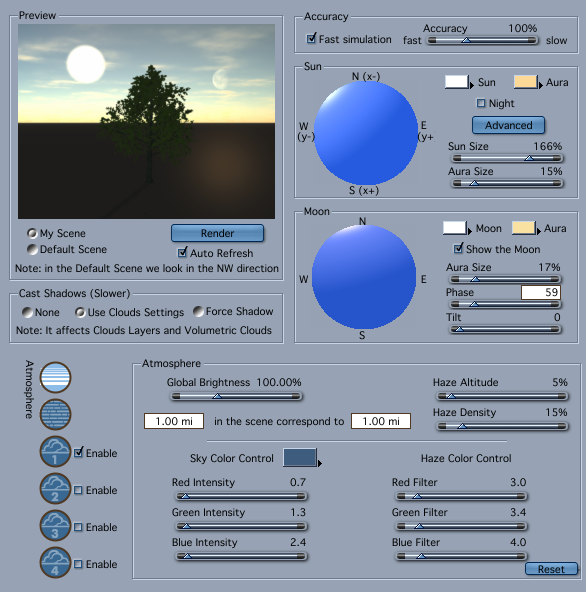
Click Edit and you’ll be presented with many options to tweak. Take a look at the box labelled Sun. Set the colour and size with the two sliders, and the sun’s position in the sky with the blue disk – it’s a trackball, so hold down the white spot and move it.
To see those changes in the little preview window on the left, select Auto Refresh and click Render. Make sure to select My Scene (it is by default). Subsequent changes will update the render preview automatically.
It can be tricky to find the sun in the sky, it’s trial and error. If you’re successful you’ll see it in the preview. Don’t worry too much if you can’t find it, there is an easier way which we’ll look at in a moment.
Feel free to play with the cloud options at the bottom of this window and add more layers if you like. There’s a lot to explore here. Click OK when you’re done.
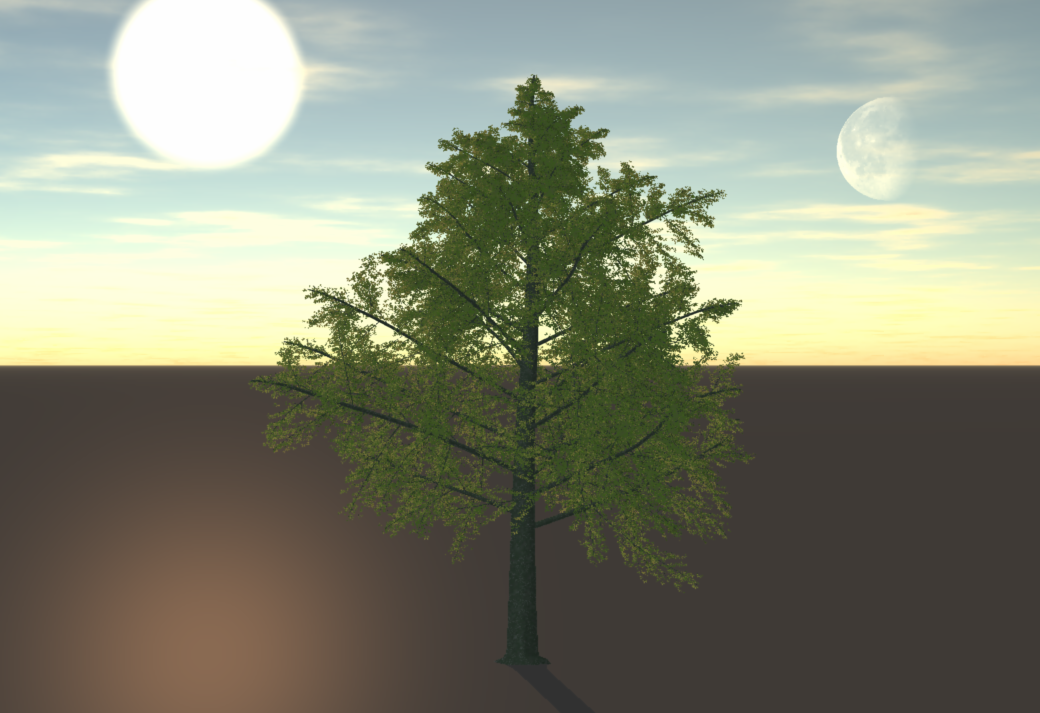
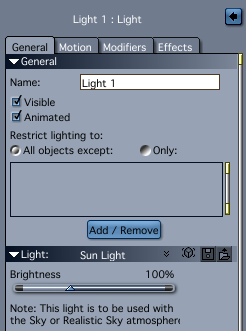
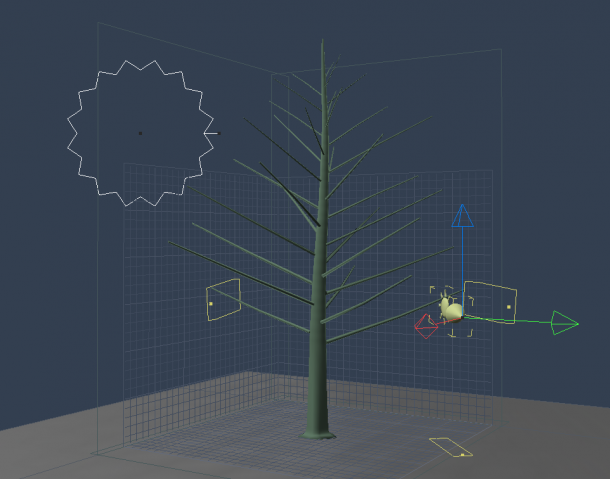
Your scene preview in the Assemble Room still looks the same, with a big arrow indicating the default Distant Light in the scene. If you select it however, you can change it from Distant Light to Sun Light (in the sidebar under General – Light). When you do your scene preview will reflect the position of the sun on the grid walls. The light arrow has a little sun symbol next to it and points in the direction from which the sun is shining now.
Notice the little black manipulator dots on the sun. These allow you to easily position the sun and change its size. Do an area render to see the full effect.
Sister Moon
To bring out the moon, head back to the Realistic Sky editing window and take a look at the Moon box. Select Show the Moon and set its aura size, phase and tilt. Just like with the sun, the blue disk is a trackball with which you can move the moon into your scene.
You can also declare a light in your scene to become the Moon Light if you want finer control over how the moon illuminates your scene. This time however you won’t see the moon on the grid walls, but the light source has a moonlight symbol to give you guidance.
You can also choose to make it Night with the appropriate tick box. Obviously this will make for a very dark picture – but that’s what night on earth is all about.
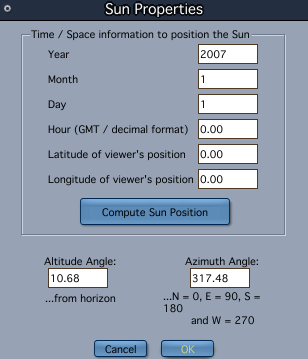
For true accuracy of the sun’s orbital position, take a look at the Advanced tab. This lets you compute the sun’s exact position on earth on dates between 1900 and 2050. I suppose there is an uncertainty as to our own (or Carrara’s) existence past that point anyway…
1 thought on “How to show the sun and the moon in Carrara”