To apply a carefully crafted Layer Effect in Photoshop to more than one layer or group, we can save it to the Styles Swatch for easy access later. It’s that little palette I never quite take seriously – mainly because it’s impossible to decipher which effect does what from the tiny preview icons.
Nevertheless, the styles palette is a handy tool to bring back such effects in other documents. Great for things we use on a regular basis. In the above image for example, the Layer Effect is the white border around each small inset image, as well as the drop shadow. Next time I create such a collage I may want to bring the same effect back with a single click. I can do that by using a style.
Here’s how to save a Layer Effect as a Style in Photoshop.
Double-click on any layer with the effect you’d like to save. Or, right-click a layer and select Blending Options. You’ll see this familiar interface:
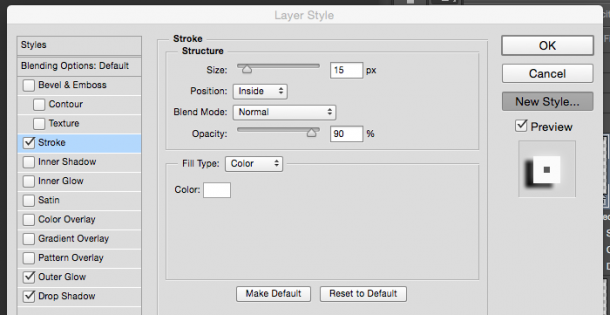
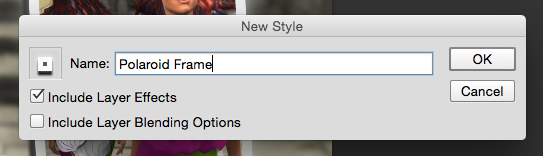
On the right hand side you’ll see a New Style button. Click it to save this very style. You’re prompted for a title in the next window, where you’ll also have the choice to saving the Blending Options of this layer (it’s usually set to “normal” at the very top of the list, but if you’ve set it to something else, you can save it with the style if you like – otherwise just leave the box unticked).
Hit OK and your style is saved. Hit Cancel to dismiss the Blending Options window. You’ll see your new style as the last addition in the styles palette (the one with excruciatingly bad previews):
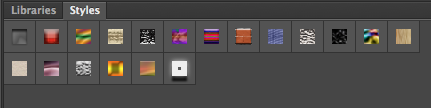
Because these previews are so bad, Adobe have given us some other display options. You can change those by clicking on the ultra tiny icon at the top right, the one with three lines and a triangle. The one that’s really easy to miss. It brings up a rather long list of options, the first few of which are the display options.
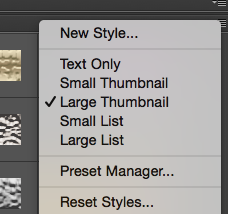
The default is Small Thumbnail, but feel free to change it to something that’s more to your liking. Try Large Thumbnail to see bigger icons, or Large List to see the title you’ve given your style when you saved it. That title is also displayed when you hover over the graphical icons, although your cursor usually hides most of the name.
To apply a style to a layer, select the layer and click on any of the styles. It will be applied immediately. If you double-click a style, the Blending Options dialogue opens, inviting you to make some changes.
To remove a style from this list, simply drag it onto the small trash can icon at the bottom of the styles window. It will highlight when you get close to it. You can save and share styles using the Preset Manager (from the same menu as above).