It used to be a major pain to setup a Shadow Catcher in older versions of Blender. Thankfully Cycles makes this a breeze today, but it’s still a little trickier in Eevee. Let’s take a look at both versions in this article.
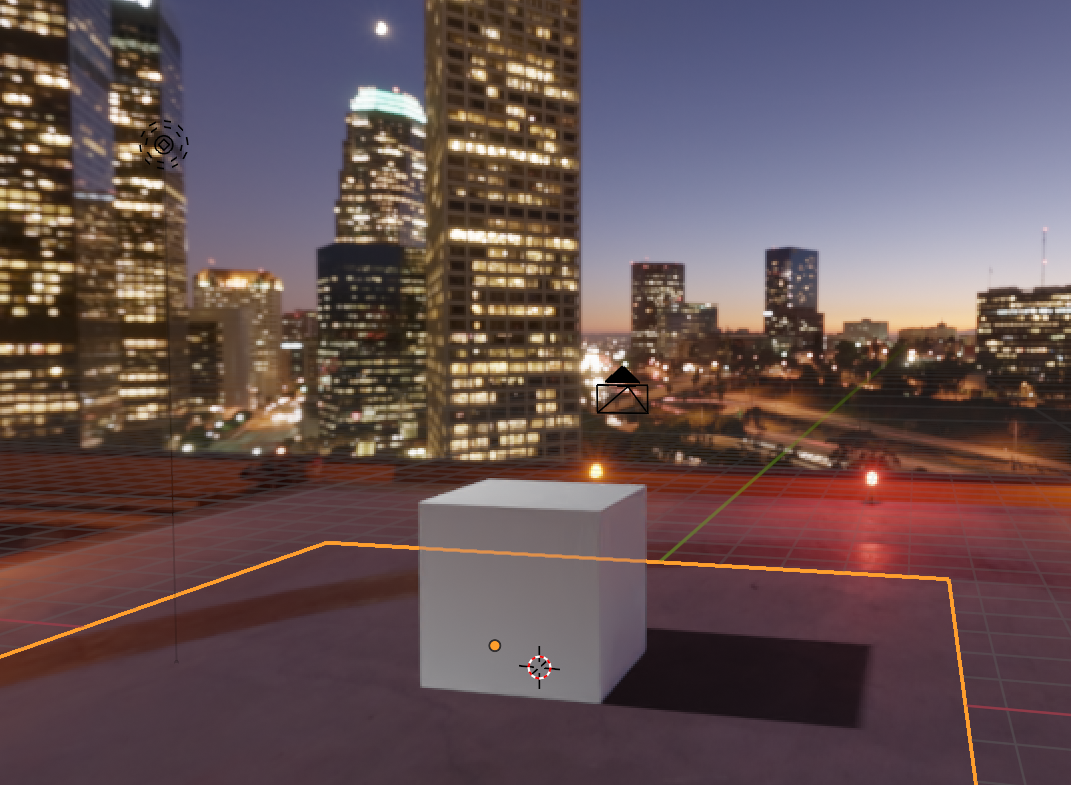
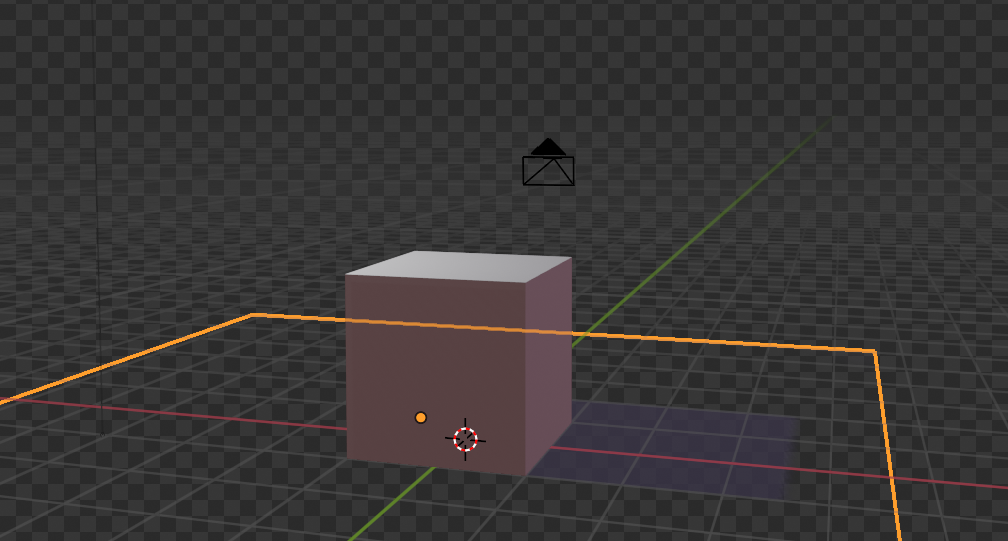
We’ll need two objects to illustrate this: a source object that casts a shadow (let’s use the Default Cube), and a ground plane underneath it to receive the shadow. The point of a shadow catcher is to only render the part of the target object and mask everything else off, usually for better integration into existing backgrounds and to render with HDRIs, so I’m using a HDRI for the background. I’m using Blender 3.5 for this demo.
Shadow Catchers in Cycles
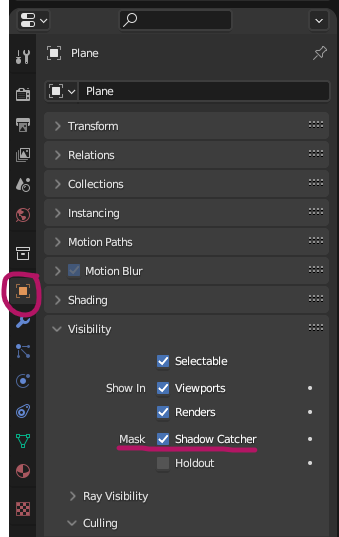
In Cycles this is super simple: select your ground plane object and head over to the Object Properties, then under Visibility, enable Shadow Catcher under Mask. Note that this is found not on the green Object Data Properties (flux capacitor), it’s on the orange cube icon.
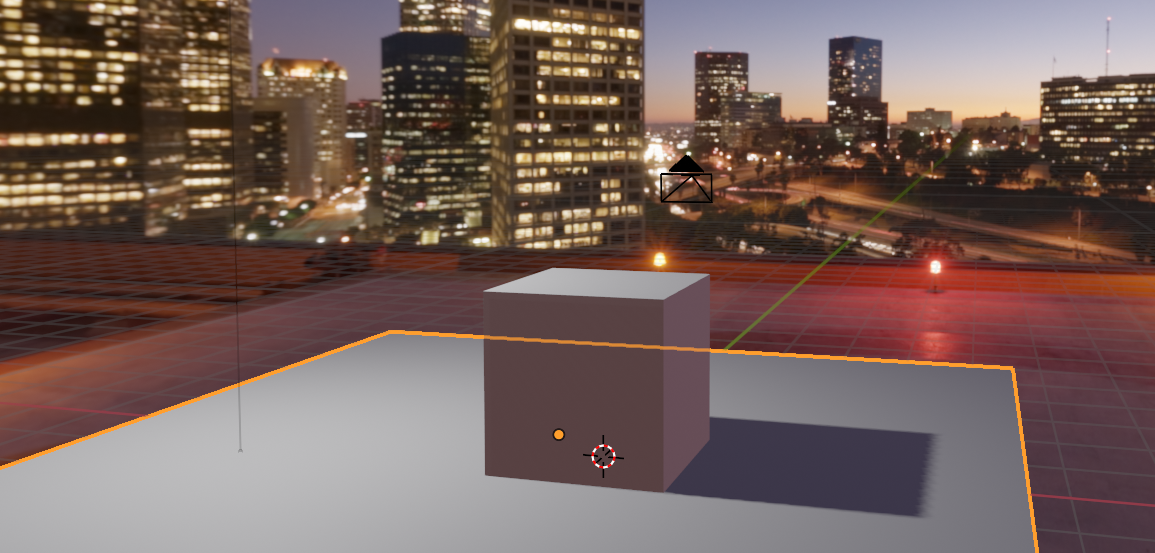
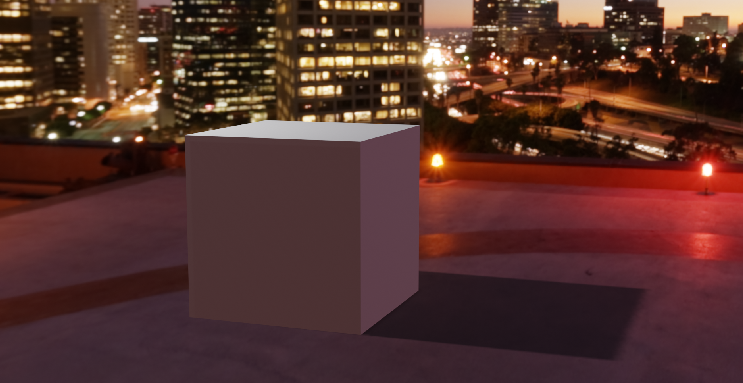
That’s it! Now Cycles will mask all areas of this object off that do not receive a shadow and renders everything behind/underneath it. Super easy.
Shadow Catchers in Eevee
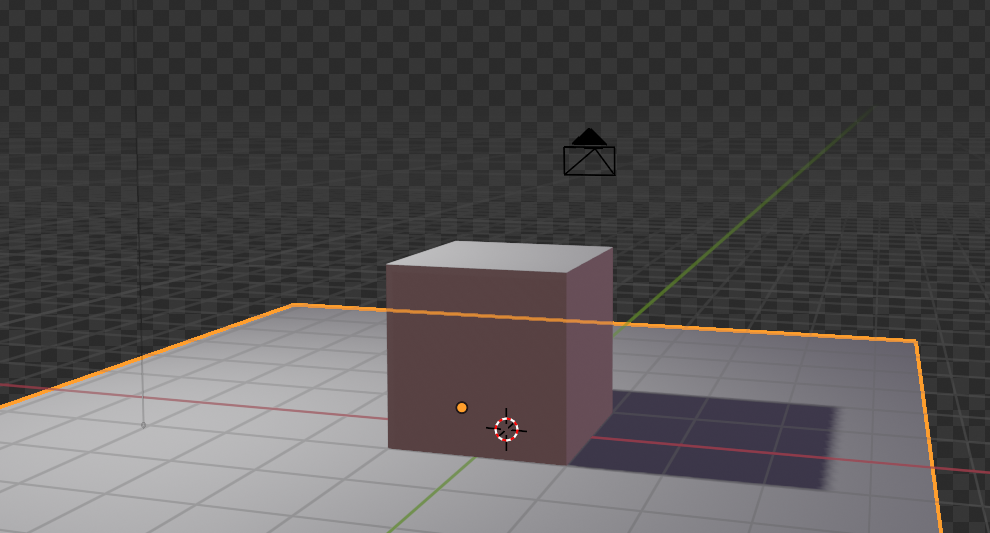
As simple an intuitive as the Cycles setup was, Eevee is the exact opposite. Only the Blender devs can tell you why. The engine has no problem with transparency per se, but it does need a few steps to enable it, and we’ll need a few more steps to mask off those shadows and bring back the HDRI. By default our scene will look like this:
Select the ground plane and create a material for it. Let’s call it Shadow Catcher, then add the following nodes:
- a Diffuse Shader node
- connect its color output to a Shader to RGB node
- connect its color output to a ColorRamp node
- connect its color output to the BSDF’s Alpha input
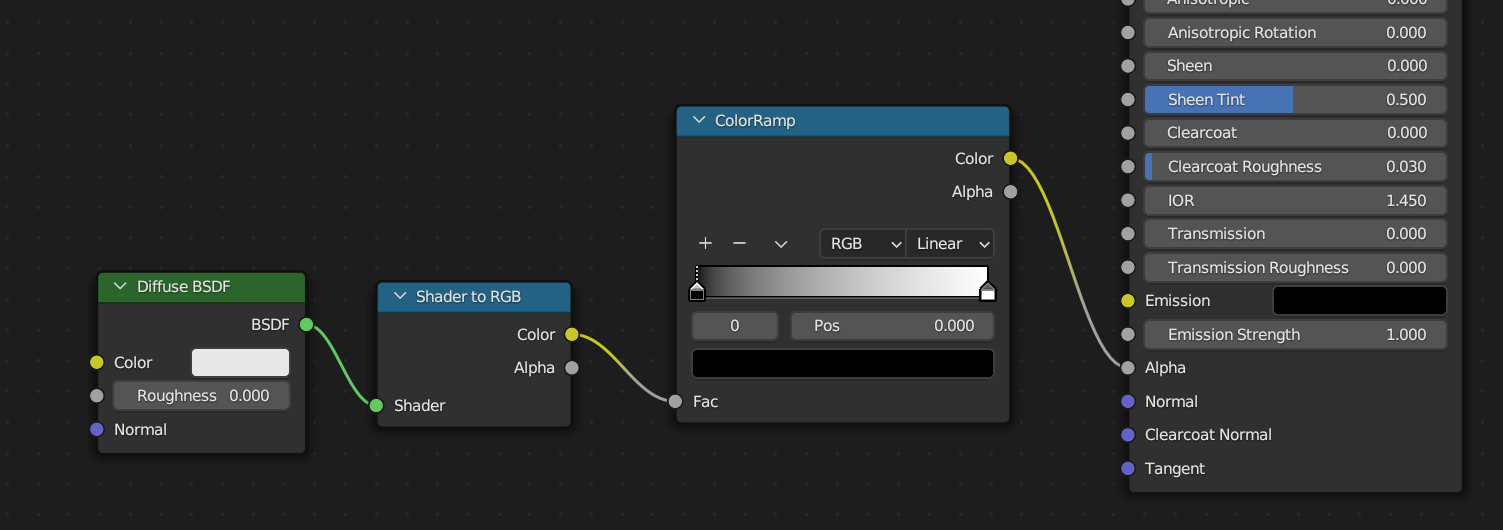
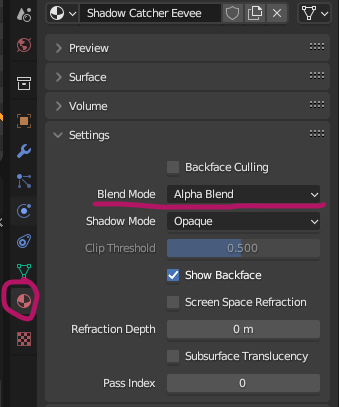
Note that we’re not connecting the grey nodes, but instead we’re going Color to Fac and Alpha respectively, otherwise we won’t get the effect we need. We also need to switch our material’s Blend Mode from the default opaque to Alpha Blend to enable transparency on this shader (further down on the little globe icon in the Properties).
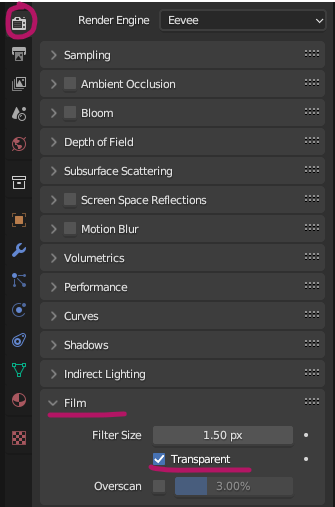
And finally, we need to tell Eevee that we want to render with transparency. That option is unintuitively hidden on the Render Settings tab, under Film (of all places). Super memorable!
Something is happening in our scene as a result, but it’s quite what we need.
We need to invert the values on the ColorRamp node. This is a tad unintuitive as well: select the first value (black), then pick a different colour by clicking on the coloured strip at the bottom and switch it to white. Now select the other value (white on the right) and turn it into black. Now move the black value closer over toward the left until your target object completely disappears and only leaves the shadow and object visible.
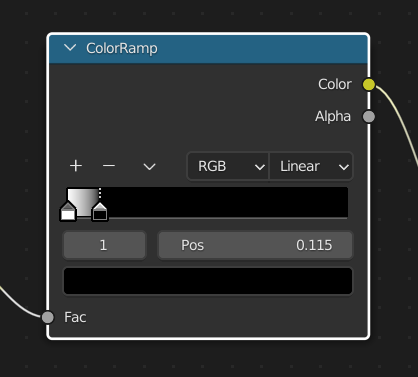
Disabling the background makes it easy to fine-tune the ColorRamp values until the ground plane completely disappears. When you’re ready, disable transparent rendering again to bring back the HDRI background.
For best blending results, adjust the colour of the shadow catcher plane to match the object in the HDRI the shadow falls onto. Originally the plane was Blender-grey/white, which made the shadow look washed out. Changing it to a dark grey helped sell the illusion. Add ambient occlusion for contact shadow and screen space reflections for more realism.