We can use iClone’s Morph Creator to import morph targets and subsequently animate them. While it’s easy to create single morphs, it can be convenient to have a single slider to animate related morphs on related meshes. Think of an expression morph that also adjusts the hair, or part of their clothing. Those are technically different meshes, so there has to be a way to make one morph understand that another one needs to be moved as well.
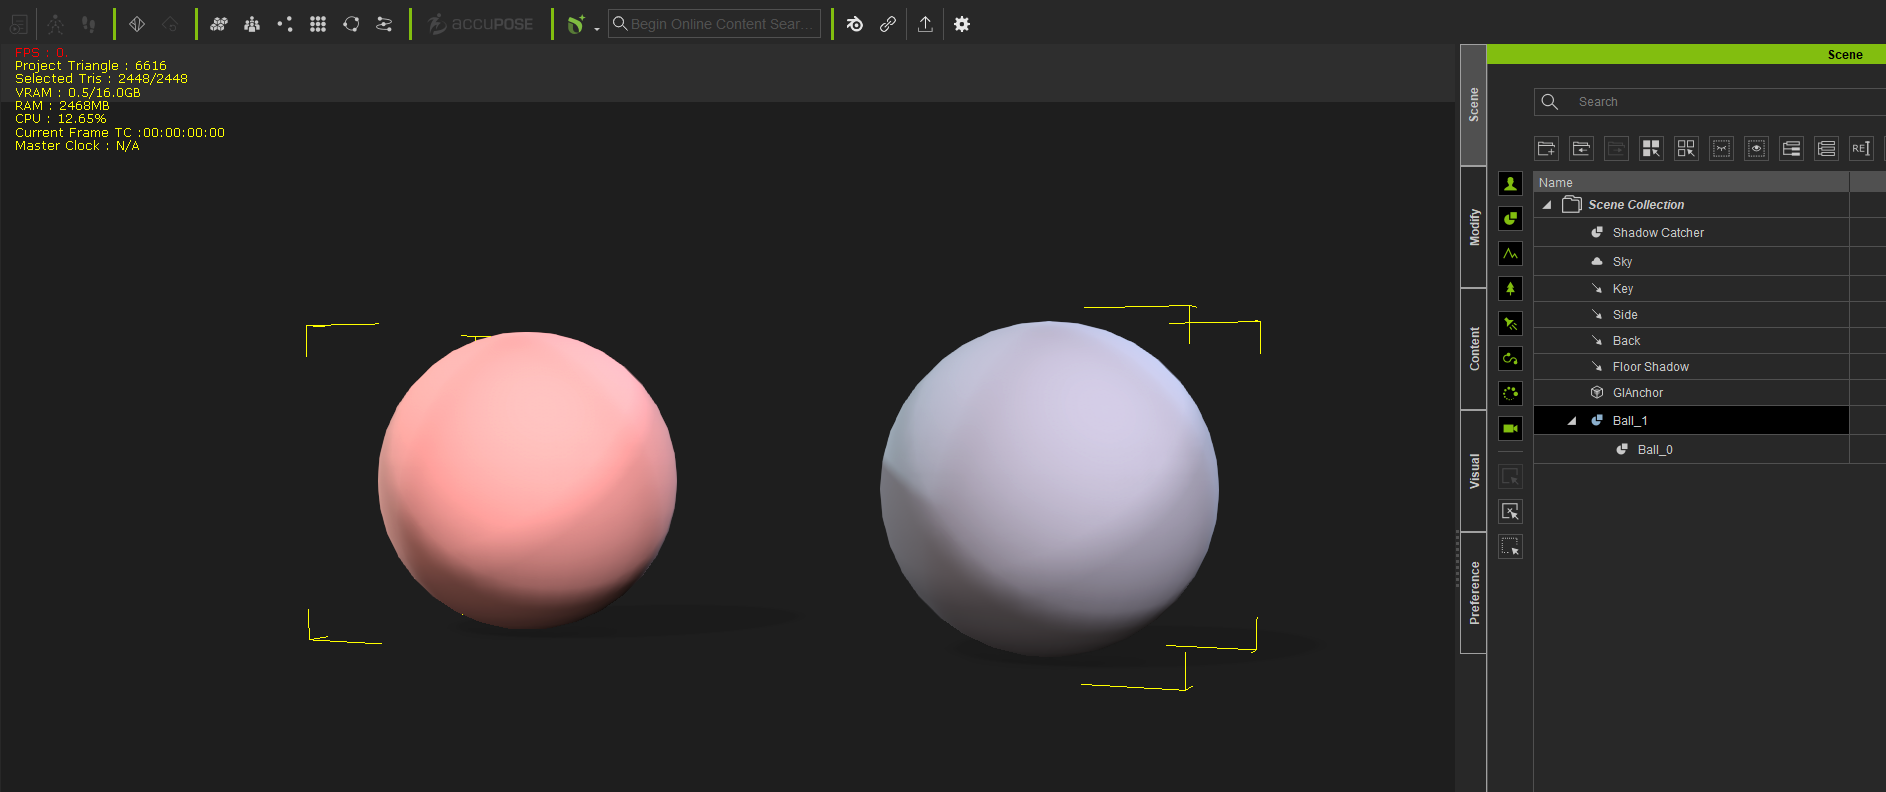
Thankfully that can be done, although it’s not exactly intuitive when you read the manual (of course we’re very grateful to have a manual at all). Consider two spheres with a separate morph on each one. The first thing we want to do is make sure one is attached to another, like clothing would be attached to a figure. Without this link, we can’t setup morph linking.
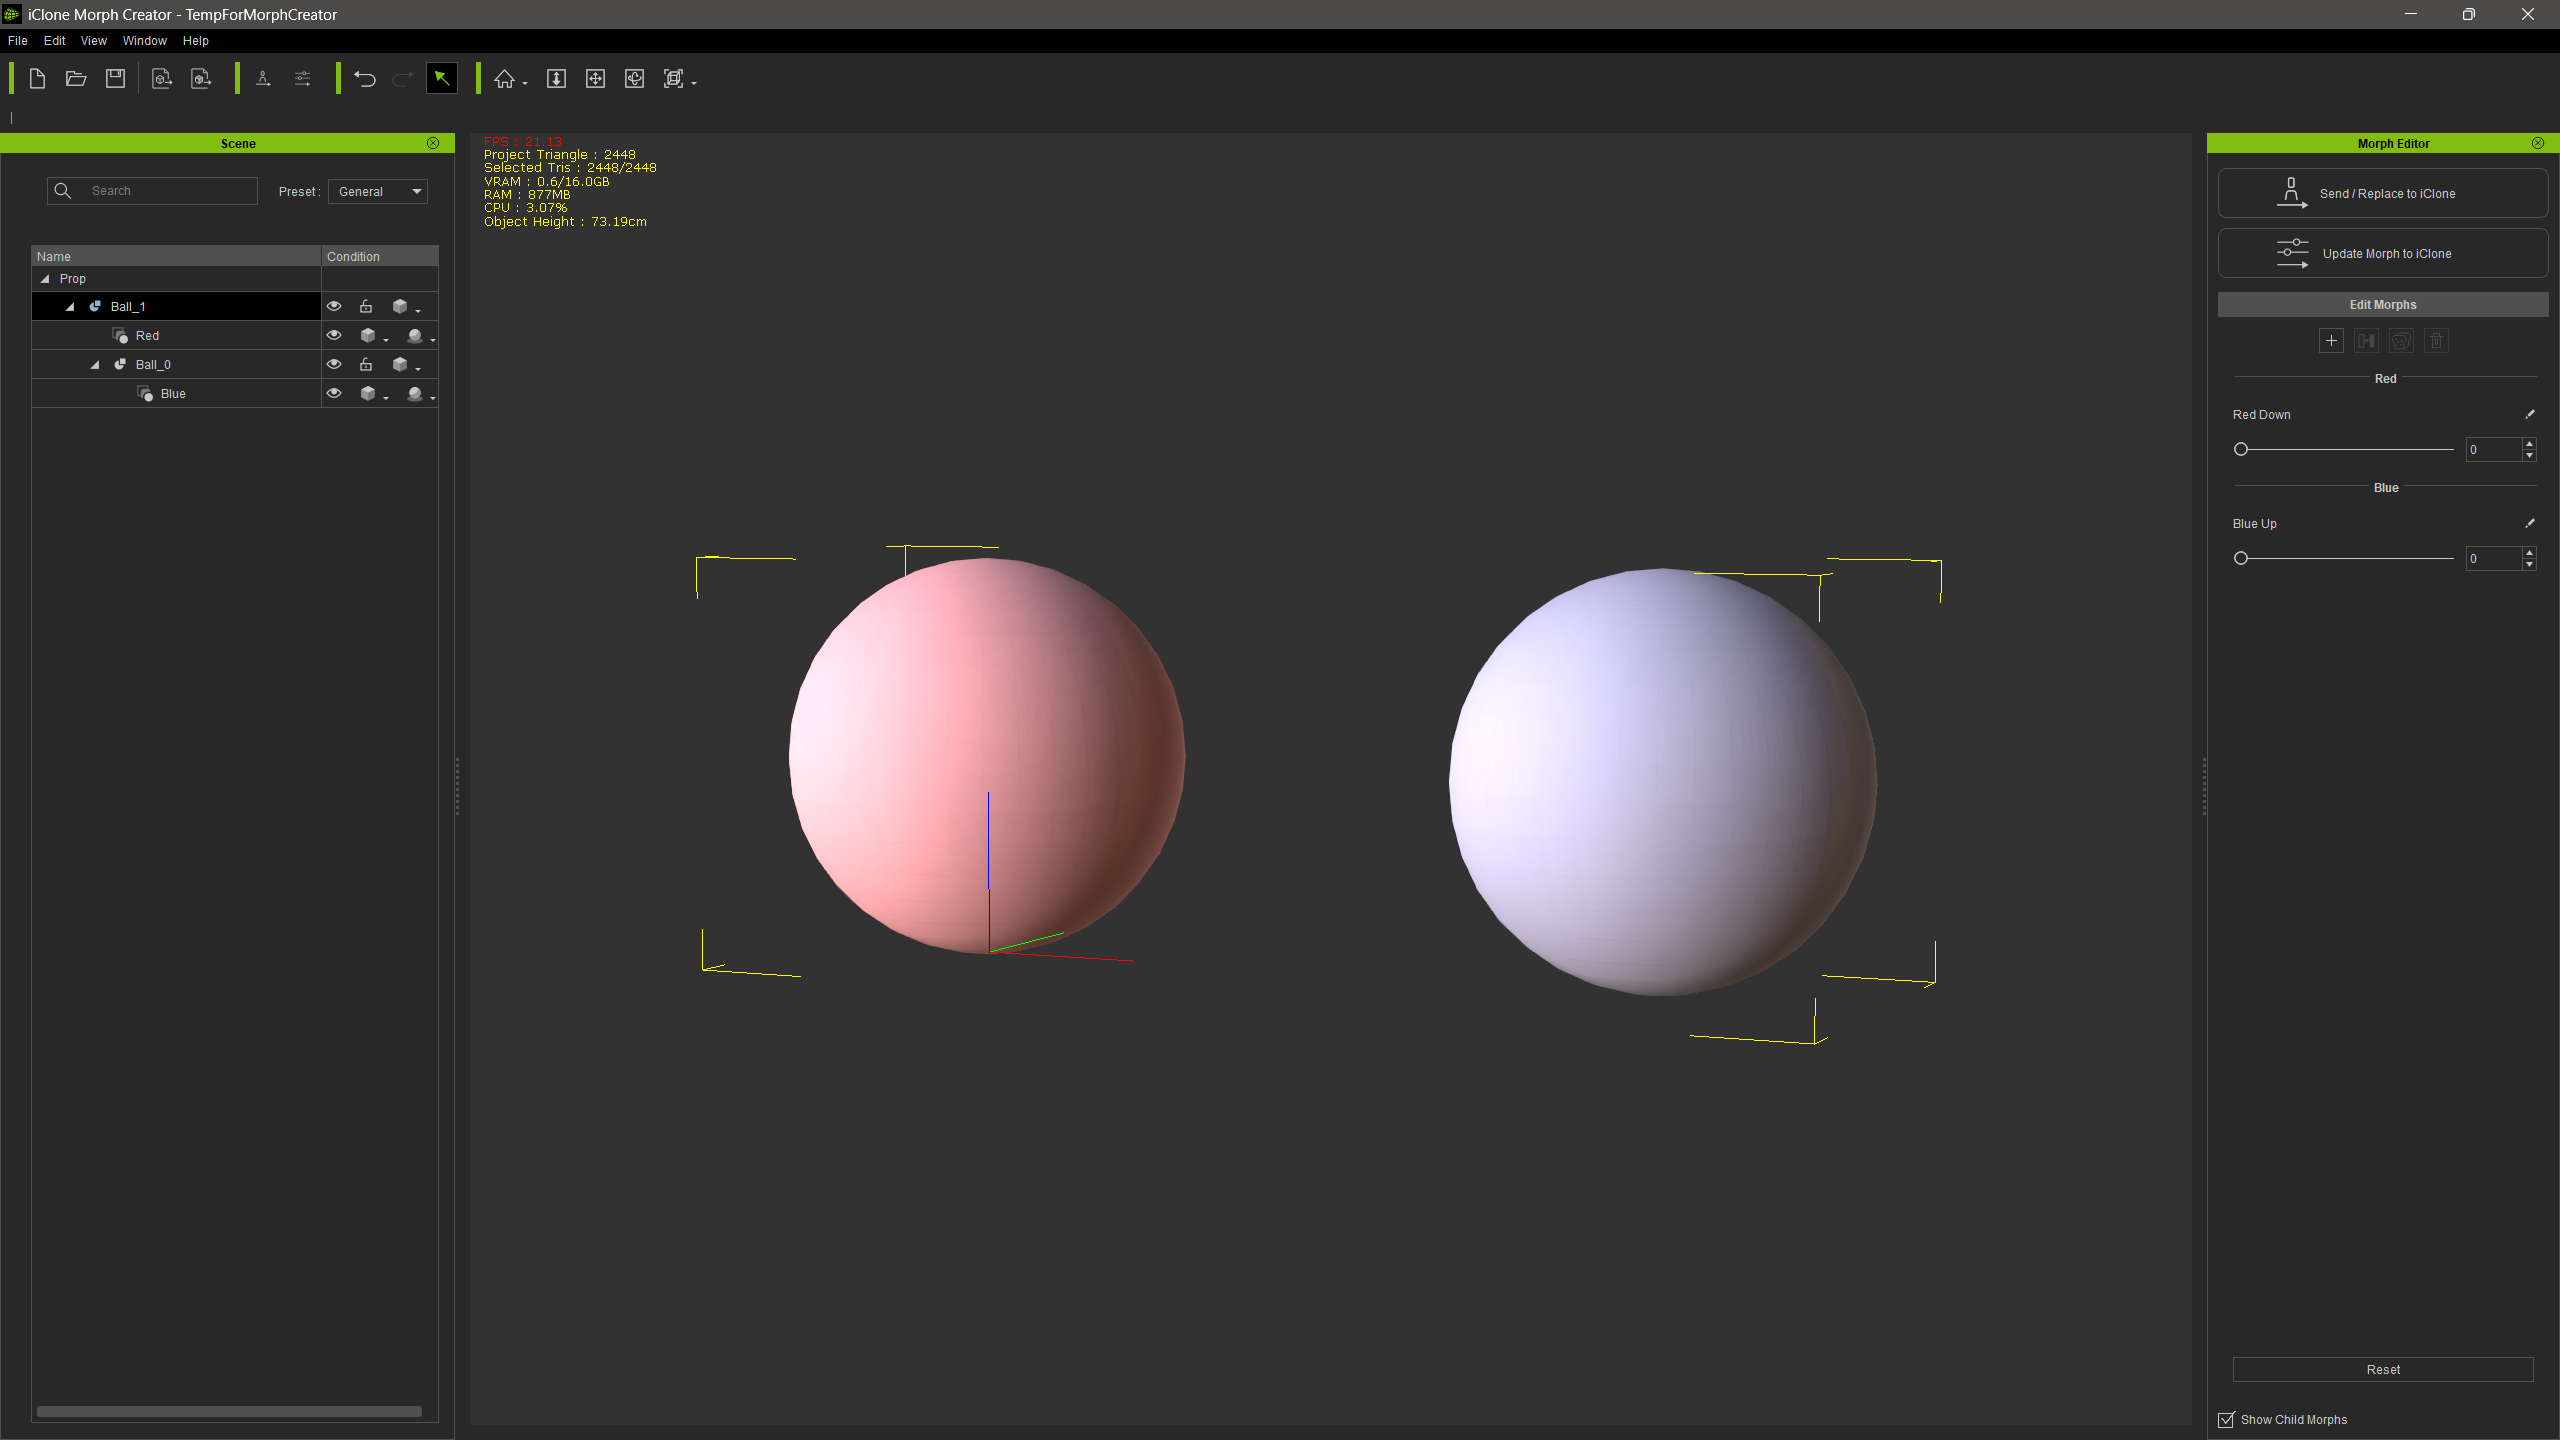
Next we’ll use Morph Creator to send them over, adjust them and create a morph on each sphere. I’ll use Blender to create two simple morphs (export as selected OBJ, then click the plus icon on the right to import a changed version of each mesh).
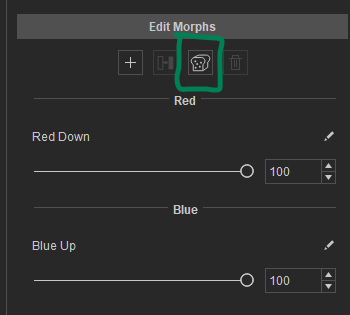
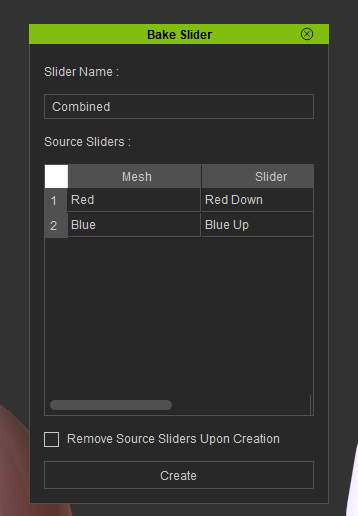
Now we dial up both morphs and the little “sliced bread” icon will become available. This lets us bake the current morph targets into a new slider. I’ll call mine “combined”. Once created, we can use that to drive both morphs at the same time.
I’ll leave my individual sliders in place, but we can remove them to tidy up the objects if we want. Now we can move one slider and drive both morphs. The final step is to send our object over to iClone and animate the morphs.