Although I like Eevee, sometimes I’d like something even faster for animatic previews. Eevee still requires lights to be setup, whereas with the regular “material preview” setting in the viewport, we can see things just fine before we bring in our lights. It would be nice if there is a way to use the same shading style for real renders, be that for a quick still image, or a whole animation.
Thankfully there is! Let me show you how to use it.
Rather than picking a render engine as usual in the Rendering Properties tab on the right, head over to the top of your regular 3D Viewport and select View – Viewport Render Image.
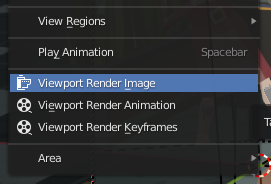
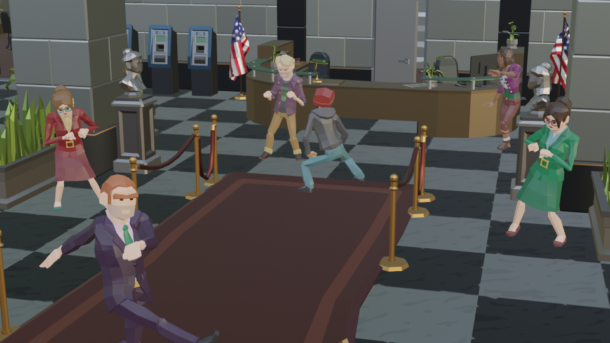
This will render an image with image size specified in Render Properties, but it’ll use whatever is currently selected as a shading mode in your viewport. It’s genius really, albeit perhaps not very intuitive (like the rest of Blender).
The same principle can be used for animations, and keyframes of an animation (i.e. you’ll get a single frame at each camera keyframe). It’ll take a fraction of the render time, and more importantly, you’ll get to see how something works before you’ve setup any lights.
Note that all overlays will be present. It’s exactly like what you see in the viewport right now, just at a higher (or lower) resolution. To disable those, use the little dual-circle icon at the top right of your viewport (it says “Show Overlays” when you hover over it).
Thank. You. So. MUCH.