Adding textures in Blender depends on which render engine is used. In this article I’ll discuss how to do this for Blender Render. I’ll explain how to do this with Cycles in another article.
It’s easier to make a texture appear in Blender Render. Make sure it’s selected as the render engine at the top of the screen, then select your object and head over to the Properties Palette. Select the little checker board icon:
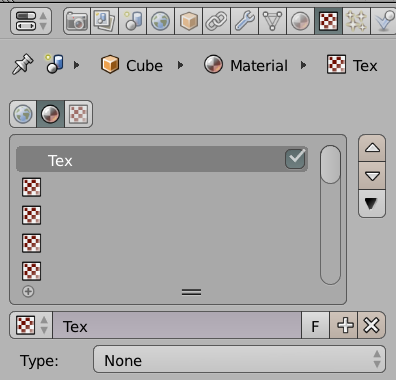
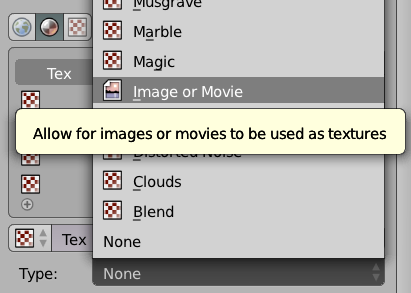
A default black texture is already in place. Under Type, select Image or Movie.
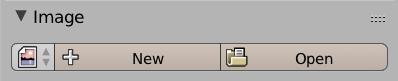
Now scroll down to the Image section and select Open to pick an image on your hard drive.
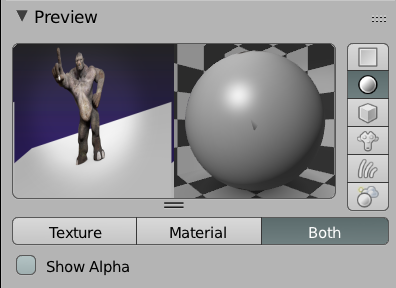
You can select Both on the Preview Tab to get an impression of what your texture looks like. This is more helpful for effects rather than images that are meant to fill a whole object though.
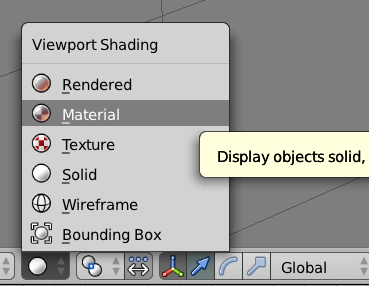
Now select Material or Rendered in the Viewport Shading menu and you’ll see your texture appear.
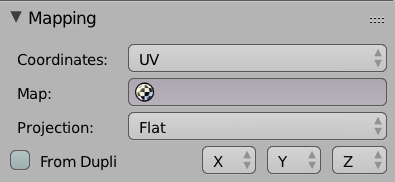
If you’re applying a texture to a UV-mapped object, make sure to select the correct coordinates under Mapping (NOT Image Mapping).
If this option doesn’t seem to exist, make sure you’re on the Material Textures tab. It’s the second icon out of three, the one that looks like an orange ball (see first screen shot).
So why does the Texture Viewport Option not show the texture?
A few Blender versions ago the Material and Rendered options were not available when we used the Blender Render option. You had to tell Blender which texture to display in the viewport, and which one to use for rendering (we just did that).
This was lame, so the Blender team changed it – so we can now see our render texture via the Material or Rendered viewport options.
There is a way to apply the texture so that it appears in the Texture viewport option though:
- put your object into Edit Mode
- select all faces
- head over to the UV Editor and select Image – Open Image
Now pick the same texture as before and you’ll see it applied in the Texture viewport option. Thanks to the new viewport options this isn’t really necessary anymore.
Could have used a bit more info like how to add actual 3-D texture effects.
I don’t know what you mean by that I’m afraid.
thanx a lot. you made things so easy for me. Blender render is good option for me, as my PC configuration is quite premitive.