Materials are closely related to Textures in 3D modelling: they describe the surface properties of an object, or parts of an object. Which colour it has, if there are any texture maps applied, how shiny it is, how rough it is. That sort of thing is described via Material Properties. Other 3D applications may call them Shaders or Surface Properties.
Blender calls them Materials, and here’s how to assign properties to them. The actual properties you get depend on which rendering engine is used: Blender Render or Cycles. I’ll stick with the traditional Blender Render in this description. I’ll discuss how to do this for Cycles in this article.
Select an object and head over to the little shiny ball icon in the Properties Palette on the right hand side. The icon is located between and upside-down triangle and a checkerboard icon.
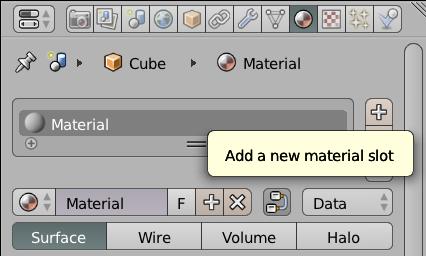
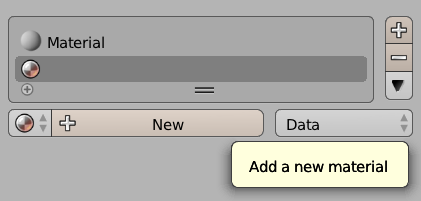
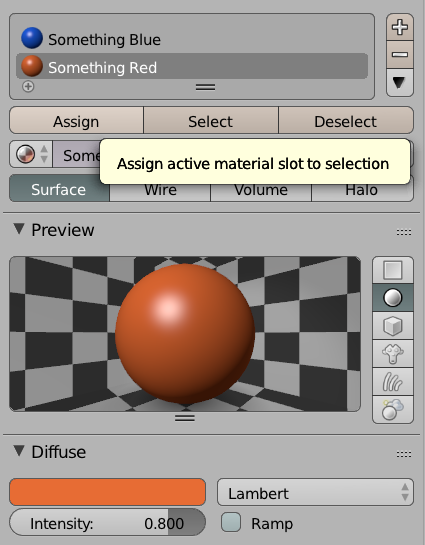
By default Blender creates a default grey material. Feel free to amend it, or add a new material to this list by clicking the little plus icon to the right of the materials list. This creates a new slot. Now click Create Material to proceed.
Give it a nice name, then pick a Diffuse colour to change the appearance of your entire object. You’ll even see a nice preview of your new material.
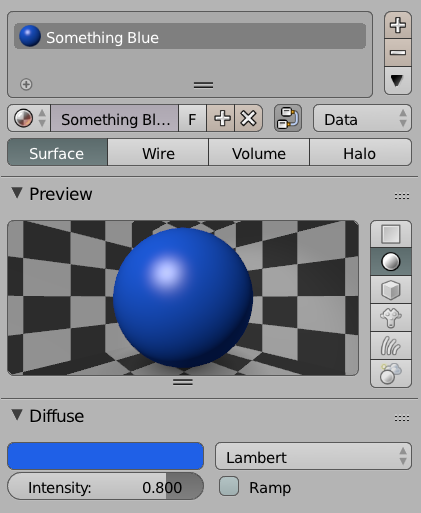
See where it says Lambert? Pick something else and see the effect. This describes the basic reflective properties of your object – it’s a Blender internal thing, so it won’t matter when you come to export your object for use in another 3D application.
If you’d like to create a gradient on your object, tick the Ramp option. You can also change the type of preview from its default circle to something else (like the monkey).
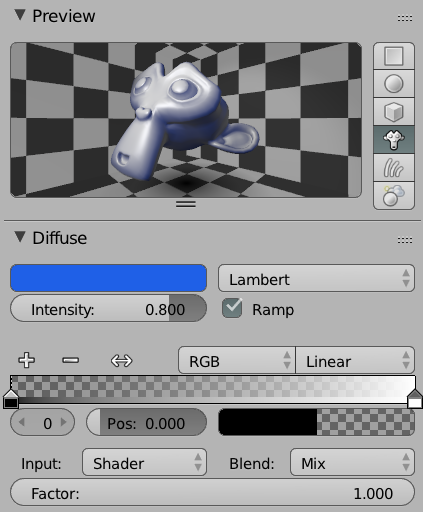
In Cycles there are a lot of other goodies available here, including the Node Editor which allows multiple material types to be plugged in to one another. It’s similar to the Poser Material Room. We’ll leave the Node Editor and Cycles for another time though.
Assigning Materials to parts of your object
Not every object is covered in the same material of course, and therefore we can assign different materials to different parts of an object.
To do so, hit TAB to enter Edit Mode (or select it from the bottom, which should read Object Mode right now). Now select the faces of your object you’d like to assign a new material to.
Now create a new material as described above and give it different properties. With your selection still in place, click the Assign Button and the new material is applied only to your selection.
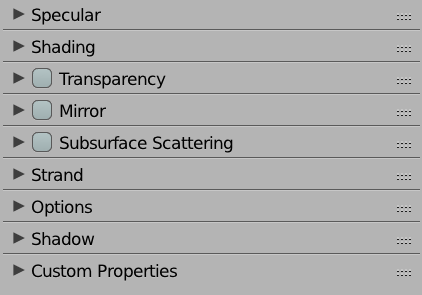
Don’t forget to explore all the other funky material options at the bottom of the Properties Palette:
Assigning the same Material to another object
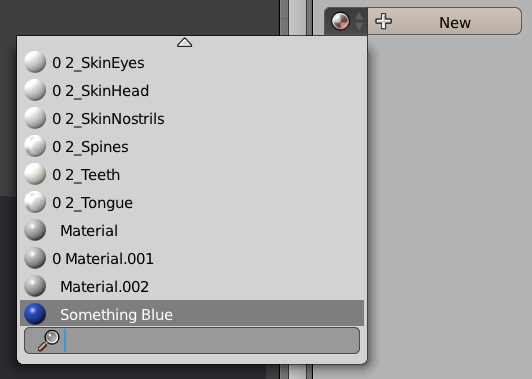
Once a material is setup it’s easy to assign it to another object: select the new object (or the parts you’d like to assgin the material to), then click the little round icon next to the New Button. You’ll see a list of existing materials. Pick one and you’re done!
