Keyframe Animations work a little differently in Blender than in other packages I’ve used. It all makes sense and is very intuitive – but I fear I might forget this, so here’s a quick guide on how animations work in Blender.
At the bottom of the interface is the standard timeline. Move the green line back and forth to move the playhead. To zoom in or out on the timeline, use the standard viewport controls (for example, gestures on a trackpad). Alternatively, there are two small grey dots at each far end of the timeline. Dragging those will also zoom the timeline.
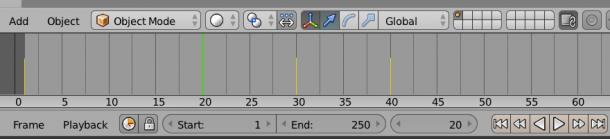
Anything that’s yellow here is a keyframe that relates to the currently selected object in the scene. Select a different object, and the keyframes for that object will show up. Those are just guidelines: to modify those keyframes the Graph Editor or Dope Sheet are probably better (we’ll worry about those in another article).
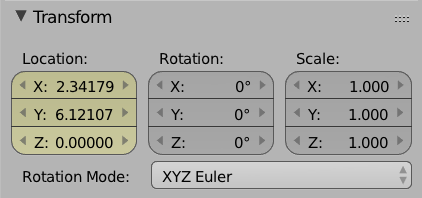
To set a keyframe, hover your cursor over the properties you’d like to save in this keyframe. For example, the location transform field in the currently selected object’s properties. Simply hover, then press I on the keyboard. This will set a keyframe.
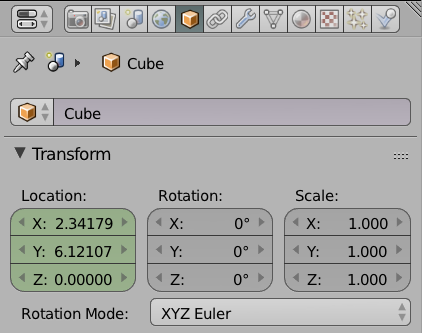
If no keyframe is set, but the object is animated, the field will turn green. If you’re currently on a keyframe, it’ll be yellow. Properties that are neither animated or have keyframe will appear grey. These are not part of your animation.
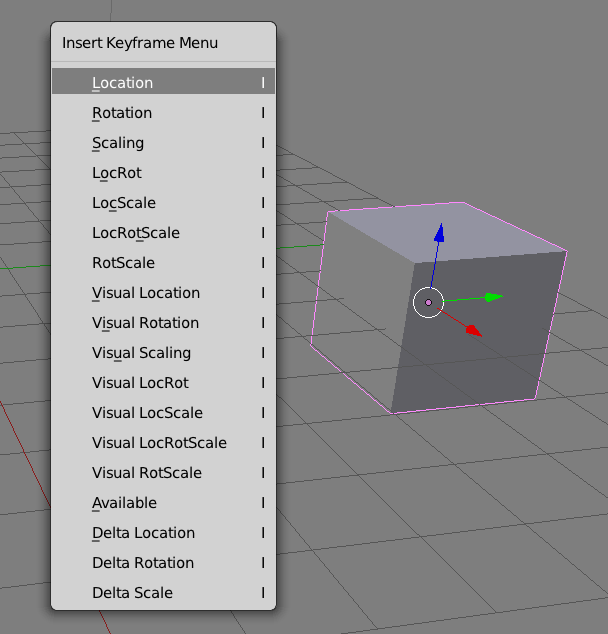
Another way to set keyframes is by placing the cursor anywhere other than a property field and press I. This will bring up a context menu like this one, allowing us to set a keyframe for a particular property. Obviously move your object into position before you do this.
Auto Keyframes
Another option is to create a keyframe every time your object changes on the current frame. This is how many other 3D applications work. In Blender you can switch this behaviour on and off as you need it, using the little red “record” button in the timeline.
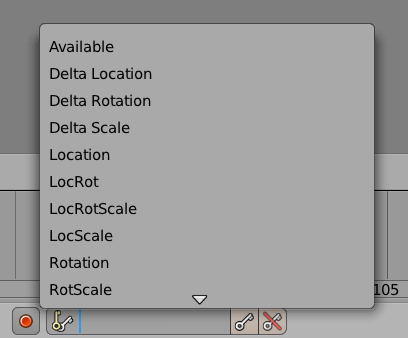
By default all properties of the object are saved in the keyframe – but you can restrict this by selecting what you’d like to record from the list next to the two little key icons.
And finally, to remove a keyframe, use the icons next to that list: the white key creates a keyframe manually, and the crossed out key removes it.
1 thought on “How to create keyframe animations in Blender”