Soft Selections are those that influence more than what you have selected for a more organic and natural influence around an area.
In Blender this concept is called Proportional Editing and it’s disabled by default.
To enable it, while in Edit Mode, select SHIFT-O (as in the letter). There’s also a little circle icon which lets you enable it.
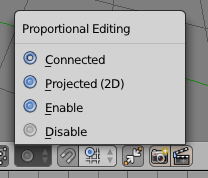
Once enabled another menu appears right next to the circle to define the falloff properties of soft selection. The default is smooth.

With this enabled, any edit operation you make on vertices, edges or faces will have a greater influence over the surrounding geometry.
To adjust the area of influence, click the gizmo to begin a transform and notice the faint circle that appears. While clicking, drag two fingers up or down to change the size of the circle (or I guess scroll your mouse wheel if you don’t have a track pad).