There’s an extremely handy shortcut that allows us to export single frames from the playhead’s current position in Premiere’s timeline. It’s not available via a menu command, it’s not particularly advertised, and it saves having to go via the File – Media – Export option, potentially downsizing the original footage.
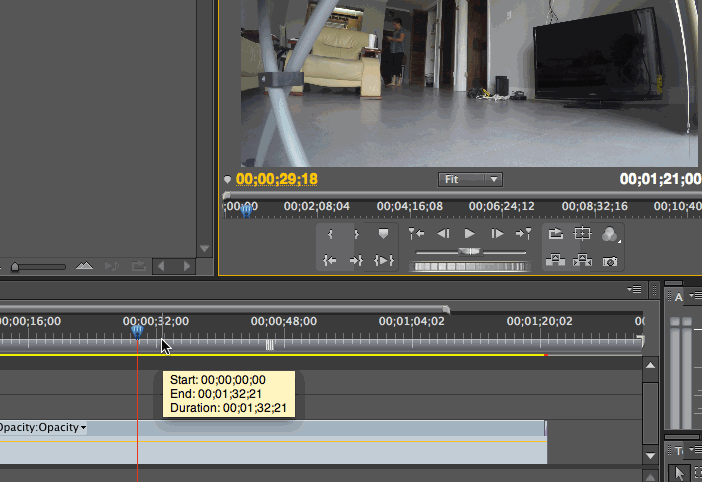
Take a look at your Program Monitor and find the super tiny camera icon at the bottom right (just next to the Lift and Extract icons we’ve never seen or used before). Click it, and a still image in the format of your choice is created, in the full resolution of the source footage!
Position the playhead anywhere you like and create as many stills as you want. Using the File – Export – Media option will also work, but it will resize your image – and if your source footage is much larger than your target media then that’s not a good choice.
This isn’t meant to be for image sequences of course (for which the Media Encoder is a better option), but it works a treat for quick images you want to pull off your project.