Post Process volumes are actually very simple to use. They are essentially invisible box volumes that can apply a camera effect that becomes visible as soon our camera enters them. For this example I’ll show you how to create a very simple underwater yet super popular underwater effect that will turn our image blueish when we’re swimming.
I’m using the Third Person template for this.
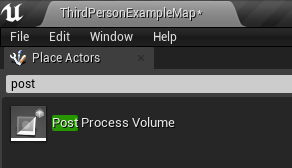
First we’ll need to find our Post Process Volume and drag it into the level. It’s easiest way to find it is to search for “post” and it’ll pop right up in the top left corner, under Place Actors. Call it something meaningful, like Underwater Effect.
Scale it up so that it’s the same size as your (potential) water volume. Now move the preview camera inside the volume as if you were looking through it. Nothing will change visually for the moment.
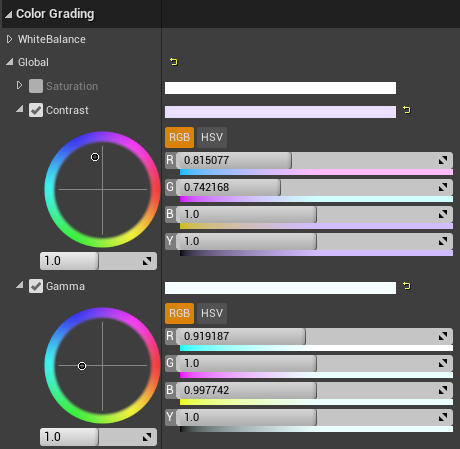
Select your Post Process Volume and take a look at the Details Panel on the right. There are literally thousands of options to tweak here, and I won’t go through them all (nor do I know what most of them do). Let’s take a look at some of the more obvious and easy ones, like Color Grading. I’ll give my Global Contrast and Gamma a bluish tint.
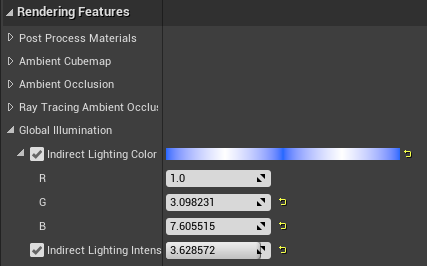
Next I’ll take a crack at the Rendering Features and set my Indirect Lighting Colour to something more blue too, and also fiddle with the Indirect Lighting Intensity.
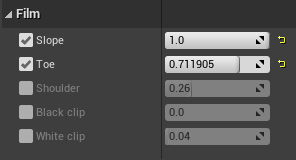
And finally we’ll add a bit of contrast to the whole image by adjusting Slope and Toe under Film Settings. All updates should happen in real time in the viewport. This is what makes playing with Unreal Engine so exciting!
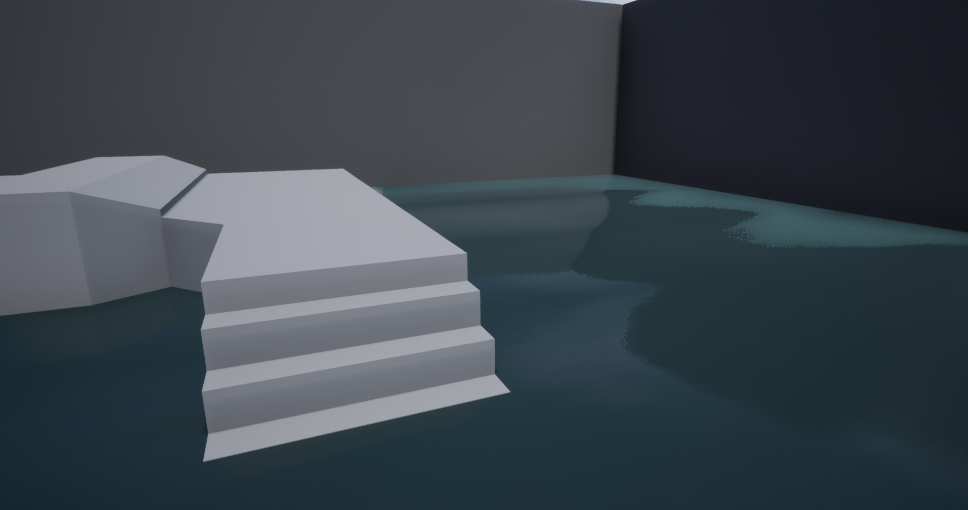
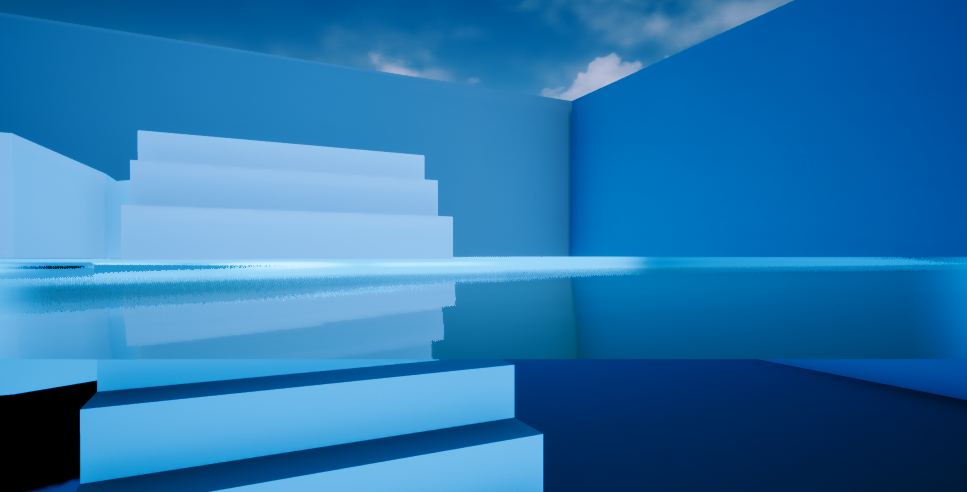
By now you should see a big difference when looking through the Post Process Volume, and when you move the camera back out of it. Here are two screenshots of my settings for comparison:
Using Materials on Post Process Volumes
Some creators have added the most stunning effects for Post Process Volumes. Imagine seeing blurry blown-out images as you dive, or the sizzling heat with similar blurriness as you walk across a desert plane. Those settings can be applied to a Post Process Volume by dragging them out from the Content Browser.
There’s a trick to doing that though: not all surface materials can be used. Only those that have a Material Domain of Post Process can be added to our volume. Sadly I’ve not found a way to filter those out in the Content Browser.

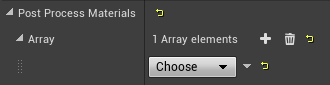
If you have one you’d like to apply, make sure to create an entry in the array under Rendering Features – Post Process Materials. Click the little plus icon, then drag your Post Process Material onto the slot.
I found that not all materials (even with a Post Process Domain) will work, but admittedly I knot know all that much about the whole process. If you know more, please enlighten us all below.