I was surprised to see how easy it was to setup cloth animations in Unreal Engine. It’s as simple as selecting part of a character we’d like to turn into cloth, painting a weight map onto the wafty parts, optionally adjust settings to make the cloth behave the way we want, and Unreal Engine handles the rest. This includes generating LODs on the fly. Here’s how to do it.
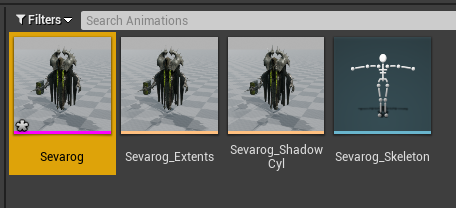
I’m using a free EPIC character called Sevarog, who is part of the Paragon series. These notes are based on a course by Micheal Ricks, which I highly recommend watching.
Defining Cloth Areas
Double-click the skeletal mesh of the character. It’s the pink underlined icon.
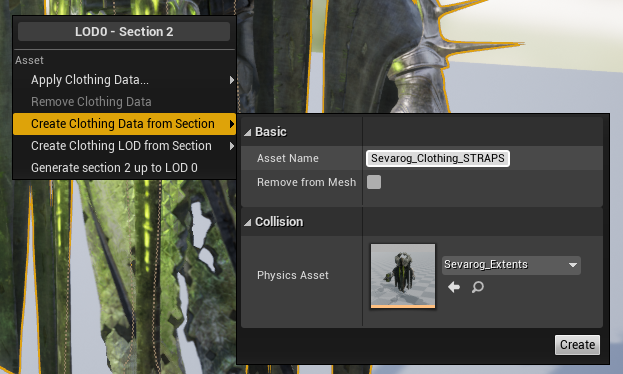
This opens up the character in something called Persona (I think). Left click on the character to select the area / material zone that should have cloth physics, then right-click on the selected part and choose Create Clothing Data from Selection. Give it a memorable title that describes this part, then hit Create.
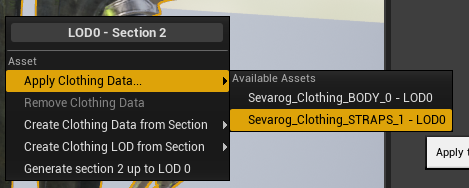
Re-select the item and right click it again, then select Apply Clothing Data. This step is super easy to forget! Make sure to select the section you’ve named in the previous step. I have two sections of cloth defined, each with different settings. Unreal Engine may think about this for a moment and re-compile shaders. There’s a lot happening under the hood. It may even appear to hang, but that’s perfectly normal.
Weight Painting Cloth Areas
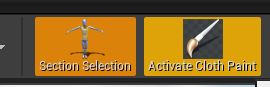
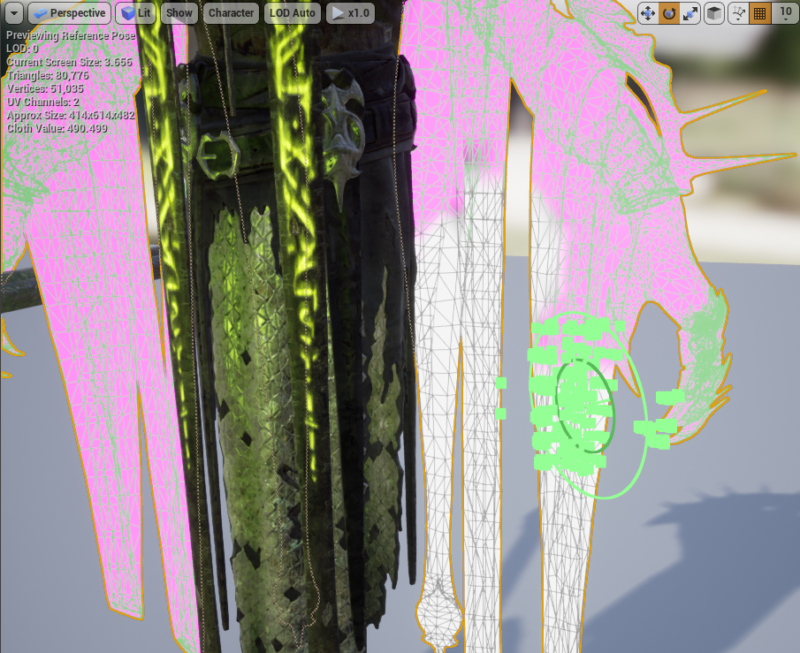
Pick the Activate Cloth Brush option at the top and you’ll see the whole selected section turn pink. That’s the weight map working at 0% strength, meaning none of the area will simulated as cloth.
Take a look at the Cloth Painting Settings on the left hand side. These let us adjust the strength and size of the brush we can use to paint in our cloth areas. On Michael’s recommendations I’ve made my radius a bit smaller and increased the brush strength to 1000. Make sure that the Brush option is selected at the top, under Tool.

Now we can start left-clicking and dragging over the pink areas until they become white. All those white areas will move like cloth when we’re finished. This is a slightly frickly process (painting always is), and Unreal Engine might get stuck every so often to calculate things under the hood. Make sure that static areas are not painted white, such as the ones to which cloth is attached. If a whole piece is white, it might fall off during simulation.
Sometimes single vertices at the bottom or the sides of your cloth may not get the coat of paint they deserve. This can lead to stuck cloth, which is ugly. Move your character around and make sure you’re happy with the paint job from all angles.
Smoothing Transitions
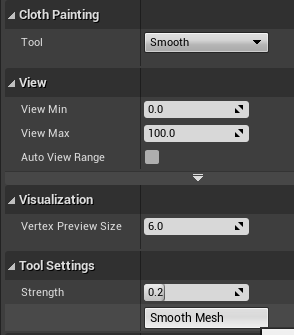
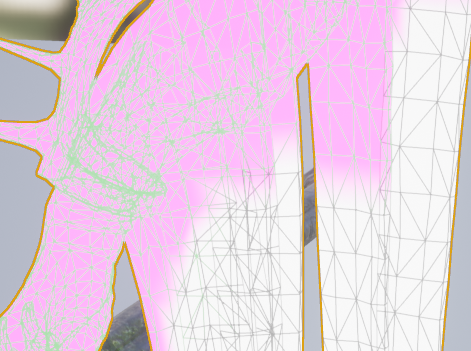
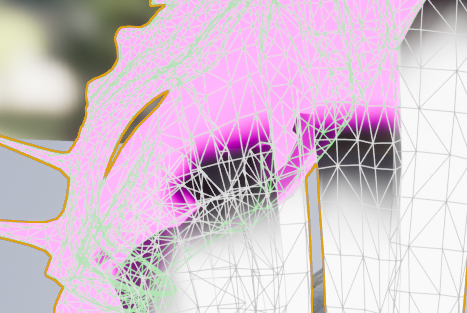
Notice the rather harsh transitions between pink and white areas in the weight map. We can smooth this out a little by switching out brush tool to Smooth. Rather than using our brush on the map, we can simply click on the Smooth Mesh button (under Tool Settings) 2-3 times to make our transitions a little less harsh. The more often you press that Smooth button, the more of a transition you’ll get.
Here’s a comparison before and after the smoothing.
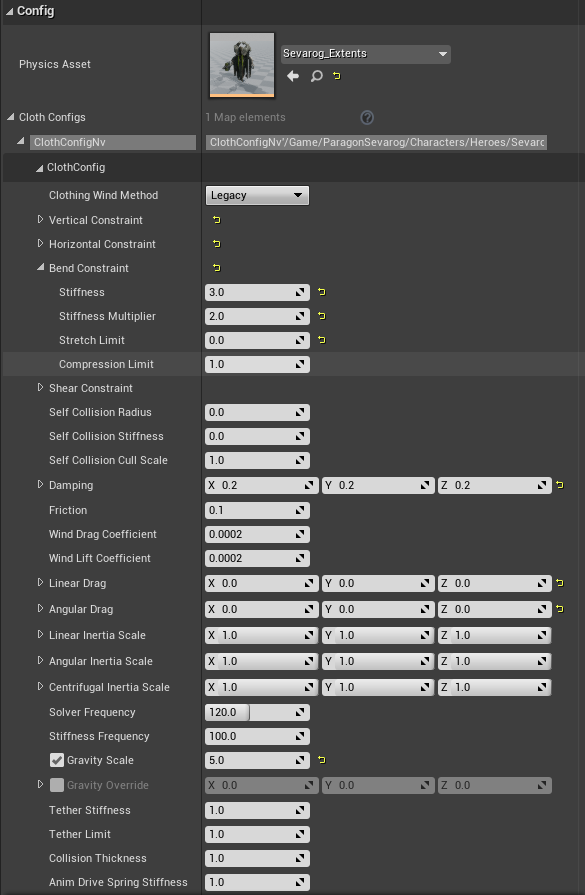
Cloth Properties
Not every piece of cloth behaves the same: leather for example has very different properties from silk or denim. Sadly there are (currently) no cloth presets in Unreal Engine with which we could easily set all those properties at once. Instead, we’ll have to tweak those settings one by one. If you want to have a go, take a look at the left and open several levels of config disclosure icons (I’m counting about 3). Tweak to your heart’s content.
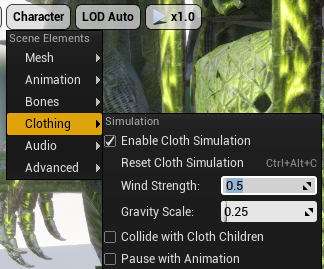
Simulating Cloth
We can simulate our cloth dynamics and see them in action and in real time. To do that in the current viewport, deactivate Cloth Paint Mode at the top, then select the Character option in the viewport and add a value other than 0 to the Wind Strength. This will add a little streamer icon to the viewport that lets us know that there’s a subtle wind blowing.
Another way to see our cloth moving in-situ is by simply walking around with him as a third person character. If that’s not an option, pick the Skeleton icon at the top right (with the cyan underline), select the character and rotate him around a bit. Everything that’s cloth will move in real time.