Let’s look for help a bit closer to home
The folks at Pixologic have of course thought about their customers and put the ZClassroom together. Everything at Pixologic appears to start with Z (except for Pixologic and Sculptirs). I think the reason for this is that Z is the missing dimension from 2D images. Perhaps. I don’t really know. Anyway…
The ZClassroom is a collection of screencasts which are very helpful. I should have looked at them first really. Well now I know where to find them. And here’s what I’ve found out about ZBrush so far:
Core Concepts
ZBrush started out as a 2.5D application. This means that it was once a bit like Photoshop, with the big difference that you could add 3D objects to your “canvas”. Since it is a 2D document, what you cannot do is look at your document from all angles, like you could with a 3D scene. The canvas is known as The Document I believe.
Each 3D object you place onto the canvas is called a Tool. You can modify or create one (from a 3D Primitive, or by importing an OBJ file) and then place that on your canvas, or export it again as an OBJ file and use it in other applications.
Pixols instead of Pixels
So far so good. In order to achieve this, ZBrush works with a very unique concept of Pixols (that’s not a typo). The implication and geniality of this concept only makes sense if you look at the “traditional” way of rendering a 3D object, and the implications of traditional (non-ZBrush) model building and texturing:
Traditionally, when you create a 3D model, you create a mesh first. That’s a collection of 3D vector points known as vertices. Think of dice: the corners are the vertices (plural of vertex), and the sides are the faces. In order to display something on your 3D model you wrap a 2D picture around it, which is called a texture file.
On the texture file, each 3D vertex corresponds to a 2D pixel that is mapped so that it makes sense for the model. In our dice example, our picture would contain the numbers 1 to 6 in some arrangement so that our dice would get the correct numbers. No matter how complex a 3D model is, an equally complex texture file will have the “outside skin” on it as a picture. The process of mapping those 3D vertices to 2D pixels is known as UV Unfolding or UV Mapping.
But here’e the problem: creating this UV Map is tedious and time consuming work – and once you’re done, you cannot make changes to your 3D model anymore. Imagine you’d add only one extra vertex to your mesh, your entire 2D texture map would be off. That’s a big problem if you need to make changes to your model after you’ve already started to create the texture.
ZBrush has a different approach: When you model you don’t really create a mesh and a texture separately. You create something much closer to what you would create in reality when you’re pottering a vase or chiseling a block of wood. You don’t “paint” the outside of the vase on a piece of paper and then stick it onto your pottery. You paint directly onto your 3D object.
And therein lies the genius that is ZBrush
Think of a pixel in a photograph: a 100×100 pixel image contains 10.000 “points” (or pixels) which each hold colour information for red, green and blue, as well as where on the picture it is needed. So it knows RGB and its X/Y coordinate. Other than that, a pixel knows nothing else. And it doesn’t really need to either.
But when we’re thinking of 3D space instead of a flat picture, then we also need to know a pixel’s Z position, as well as what material properties it has (is it shiny like glass, or metallic, or translucent, etc). This extra information is contained in what ZBrush refers as a Pixol.
And here’s why am I telling you all this
So while you’re creating and painting your model in ZBrush, you’re working with pixols. Later when you’re ready to render your model in another application (like Poser or 3DS Max), ZBrush will then export a traditional mesh and a texture file. Change your geometry, and ZBrush will update both mesh and texture file – no matter if you’ve started painting the model or not.
The implications are groundbreaking – which is why ZBrush is so successful in industries that deal with 3D models.
But how do we make it work?
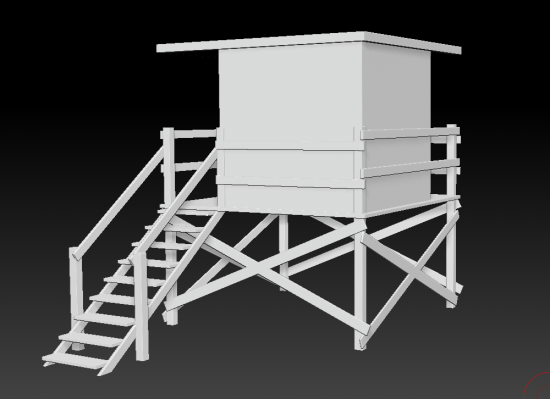
With so much theory going on, I must admit that ZBrush is a lot more complex than what I want to use it for right now. All I really want is to import my Beach Hut model and slap a coat of paint on it. And alas, it’s not that easy.
First I need to import my OBJ file as a tool, then I need to draw one copy of it to the canvas. Next we need to enter EDIT mode – otherwise we’re creating more copies of my beach hut on the canvas.
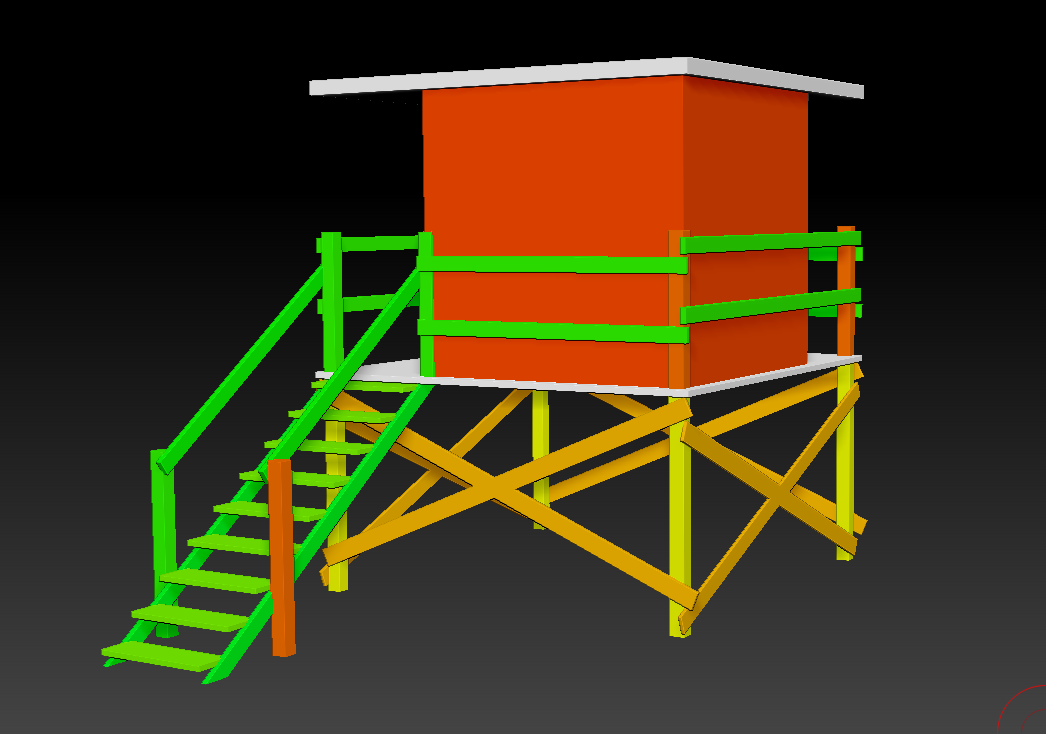
My model only has 500+ vertices, and it really doesn’t need any more. But to paint it, I need to subdivide it several times – otherwise ZBrush really only has 500+ pixols to slap paint on. But obviously my texture should be much more detailed than that .
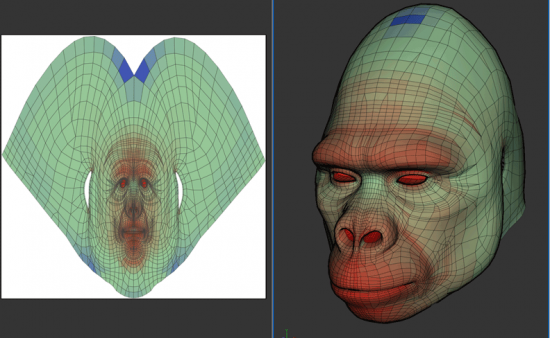
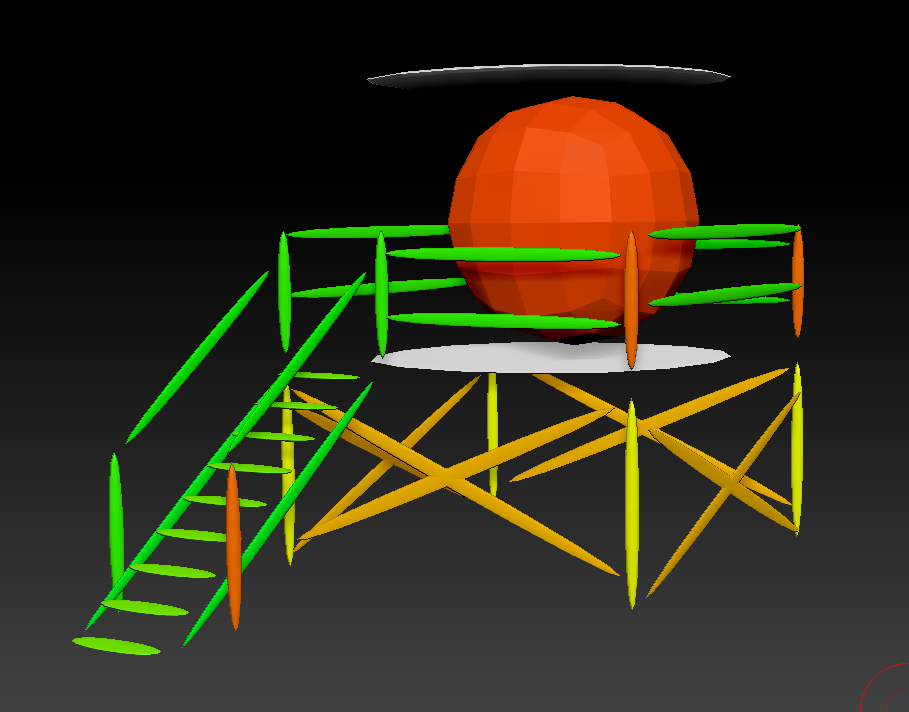
Since my Beach Hut is not an organic form, I want to do this without smoothing – otherwise we’re getting some pretty funky results:
Notes to Self
The learning curve to ZBrush is steep… much steeper than I had expected. But like so often in life, with the right set of documentation, humans can learn anything – no matter how complex it appears to be.
Rather than despair, perhaps ZBrush isn’t so bad – despite it’s rather sick interface. Perhaps it will all make sense.
27 days to go in which to find out.