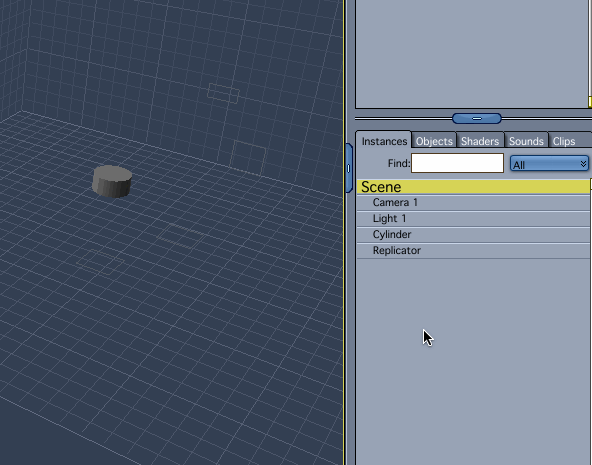
Replicators and Surface Replicators allow you to duplicate single objects and make it look like you have an armada of “stuff” in your scene. For example, you could replicate trees on a landscape or a group of people, but only load a single object into your scene.
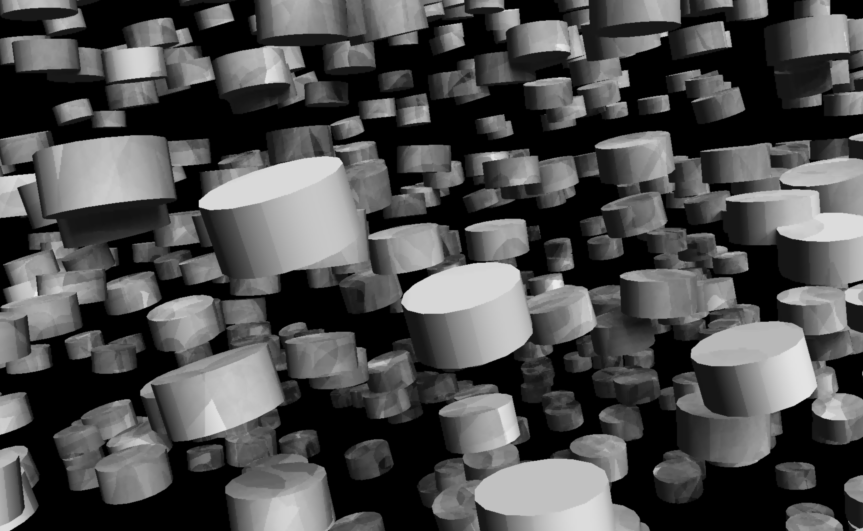
The difference between a Replicator and a Surface Replicator is this: Replicators duplicate (replicate) your objects along all 3 axis and only need a single source object. In fact they can accommodate several source objects, but they don’t replicate along anything.
Surface Replicators on the other hand only replicate along a given surface, like a terrain or another object. Surface Replicators only obey a twi dimensional plane along whose normals your replicated objects will be aligned.
To use them, simply drag an object onto the replicator in the Assemble Room. This can be tricky: make sure the source object turns green rather than yellow – which seems to happen when you drag it too far towards the right. Click and drag it further to the left, as shown below.
As soon as you do, you’ll see your object outlined many times over in the scene as bounding boxes.
To adjust the replicator, select it and click the Wrench Icon to enter the Modelling Room. Here you can tweak the behaviour of your Replicator: along which axis you’d like to replicate how many objects, if you’d like to add some distance or rotational changes to it, that sort of thing.
You can also add other source objects here if you would like them to have the same behaviour (in case you don’t like the drag and drop action described earlier).
Surface Replicators
In addition the source object(s), Surface Replicators also need an object that is used as a 2D plane to replicate against. Just like with a Replicator, drag the desired object onto a Surface Replicator.
Click the Wrench Icon to enter the Modelling Room which will look a little different than before:
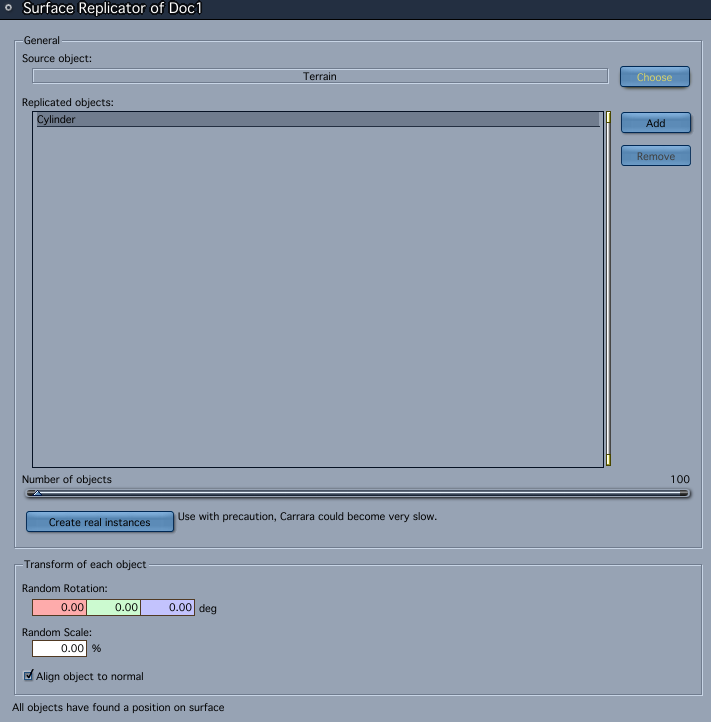
Select how many objects in total are to be replicated along the source, and most importantly select a source object. You can also specify size and random rotation.
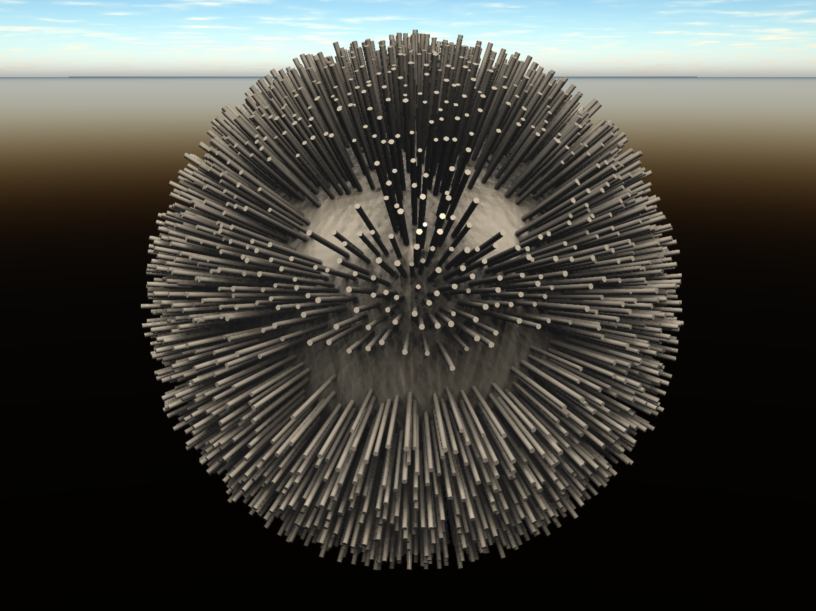
Notice the tick box at the bottom that reads “Align object to normal”. This means that the bottom of your replicated object is aligned to the tilt of the surface against which it is being replicated. A terrain or a sphere is curved. Here’s an example with the tick box checked:
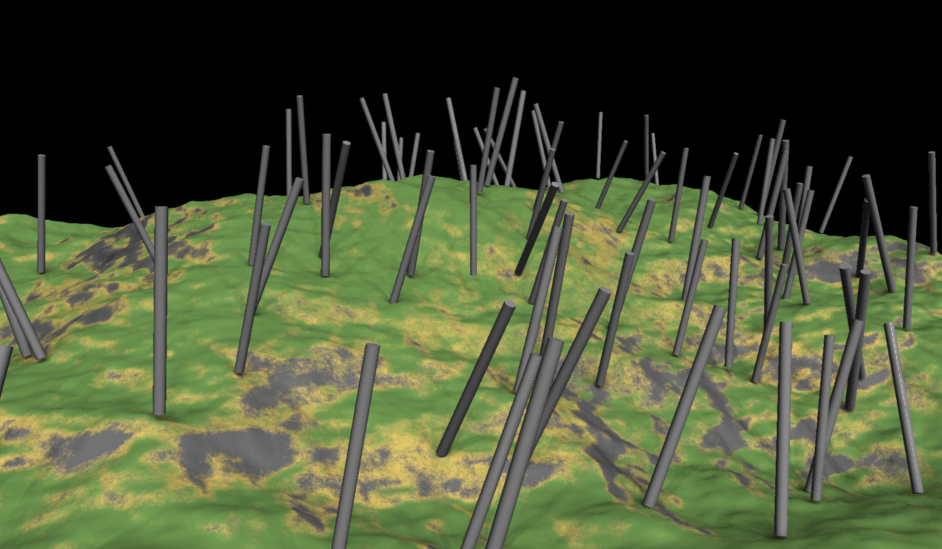
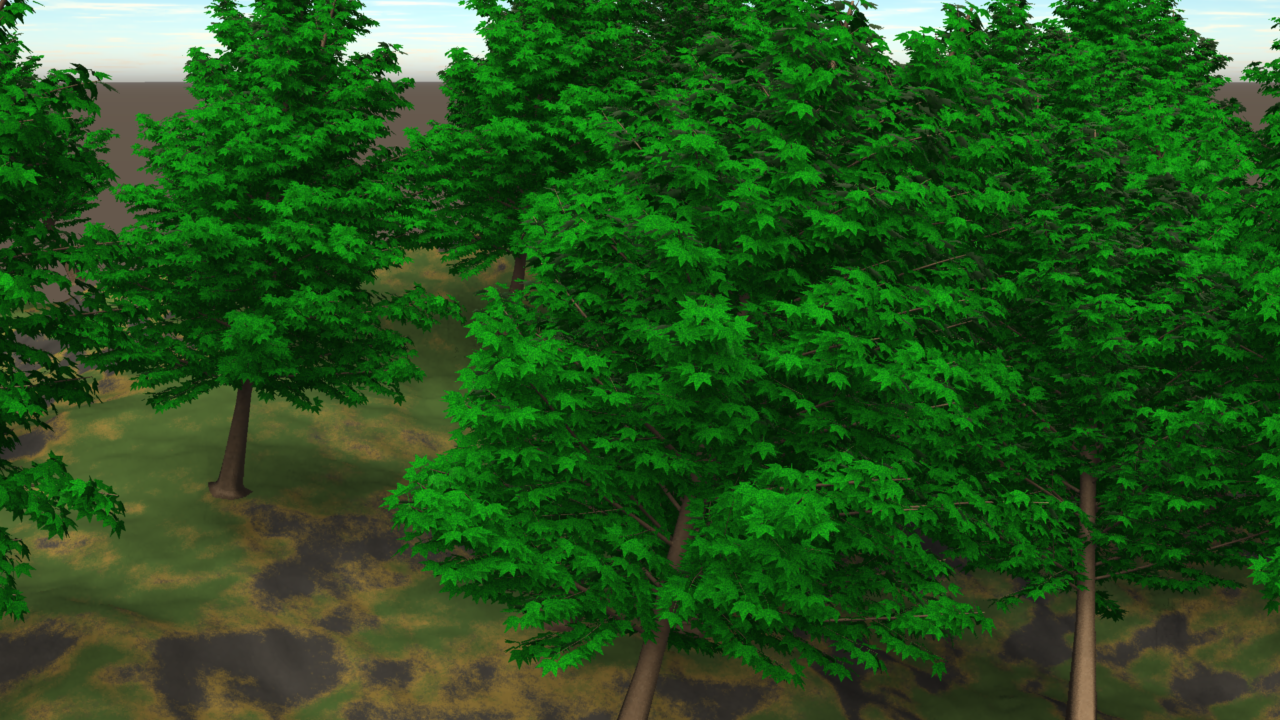
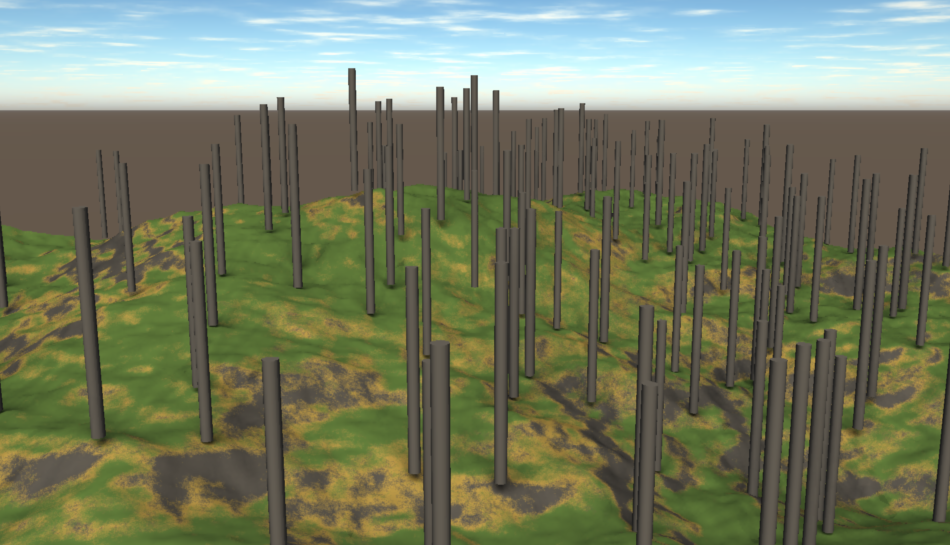
Notice how our sticks are bent with the terrain. If those sicks were trees, they wouldn’t really grow that way – instead they’d grow straight up, no matter how curved the surface is. Untick that box if you like to achieve the following effect:
Protecting surfaces from replication
Carrara allows us to use a shader to specify where objects are allowed to be replicated on the source object (roads perhaps, or lakes). This is a simple greyscale image: black areas are protected from replication, white areas mean 100% replication. Grey areas.. I don’t really now.
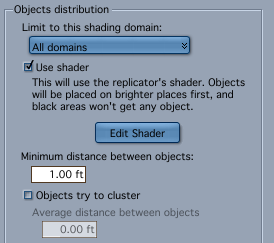
The easiest thing to do is to create a new shader using the 3D Paint Tool and drag it onto the Distribution Shader which is created when you select “Use Shader”. Remember which shader was originally on your object because we want to bring it back. I’ll explaining the intricacies of the 3D Paint Tool another time.
Here’s the result of a sphere which has such a painted shader applied, protecting the empty bits (I drew a smiley face):