I did a quick editing job yesterday for Oliver’s new band, a teaser trailer for a project called S.A.F.T.
It’s the German word for “juice”, but it’s also a word made up of the initials of the three band members. Their album is already available, but for an upcoming official release party, the band wanted a quick and snappy introduction to their project, no longer than perhaps two minutes.
After finishing up some of my other projects, I promised Oliver that I’d take a look at it – and here’s the result. The band were all happy, and I sincerely hope they’ll have a good launch gig in my hometown of Bremen, Germany to celebrate their hard work of putting this project together. Rock on, guys!
I had free creative reign over the end result, and I thought I’d share my process on this project with you: the assets I had available, the ideas I brought to the table, and how I turned them into the video you see above. Come to think of it, I never take enough notes when it comes to creative projects, documenting The Creative Process if you will, so let’s change this today.
Here’s how I made that S.A.F.T. Release Trailer.
Initial Thoughts
It all started a few months ago when Oliver and I had one of our very inspirational chats on the phone. We do these regularly, and we had already spoken about his new band project once or twice before. They had film maker Wilfried Burger shoot some great footage for several of their tracks back in Germany. He also did a great job editing an EPK with interviews about how the project came to be, but the band felt it needed additional work to turn it into a quick teaser to promote their upcoming CD release.
While we were chatting, Oliver asked me if I had some time to edit this from the existing footage. I couldn’t make any promises to have something suitable ready in time for their gig, but I said I can certainly try.
Without thinking much about it, I also told him that I had a vision as to how I would probably edit excerpts of the three tracks together. My idea was to have the project “be found in the on-air static”, as if someone is tuning in an old style analogue TV. I guess discovering new content for us humons in this day and age isn’t as simple as listening to the radio anymore. There is so much noise around us, and finding something worth devoting our time to isn’t easy.
Hence, the trailer portrays my vision just like that, and serves the purpose of introducing the audience to the type of music S.A.F.T. make, with three short excerpts of those songs. Just like someone searching through the AM band on a radio.
Viewing the footage
The night before I did the edit, I watched all three videos to get an idea of what each song has to offer, musically as well as visually. All tracks are very different: Going South is an up-beat rock number with a fantastic groove. I wish they had used it as the opening track for their album. Looking Back is a beautifully quiet ballad, while Starry Eyed is a funk number. Julian’s guitar solo reminds me of Frank Gambale, when he was with the Chick Core Elektric Band. Classic!
I liked this particular track order: start with the strongest and most powerful song to grab attention. You can’t help but get into Going South. It’s a fantastic opener that makes you want to know what’s up next. Then we turn to a slightly slower pace and a different style, and end on an emotional quiet track. Any other track order wouldn’t have worked for me. I can’t really explain why (and I do trust my gut instincts more and more these days).
I picked the parts which I thought would show a good representation of the best parts, considering the limited amount of time we had for the final duration. That’s an important consideration because you can’t afford time on things like intros and build-ups. With teaser trailers, you have to go straight to the good parts, and leave the audience wanting more at the same time.
Knowing your footage is vital to understand where to make those edits. No matter if it’s rushes or previously edited material, knowing what you have to play with is a great time saver to get results quickly without wasting time and energy during the edit session.
Creating the video static
I created both the visual and audio static in two different paths. I knew what I wanted, but didn’t quite know where to find it. I’d probably have to build something from scratch myself, but I wanted it to look authentic. I’m a child of the eighties, and we can spot “fake shit made with 99c apps” a mile off!
The night before, my wife and I were watching an episode of Derrick. It’s Germany’s hit TV show from the seventies to nineties, spanning 25 seasons. It’s the most exported show Germany has ever produced. We enjoy the odd episode in pretty rancid quality on YouTube, where several fans have uploaded episodes from old VHS tapes.
When the episode we were watching came to an end (Episode 52, “Abitur” – watch it here), the uploaded had left his VCR running, hence capturing some static. I saw that and thought it would make a fantastic visual backdrop for what I wanted to achieve.
So thanks, Derrick – and however uploaded that episode to YouTube 🙂
Downloading the footage
I had no access to any of the footage, all I had were links to YouTube (both for Derrick and the S.A.F.T. videos). The quickest way to turn those into editable files is to download them either via screen capture, or by using a download tool.
I knew there were several extensions for Firefox available, so I grabbed the Easy YouTube Downloader, which which did the job swimmingly. The free version does 720p, while the Pro version can do 1080p as well as extract MP3 tracks from any video. That’s how I got the footage onto my Mac.
I also didn’t have access to the band’s logo, and they’re too new for this logo to show up under Google images. However, the album is already on Spotify, and their web interface shows a good resolution image. A quick screen grab later I had the logo to play with.
Creating the audio static
Now that I had all the video assets I needed, I tried to create a matching audio noise track. My initial idea was to grab either Dolby Noise, pink noise or white noise and see what I could do with that in Premiere. And while this worked OKish, it didn’t sound authentic enough for my ears. After all, those noises are “perfect” and designed for line-up purposes. They don’t sound as “kaputt” and dirty as I wanted them to sound.
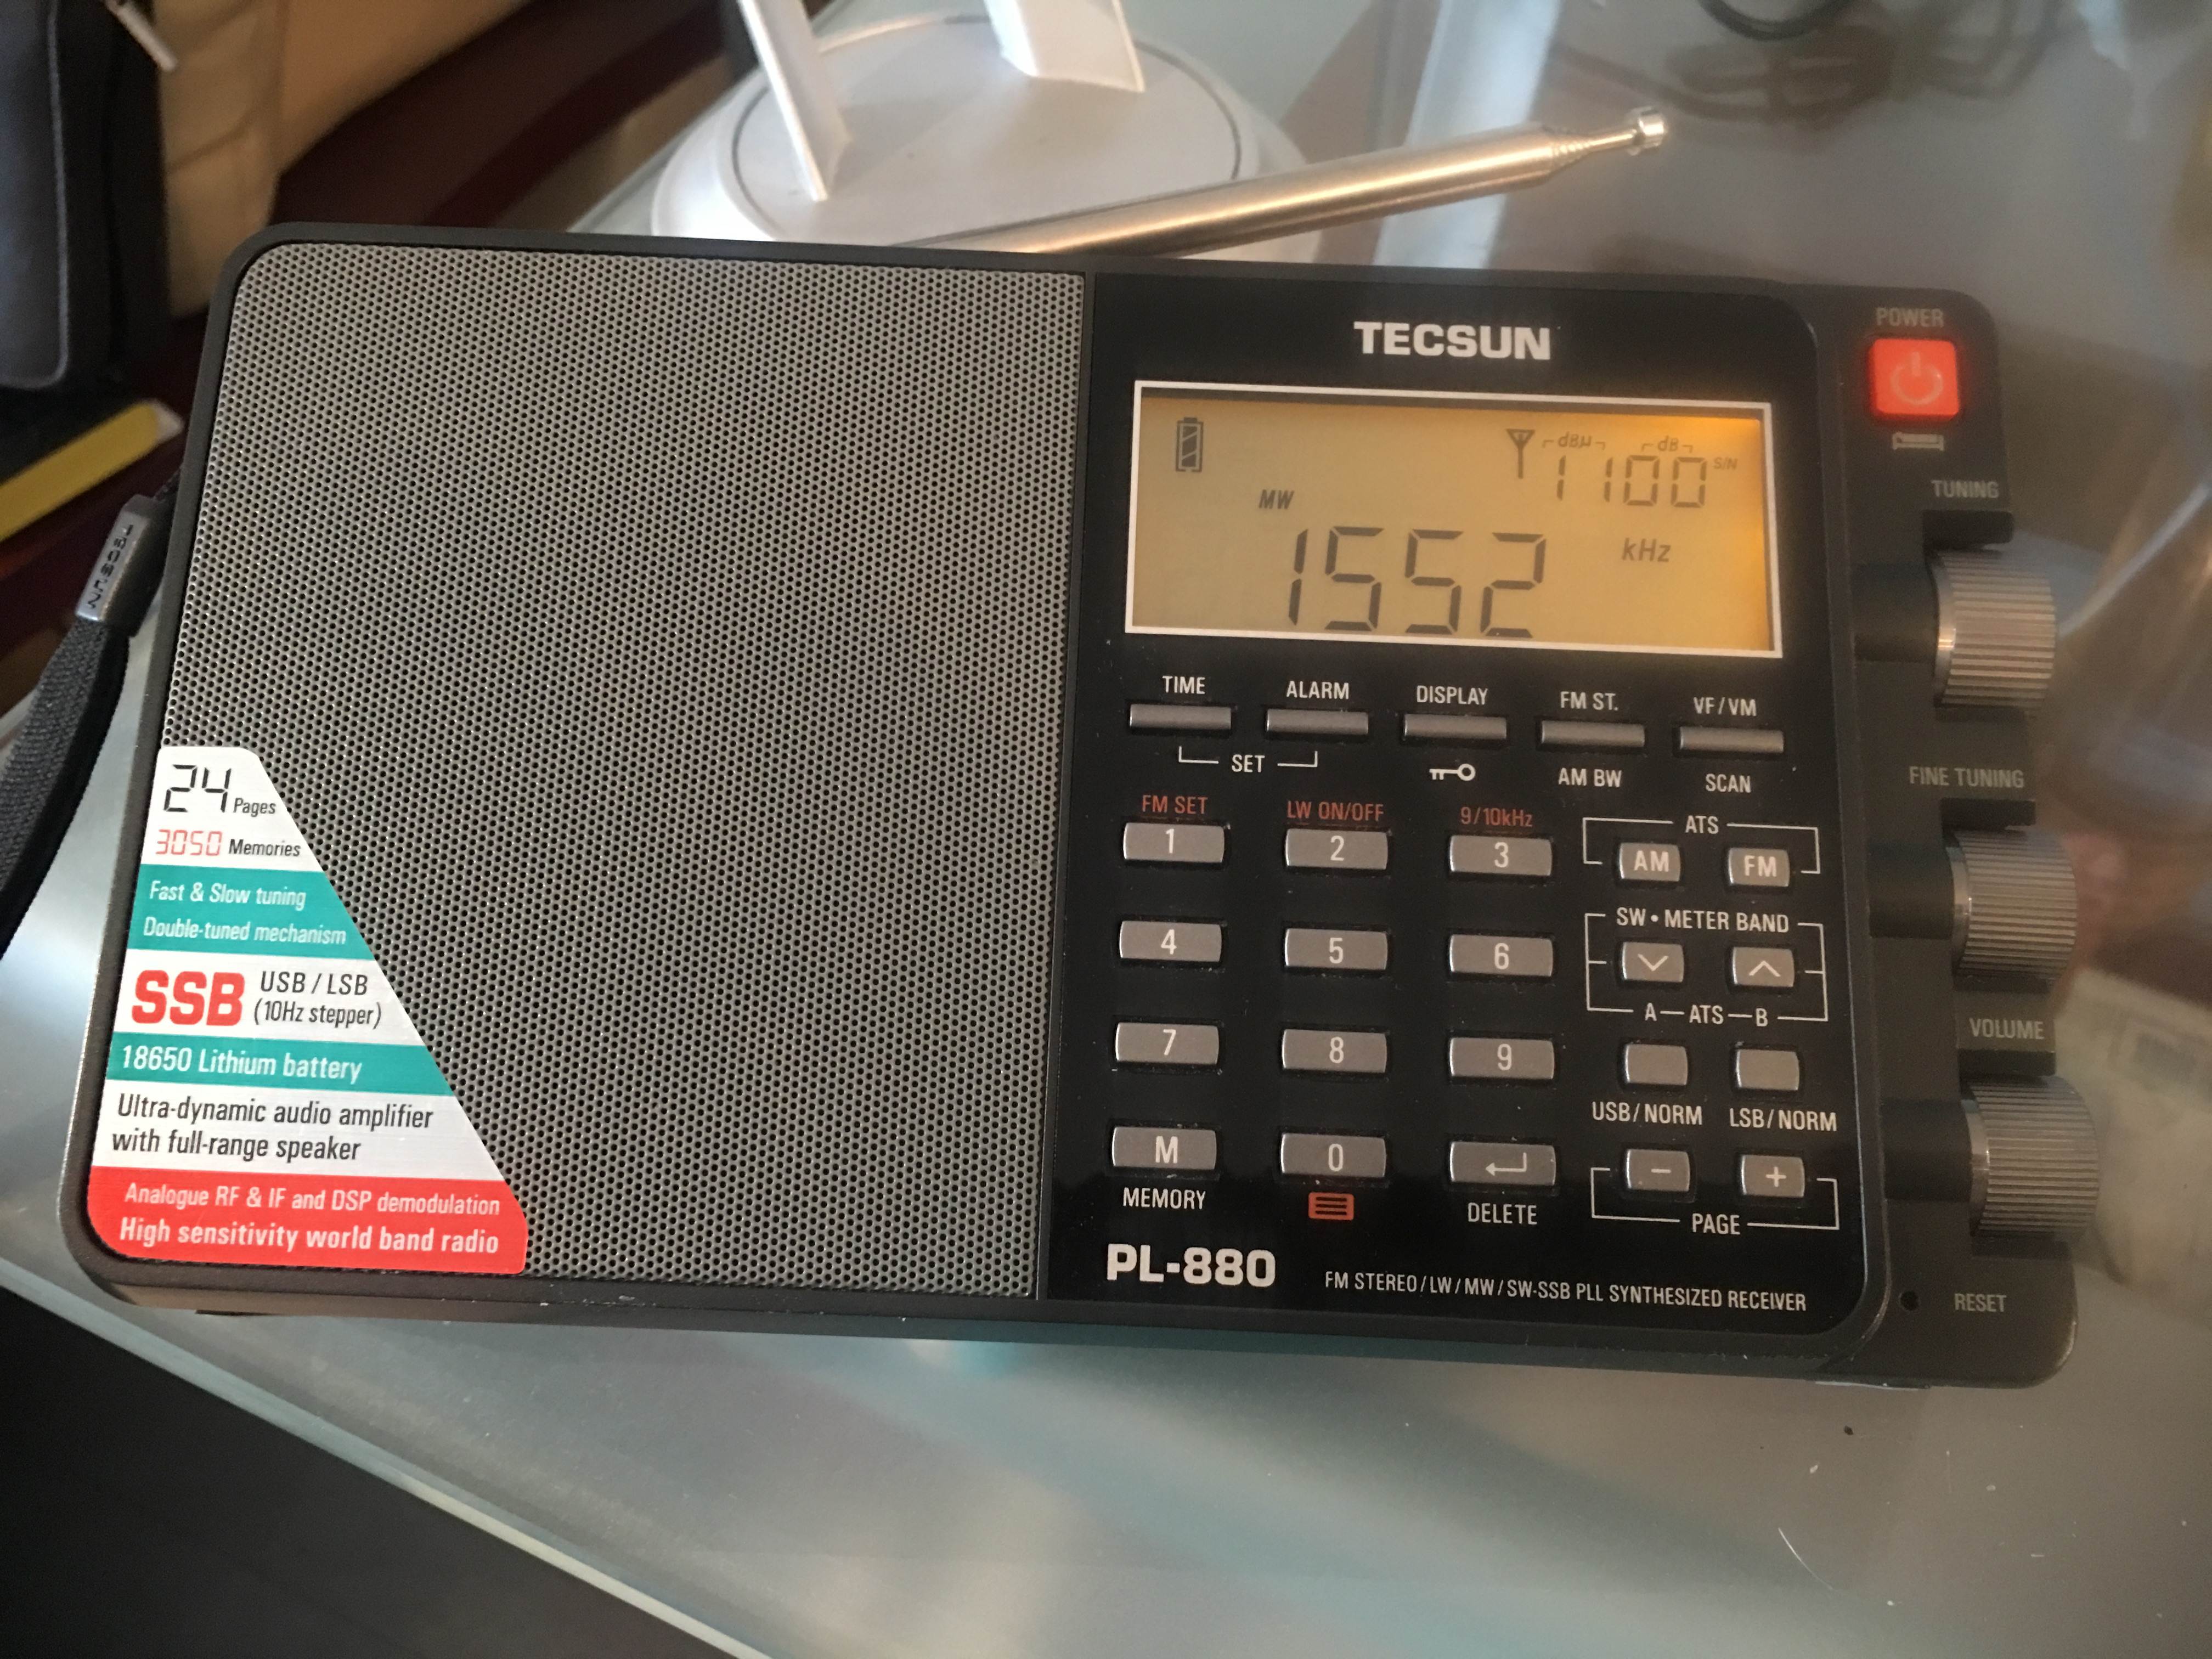
So I grabbed one of my shortwave radios, the Tecsun PL-880 and had a look at what’s available on the Shortwave Band. I did this during the daytime, which means I got a lot of static, but literally nothing else. That would have worked, but I had envisioned that the “searching the ether” process would sound so much cooler if the occasional bit of recognisable audio would bleed through. Voices, music, number stations, that for of thing.
In the end I switched to the AM band, which provided a nice mixture between static and occasional audio. Plenty of Spanish radio stations are broadcasting over here, and very quickly I got what I needed.
At first I tried connecting the radio to my iPhone, but for some reason the audio didn’t record with the 3.5mm TRS cable that I had. Then I tried a small Tecsun MP3 recorder, but sadly its internal BL-5 battery had grown by 50% – a common issue with low-cost batteries. The iPhone 3GS had those built-in, and many an iPhone expanded/exploded as a result.
I ended up capturing the footage with my iPhone’s microphone instead – losslessly mind you, with the new beta version of the iOS 12 built-in and revamped Voice Recorder app.
Editing in Premiere Pro
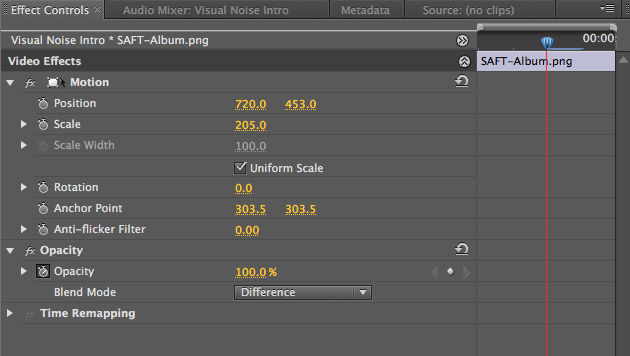
The first thing I did in Premiere Pro was to assemble the static video and turn it into a re-usable track. The bottom video layer was the static Derrick footage, appropriately resized to fill the whole screen of my sequence. On top of that was the logo, with its blending mode set to “multiply”. That knocks out the white parts and overrides them with whatever is shown underneath.
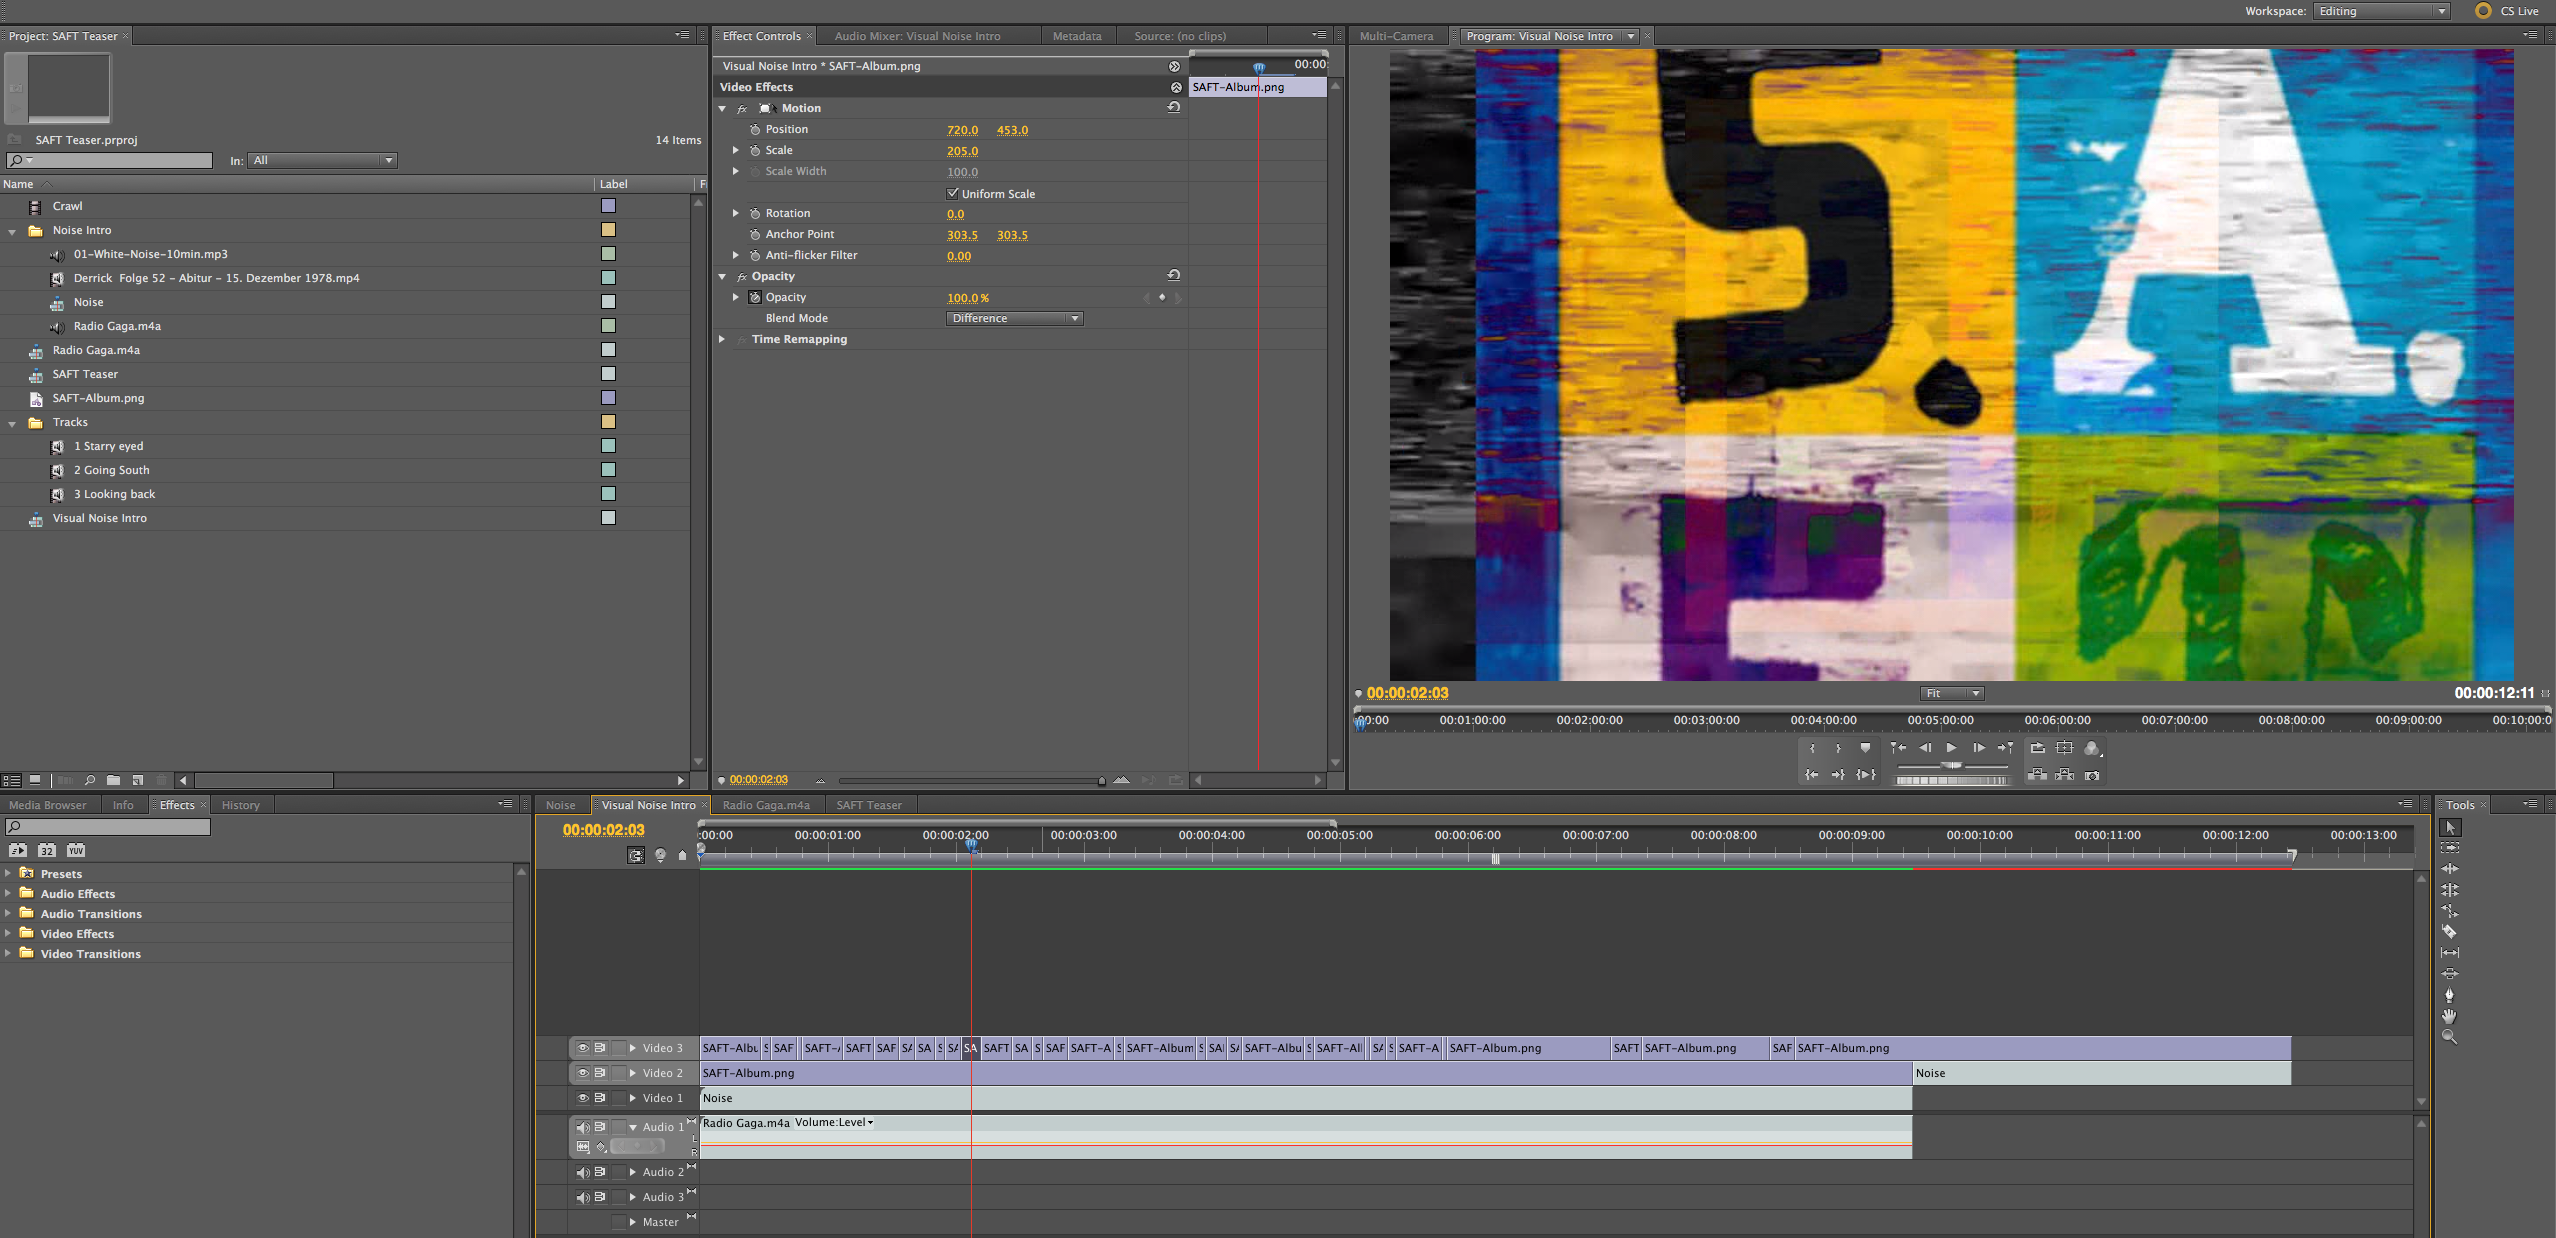
Next I added a third video track over this, also featuring the logo. On this track, I made several short cuts using the Razor Tool. This would allow me to pick smaller pieces and adjust the look and size of the logo temporarily, adding a damaged effect every few frames, as if the logo was affected by the bad tape tracking underneath it.
Much of the time the logo needed to be seen though, otherwise the audience wouldn’t be able to read it. For those passages I chose the “difference” blending mode, which meant that the underlying damaged video tape look would bleed into the logo. Finding the right blending mode is always a bit of a trial-and-error process.
Editing the Audio Static
As you can imagine, much of the static noise from the radio was just boring noise. Much like with video editing, we need to hone in on the few pieces of gold that are hidden in there and cut out the rest. This left me with about 40 seconds of “interesting” noise, containing anything from Elvis Presley to “medication side effects” and websites read out too fast (both in English and Spanish).
With that in place, I added it it underneath the static video.
Putting it all together
Separating each track, I repeated part of the 9 second video noise I now had, but with a different part of audio noise underneath. To make each track blend from noise to track back to noise, I used an additive video dissolve and audio cross dissolves (some longer, some shorter).
Each of those edits required only minor tweaking so that a track comes in “on the beat”. It’s something you feel when watching these sections back. If it doesn’t feel right, it needs a few frames more or less. The Rolling Edit and Ripple Edit Tools are your friends here.
That finished the basis of the teaser – but to really drive home what this video is actually about, we need to remind the distracted audience of why they’re actually watching. People’s eyes may wander, so grabbing attention is key to telling viewers that this video is here to promote the CD Release Party. Our mission needs to be to remind viewers of this fact.
I did this with a lower-third crawl of the release date and venue. It appears four times in total. The crawl is accompanied by the band’s logo in the top left corner (so that any top-right broadcast logos won’t interfere with it). Both of these reminders are only in vision when the band is playing, not when their logo appears full screen.
And that’s how I did it 🙂
Check out the album
Have a listen to the whole album on Spotify, or buy it on Amazon.
To see what the bad is up to, check out the S.A.F.T. Facebook Page.
1 thought on “S.A.F.T. – Release Trailer (making of)”