I found a very elegant way to animate various properties of the UI widgets we can add to the screen in Unreal Engine. Anything from animating their position to opacity and all kinds of other things can be confined to a mini timeline, then queued programmatically when necessary. Let’s take a look how I’ve animated the above overlay in my Demo Project.
The key to success lies in the actual Blueprint Widget. Mine is called Selection Menu, and here’s what it looks like.
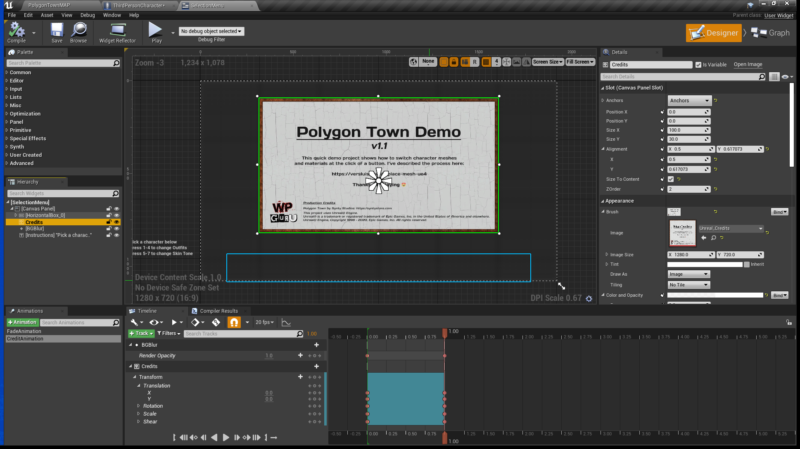
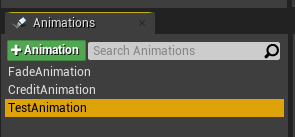
I have one image element defined (called Credits) and have positioned it the usual way. To make this slide in from the right hand side, we need to create an Animation on the bottom left. Call it anything related to what you’re animating. Multiple animations can be setup and queued independently from one another, which is super convenient.
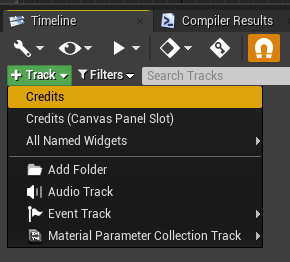
The animation will be empty by default, and we need at least one track and tells Unreal Engine which of our UI elements we’d like to animate. Select one from the hierarchy, then pick Track in the Timeline window. Pick the element at the top of the list, or of you haven’t got one selected in the hierarchy, pick one from the All Named Widgets list.
Now we need to specify another track for the properties we’d like to animate. Although this seems like “a lot of tracks”, it makes complex animations so much more convenient to work with. Imagine seeing one dope sheet with thousands of keyframes (I tell you, those things have always scared me off). So inside the track, pick the smaller grey Track button and click it. Up comes a list of properties we may want to animate.
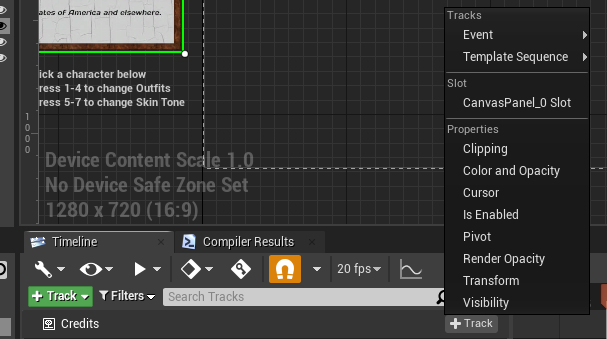
To fade something in or out, pick Render Opacity (not Visibility, that’s a boolean value). To move something around, pick Transform. Only one of these options can be enabled per track. You can create other tracks for more properties though.
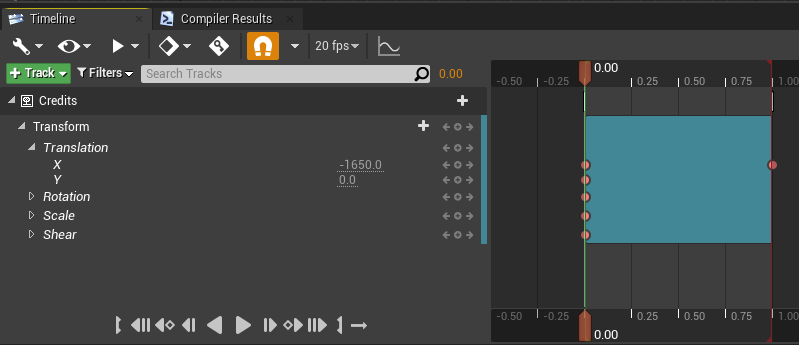
Let’s animate our image from the right (out of vision) into the centre of the frame. To set those keyframes, open the disclosure triangles to get to the Y Translation value. Note the values on the timeline. These are NOT the same as the ones we’ve set on our object’s details; instead, they operate relative to the base properties we set. That’s a really nice touch, as we’ll find out later.
Keyframes can be set with the tiny plus icons next to each value. To change values at the position of the playhead, make sure to tweak the value in the timeline, NOT in the overall Details panel. In my case, my image should start at -1650 on the X at the beginning of the animation, and after 1 second, I’d like it to be at 0 on the X.
As you move the playhead, you’ll see the interpolated values at work, moving our image. That’s nice!
Queueing the Animation in Blueprint
We can trigger our animation forwards and backwards from an event, like a button press. I’ll setup a Flip/Flop node to toggle this. All I need then is a reference to my instantiated widget, and a reference to my Animation from the widget, and then I can do this:
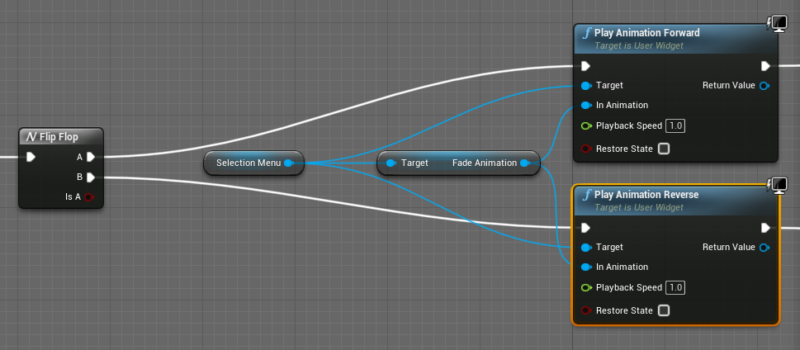
When the button is pressed the first time, the top branch is taken. This plays our animation forwards, sliding the image in. When the button is pressed again, the bottom path is taken and the animation is started in reverse. This saves me having to create another one, although if I wanted to, I could do that.