Texturing 3D objects is surprisingly easy in Blender. Essentially we’re using a 2D image that will be gently rubbed onto the surface of a 3D object, thereby creating a texture. Let me show you how to do it. Let’s use Blender’s default cube and any image of your choice. If you no longer have him from the default scene, create a new cube (Add – Mesh – Cube). It will be unwrapped, but won’t have a material, so you’ll have to add a new one.
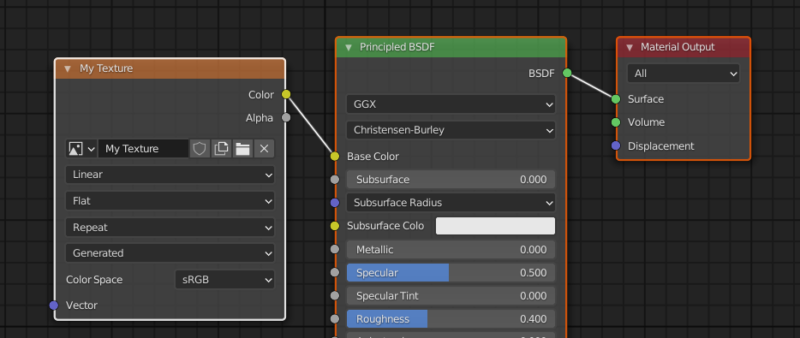
Plug in an image texture into your material, then create a new image onto which we can paint. Here’s what my simple material looks like.
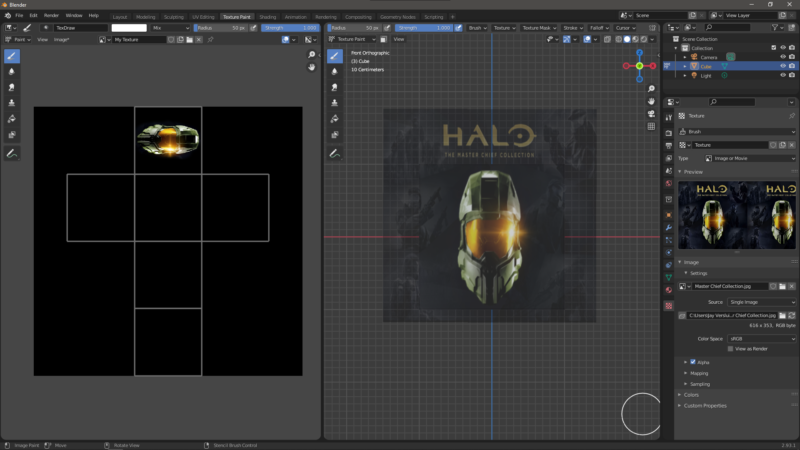
Switch over to the Texture Paint tab and discover a black texture on the left, and a black cube on the right.

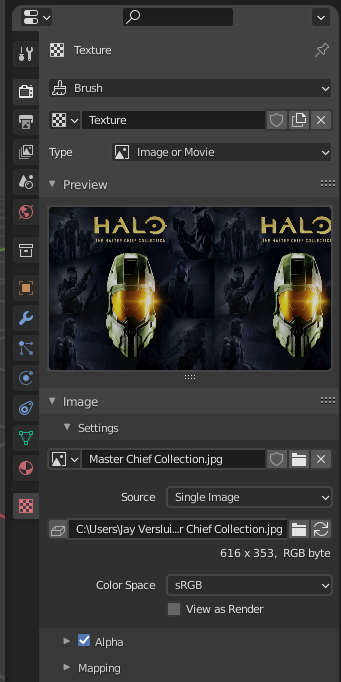
Change to the Texture Properties tab at the bottom right (plaid icon) and create a new brush. We’ll also pick an image here do that we have something to use as a stencil. Any image will do, although square ones work best (mine isn’t, so the aspect ratio is off). Apparently we can even paint with video files, I can’t wait to try that out!
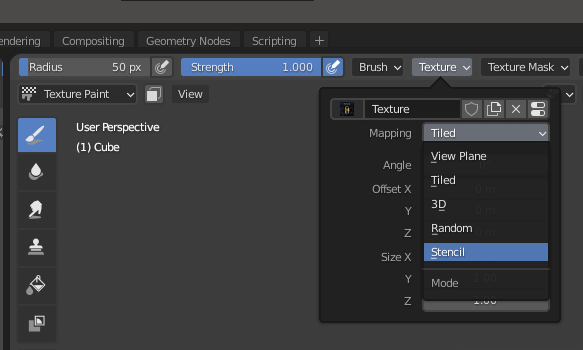
Now we’ll enable “stencil mode” at the top of the right viewport. Scroll the menu to the right a bit (click and drag the middle mouse button) until you find the Texture drop down. Change it from Tiled to Stencil.
This next part takes a little getting used to. You’ll see your picture semi-transparent and the viewport underneath it. This lets us position our 3D object and stencil image independently and align them so that we can rub the image onto the object.
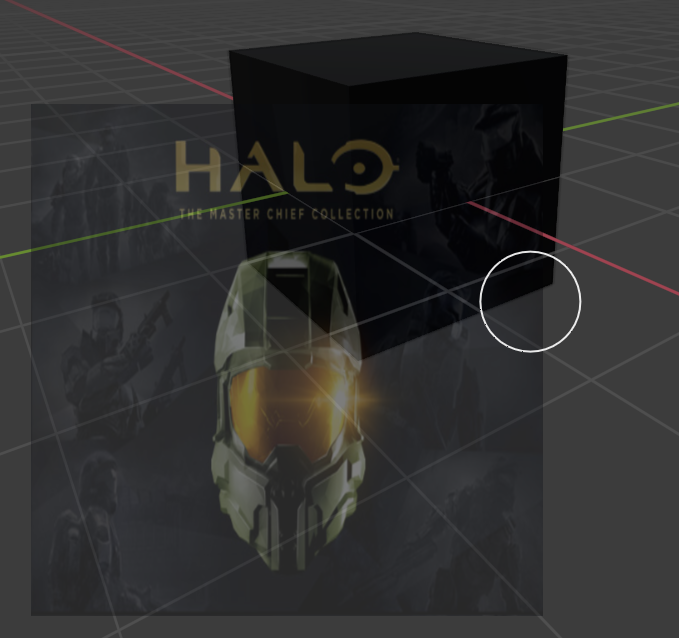
You can move the stencil by right-clicking and dragging, or rotate it by pressing CTRL. I’m sure there’s a way to reset the rotation too, but I haven’t figured out how to do that yet.
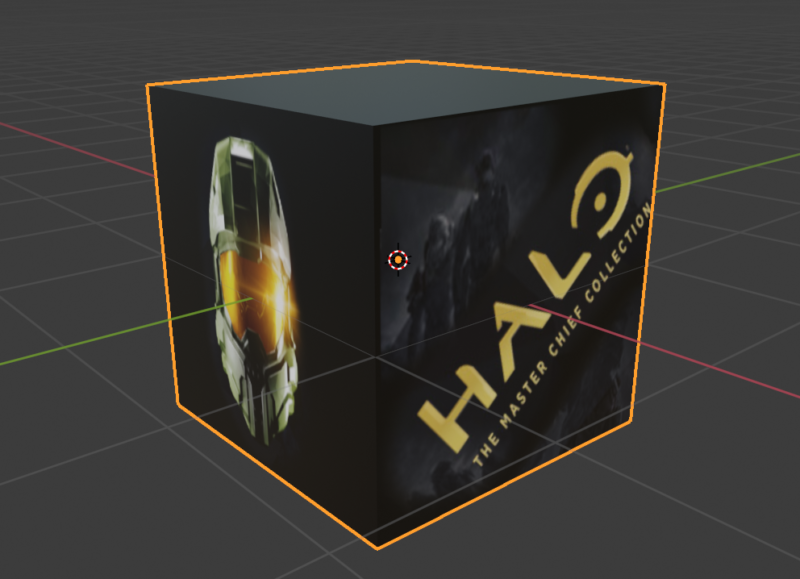
The 3D object underneath the stencil moves as it usually would, so feel free to move it into position. I’d like my Master Chief head to be on the front of the cube, so I’ll press 1 on the NumPad to line it up orthographically, then change the size by holding CTRL and middle-mouse-click-dragging. When everything is lined up properly, I’ll left-click and drag over the parts of my image I’d like to appear on the cube.
Feel free to adjust the radius and strength properties at the top. Now reposition your 3D object and paint in other areas of the image you’d like to transfer, or load other images to generate your texture.
Have fun!