
Blender allows us to project regular images onto 3D objects from any angle onto a temporary UV space, from which we can then transfer such projections onto the “real” UV space. If this sounds like science fiction, bear with me – it’s a tad complicated and I thought I’d take some notes while the process is still fresh in my mind. In principle we need to
- unwrap our object (UV Set 1, efficient)
- load an image and align our object with it
- unwrap the object again (UV Set 2, inefficient but functional)
- adjust and fine-tune this set to the texture fits the object
- transfer the second UV Set onto the first
- rinse and repeat from various angles for the perfect texture
Here’s how we do it step by step. For this example I’m transferring an image onto the side of a cube. The process is the same for more complex shapes like cars, tea cups or even people.
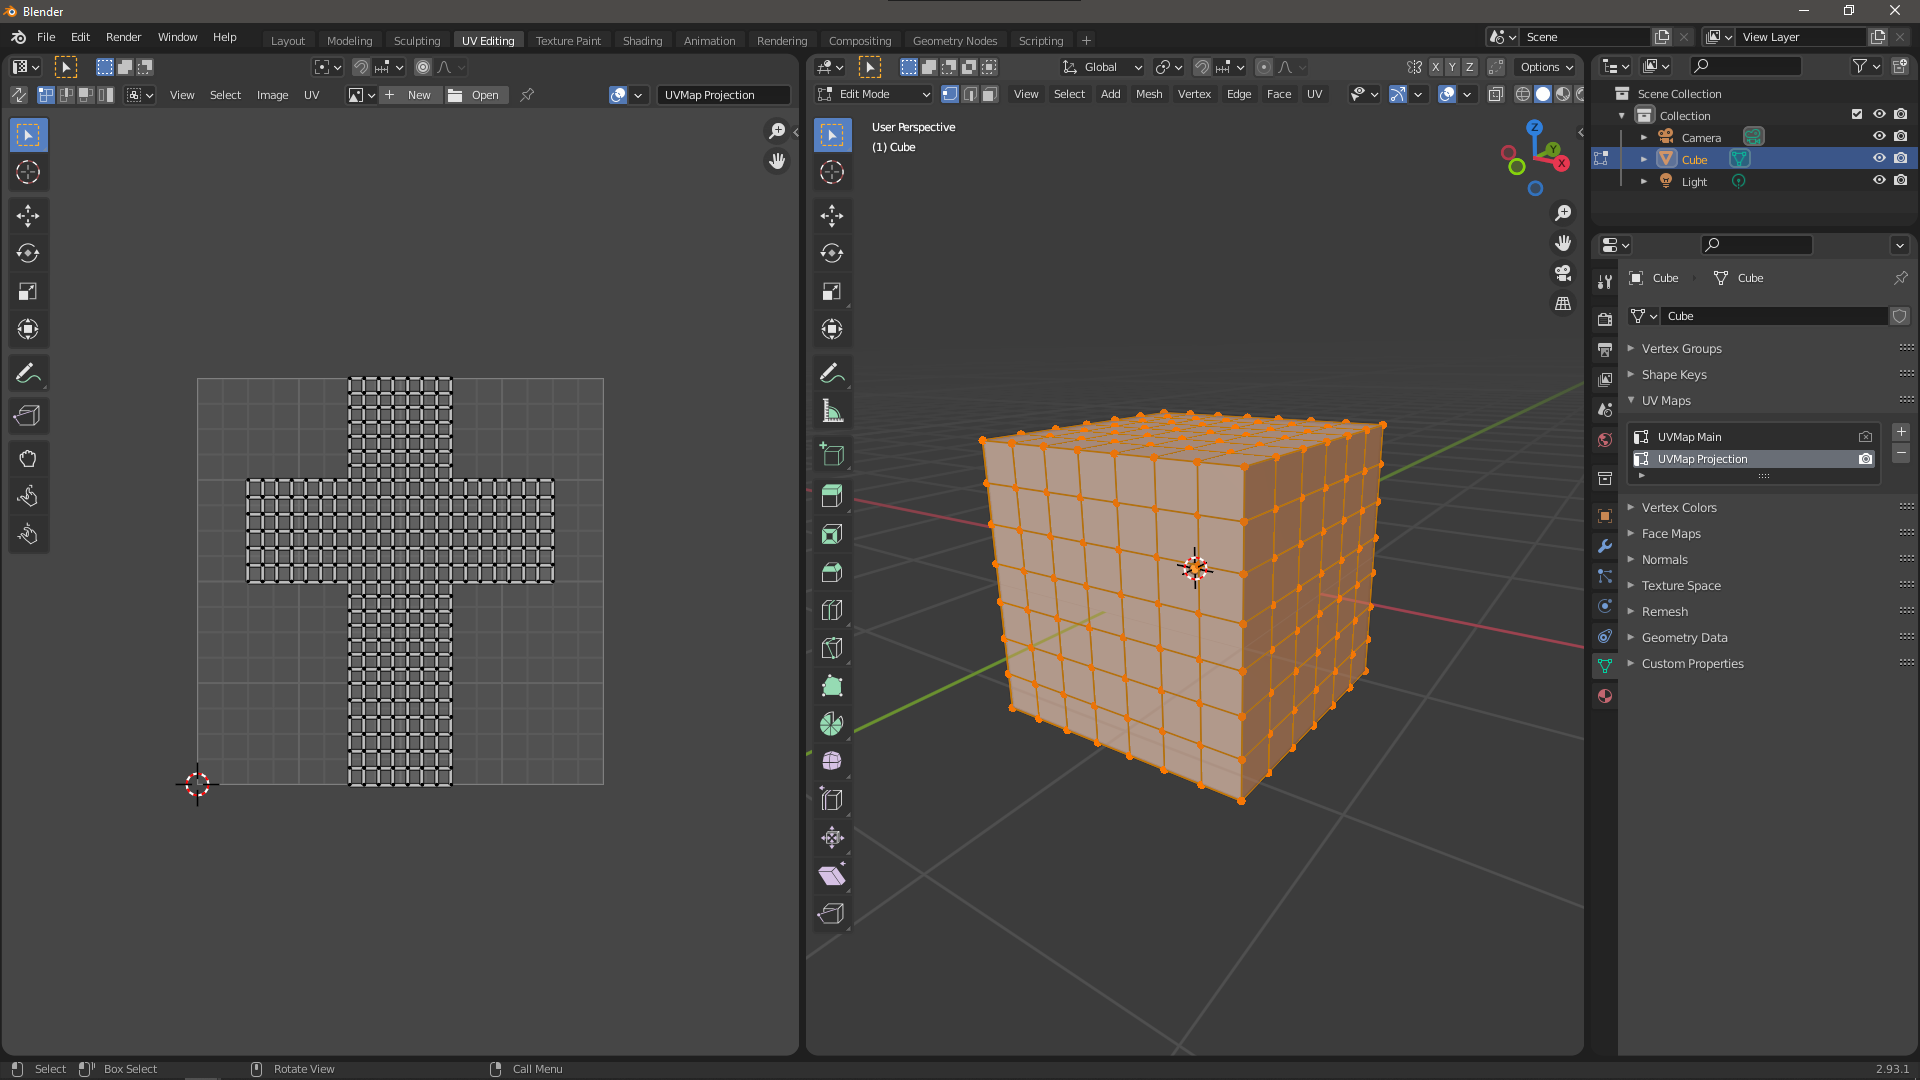
I’ve edge-looped the default cube on all sides do that he has a little more geometry. Primitives are already unwrapped on Blender, so I can switch to the UV Editing tab and see something like this screenshot. Notice the expanded UV Maps section on the right hand side. I’ve added a second UV map called Projection to it, leaving the existing default one in place.
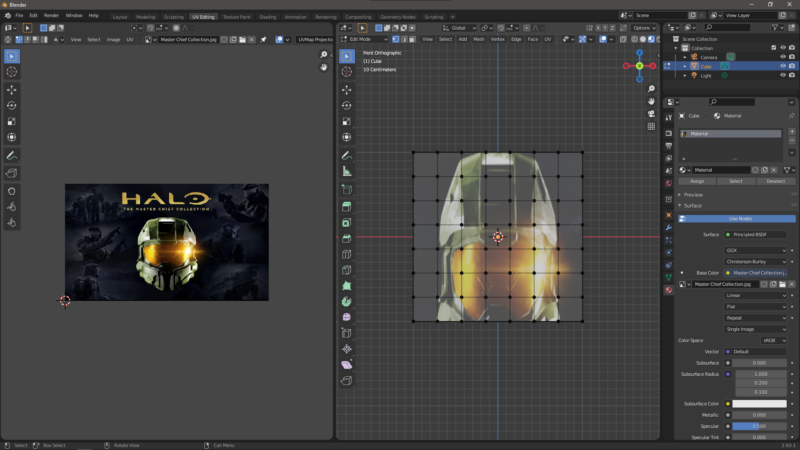
Now let’s load the image we’d like to project onto the front face. In the left window at the top, open your image. In the right window, make sure to look straight at the side of the object that matches this image. For my cube I’ll press 1 on the NumPad for the front view. Make sure the projection UV set is selected, then choose UV – Project from View. Notice how a new UV mapping appears in the window on the left.

Let’s take this opportunity to create a new material so we’ll be able to see how changing the UVs will affect our textured object. I won’t cover the process of this here, but in essence it’s just adding an image texture of the same image we’ve chosen above, then switching the right viewport into material preview. Here’s what it looks like.
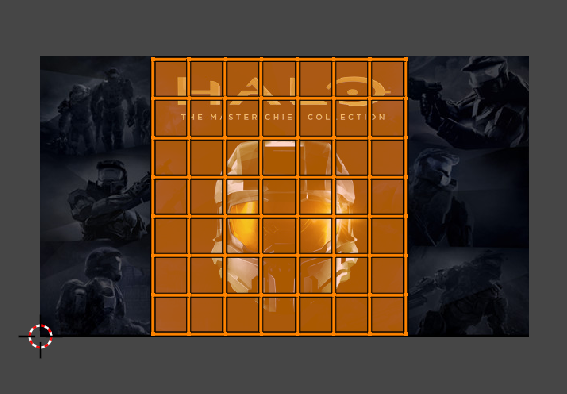
Our job is to to align the UVs so that the face of Master Chief, as well as the Halo logo is covering the whole front side of the cube. Looks like we need to scale the UVs up a bit, then squash them so that the aspect ratio is correct (as my source image isn’t square).
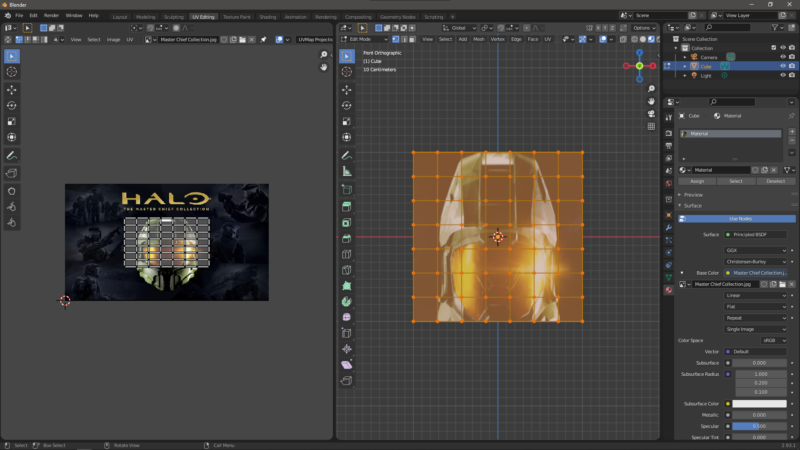
Something like this should do the trick.
Notice that although the picture now appears as it should on the cube, the UV space is not the one we want to use. On more complex images that have been projected with weird angles, you’ll see a lot of wastage on the UV Maps, as opposed to a more space efficient layout on the original one. Let’s transfer our texture over next.
Switch over to the original UV Map (Main) and notice how this changes the way the texture looks on our object.

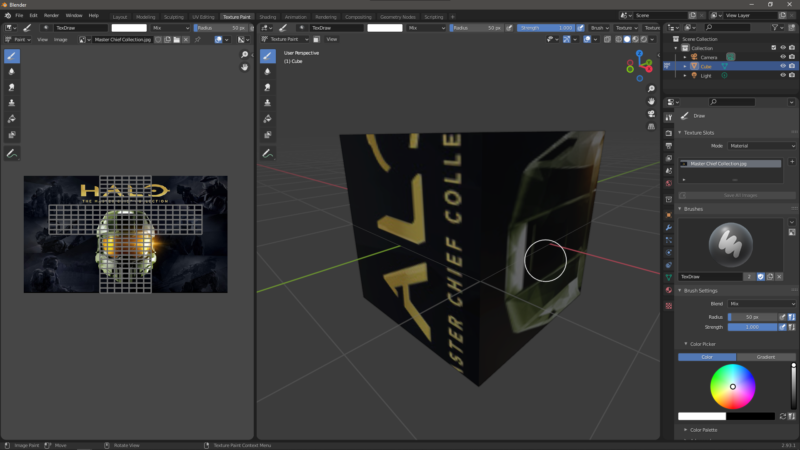
We’ll fix that by cloning the texture using the Texture Paint tools, switch over to this tab at the top. Open the tool shelf in the right viewport by pressing N and switch over to the Tool Tab on the right. Blender should look like this:
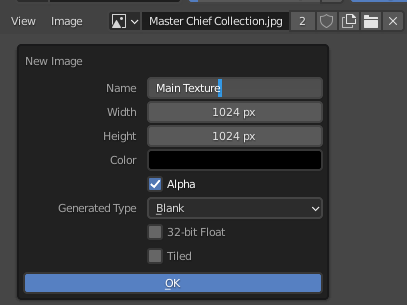
We need to create a new blank image that will hold our painting efforts. Create one in the left hand viewport with Image – New. You can leave it blank, I’ll call mine Main Texture.
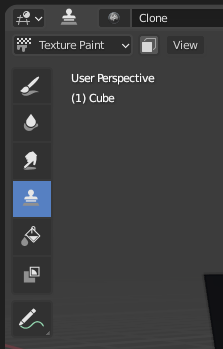
On the right hand viewport, switch to the Clone Stamp Tool (fourth icon from the top).
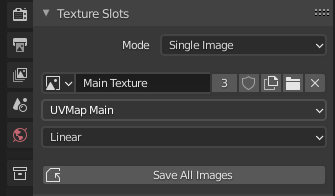
On the far right hand side, under Texture Slots, switch over from Material to Single Image and select the new blank image we’ve just created.
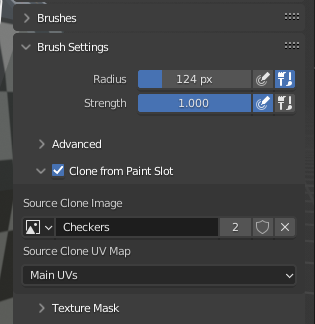
Slightly further towards the bottom, under Brush Settings, enable the Clone from Paint Slot option. Under Source Clone Image, choose the original image we had opened. Under Source Clone UV Map, choose the corresponding UV Projection map.
Now comes the magic part: left-click and drag on on the front surface of the cube and see the original image magically transferred to the main UV map. This works on any side, but will look best on the front. The sides just get blurry streaks at the moment. To fix this, repeat the process with side projected images and complete your texture painting.
I’ll make a video about this process and post it here when it’s ready, and will expand on this principle with more complex objects soon.