When you work a lot with certain figures in DAZ Studio, it may be helpful to launch them from custom icons in the toolbar rather than having to find them your Content Library every time. There are two parts to the process. Let me show you how to set those up in this article.
Setting up a Custom Action
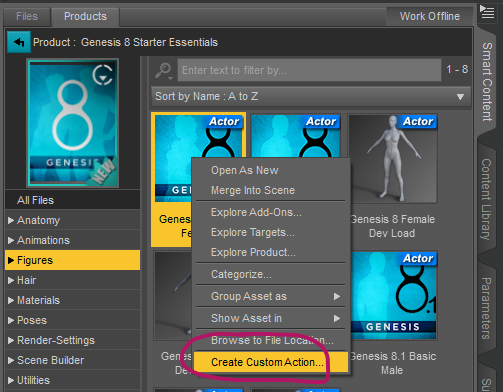
The first part is to create a Custom Action for the figure in question. I’ll use the Genesis 8 Base Figure, but any character (or object) will work. Find her/him/it in your Smart Content or Content Library, right-click and choose Create Custom Action.
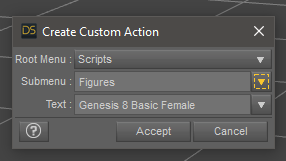
This will bring up a dialogue box that lets you specify a spot in the main menu. Pick Scripts at the top, then choose a sub-menu item and a suitable name. You can leave the defaults, in which case the entry will be created directly underneath the Scripts menu (if it isn’t there already, the entry will be created for you).
With this in place, you’ll be able to head over to your Scripts Menu at the top, then pick your desired figure. That’s already pretty neat.
Creating a Toolbar Icon for your Action
This next step is a little scary, but it’ll make sense when you’ve tried it a few times. We need to dive behind the scenes of how DAZ Studio adds icons and toolbars under the hood. I’ll use the City Limits Lite layout for this demo. If you’d like to follow along step by step, and your current layout is dear to you, I strongly recommend you save it before switching over and experiment (under Window – Workspace – Save Layout).

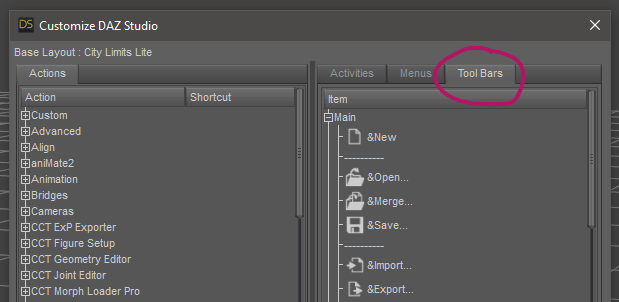
City Limits Lite can display two toolbars at the top: the “Main” toolbar and the “Tools” toolbar, but only one of them is enabled by default (Main). Toolbars are just containers of icons really, but we can hook into them, remove them completely or add our own icons where we please. Take a look under Window – Workspace – Customize and you’ll find the following under Activities:
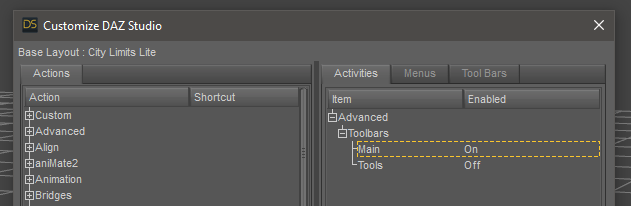
If we wanted to add our own icons to the toolbar, it needs to happen on something that’s enabled, otherwise our icons won’t show up. I’ll add mine to the Main toolbar. Switch over to the Tool Bars tab now, expand the Main section and marvel at each individual icon represented in something like an interface builder. Each entry here corresponds to an icon.
We can re-arrange and remove icons here, although patience is advised as it’s not always predictable where icons land when you do that. Left-click and drag to re-arrange, or right-click an icon to remove it. To add our own icons to the toolbar, we can use the section on the left (under Actions) and drag them to the spot of our choice.
There’s an icon for literally everything hidden in this list, and the art is really knowing where to find what. Thankfully our figure icon is easy to find in the Custom section at the top of the list. Expand it and scroll down to the bottom. Now left-click and drag your figure icon over into the list and let go where you want it to be. I’ll put mine underneath the Render icon for now.
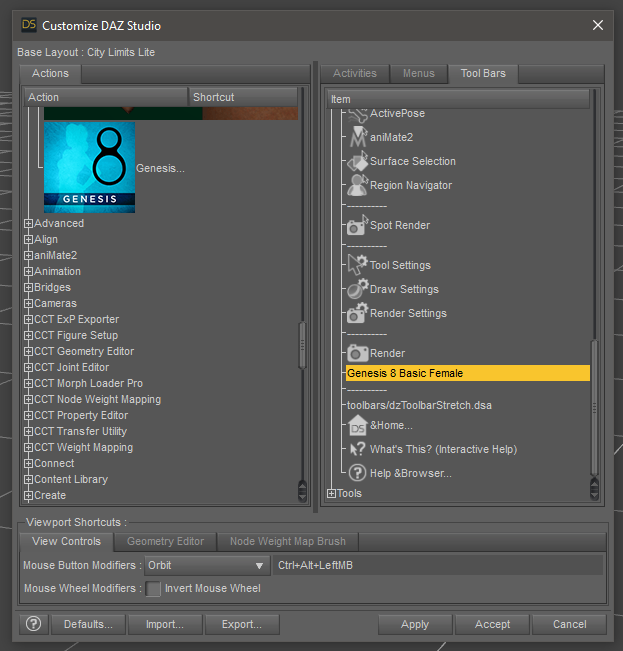
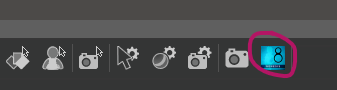
Hit Accept and your icon will appear in the toolbar, ready for your figure to be launched with a single click.
That’s it! Rinse and repeat for every figure you’d like to add, first as a Custom Action, then as icon when necessary. If you’d like to know more about how I’ve customised my own layout, take a look at this video in which I’m recreating it from scratch, based on City Limits Lite. I don’t use the regular (main) toolbar at all and have decluttered my interface to a functional minimum.
I hope this helps.