Blend Spaces can mix animations together depending on value input. This can be used when say your game pad input determines how fast your character can walk, so that an idle animation is blended together with a walking forward animation. That way there’s no pop between each animation. Let’s take a look how to setup a 2D Blend Space in Unreal Engine 5.1.
Creating the Blend Space
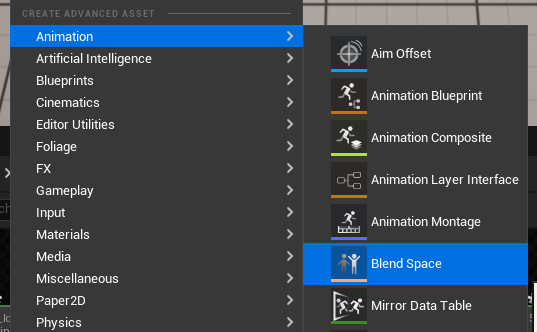
Right-click in the content browser and choose Animation – Blend Space. Choose the correct skeleton of your character/object and give it a name. EPIC use a BS_ prefix for their blend spaces, let’s follow suit. I’ll call mine BS_Hero for my main character.
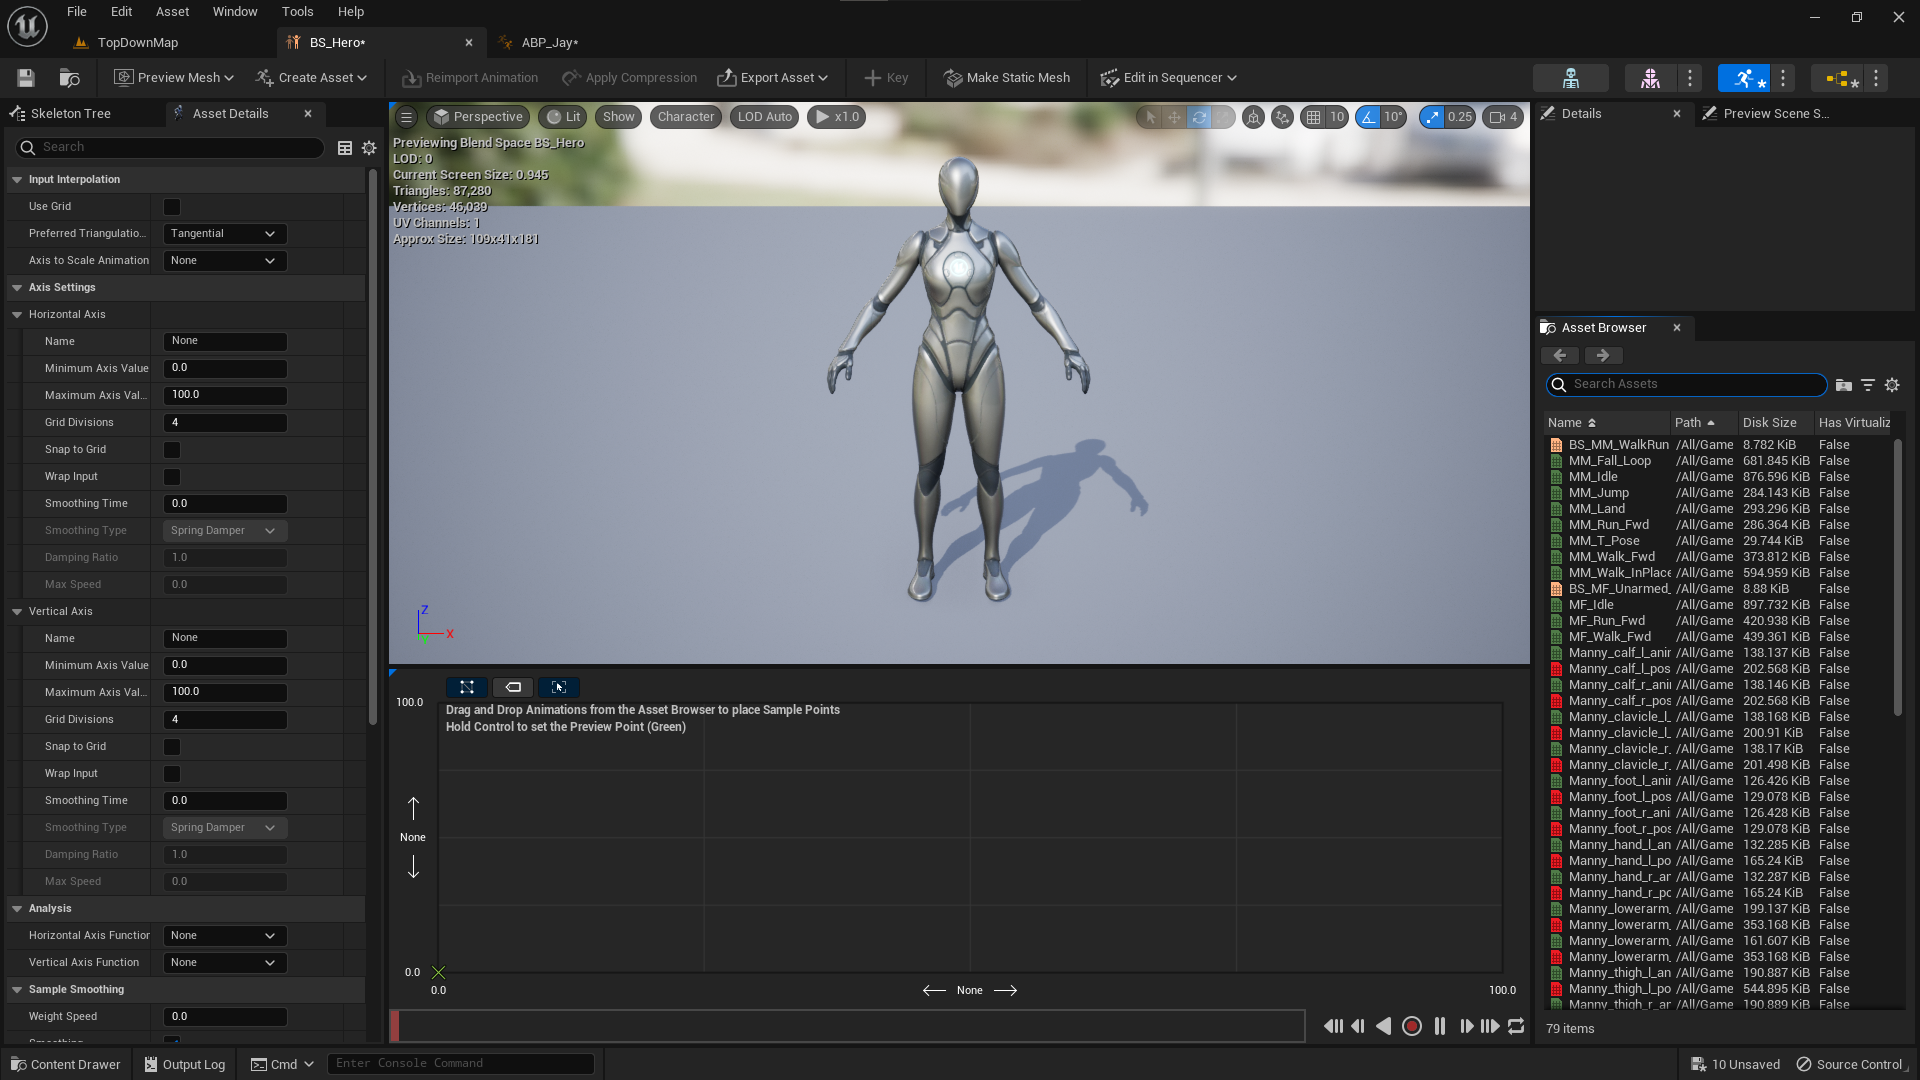
What follows is a somewhat scary window, but it all makes perfect sense once we know what each section means. The central bottom window is the actual blend space, to which we can drag animations from the asset browser. Each position in this field will correspond to a calculated output value of the final animation. Our challenge now is to make this happen.
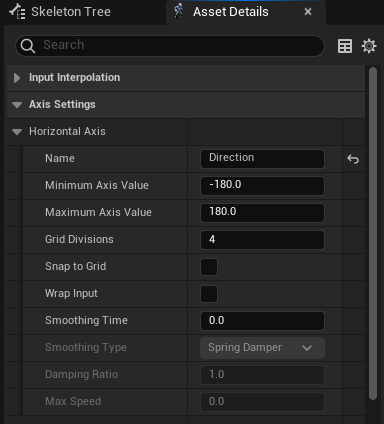
Let’s first start by labelling both axis of our Blend Space so we can provide meaningful values through the Animation Blueprint in a moment. Going up, we’ll use Speed. Going sideways, we’ll use Direction. I’m imagining a joystick on a game controller so it makes more sense to my brain. For the horizontal axis, I’ll choose values between -180 and 180. That way I can describe a full 360 degree rotator input from the game pad later.
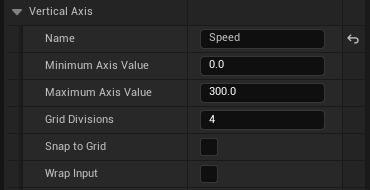
For the vertical axis, I’ll change the name to Speed and choose values between 0 and 300 for now. This will represent our walk speed.
Now comes the fun part: find the relevant animations from the asset browser on the bottom right and drag each file into a spot on the blend space. This is not intuitive when you do it for the first time, so let me explain this madness. For my example I have the following animations that work with my skeleton:
- Idle
- Jog Forward
- Jog Backwards
- Jog Left
- Jog Right
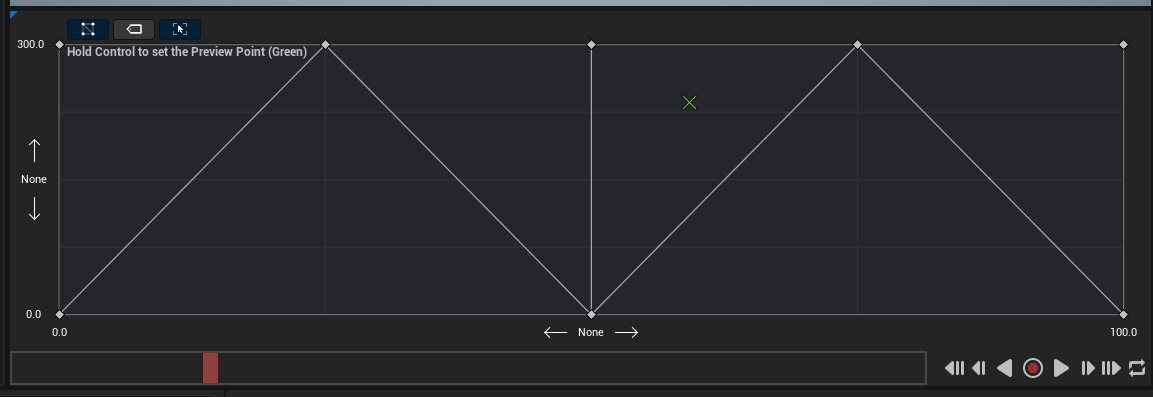
Let’s distribute these so they can be mixed together by gird value. I’ll drag the Idle animation to the grid three times, once to the middle and to either end. Next I’ll drag Jog Forwards to the top middle. This describes the forward motion. For our character to move backwards, I’ll drag Job Backwards into the top outer left and right slots. Finally, I’ll drag Jog Left and Right into the top middle spots respectively. Here’s what the final puzzle looks like.

You can correct any values in the details panel if you wish. For example, my forward animation should be at the very top in the middle, rather than at 299.43637 and 179.387987, so I can type in 300 and 180 respectively.
See that little green cross hair? Hold down CTRL and move the mouse to preview any position in the blend space. We’ll drive this change in the Animation Blueprint next.
Using the Blend Space
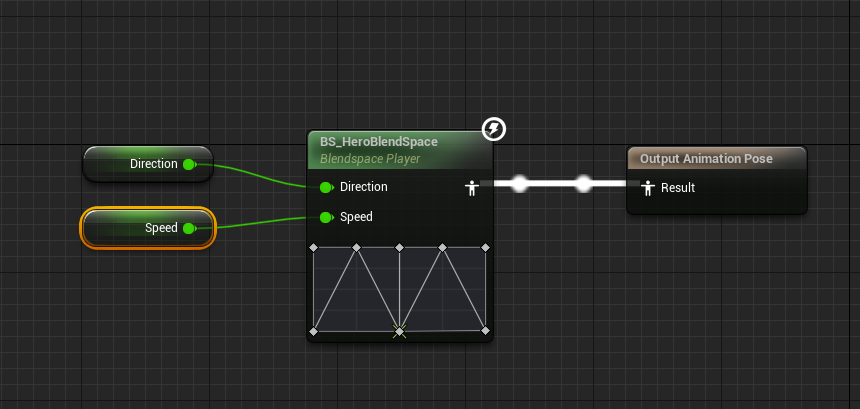
Create or open your Animation Blueprint and pick a state in which you’d like to use the blend space. Mine is just called locomotion. You can use it just like an animation asset and find it in the asset browser on the right.

Note that the blend space has inputs for either axis. Thankfully we’ve named them appropriately so they make for us to provide the correct values. I can plug them in via variables that can calculated in the Animation Blueprint or calculated on the Player Controller. When you hit compile, the blend space gird will be drawn out as a reminder.
Driving the Blend Space
It’ll depend on your application how you derive these particular values, but I thought I’ll give you a somewhat complex example from Zak’s Twin Stick Shooter project. These calculations are always a little tricky to comprehend, so don’t feel bad if this looks too complicated (because… it is).
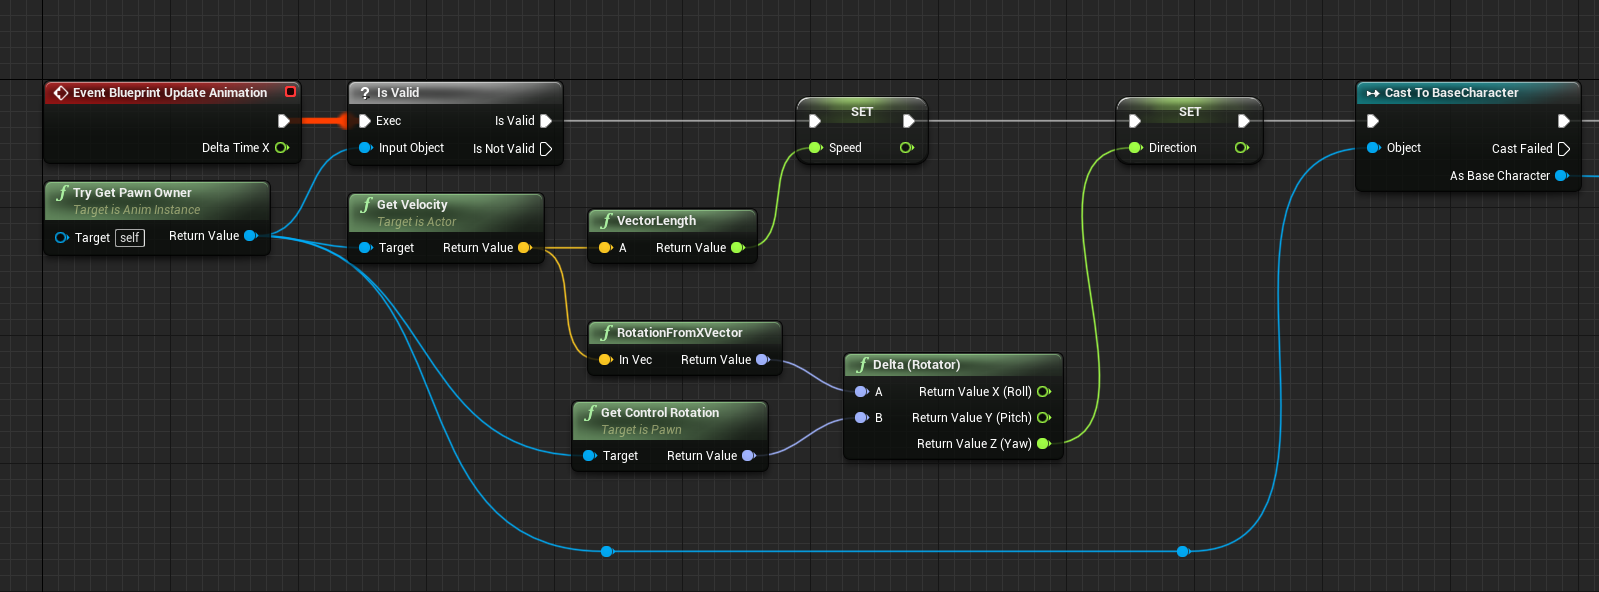
In a nutshell we grab the pawn and determine the speed of our character from the velocity’s vector length. The rotation is a little more complex because we need to subtract the pawn’s control rotation from the velocity’s vector rotation, then create a new rotator object from the Z axis. Yeah I know… it works really well though, perhaps that’s the main thing!