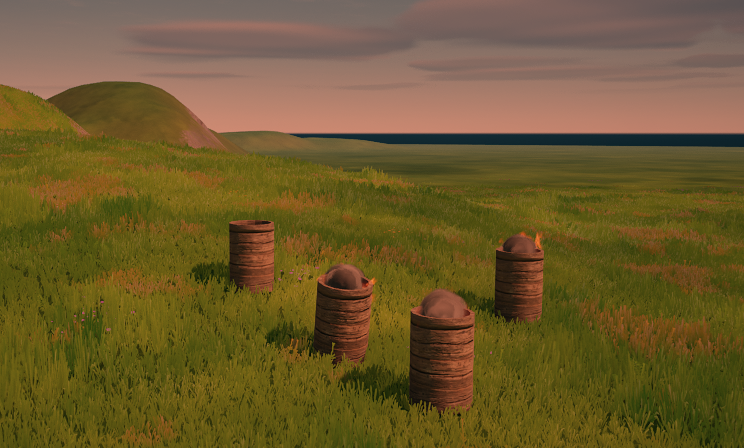
We can use a custom material on our Post Process volume to adjust the look and feel of our scenes. Better yet, we can access those properties as parameters and drive changes from Blueprint. Let’s see how to make it happen!
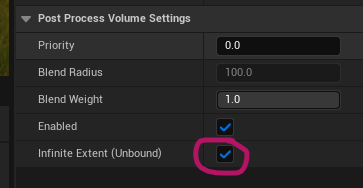
First we’ll need to add a Post Process Volume to our level. By default it’ll be very small, but to affect the whole level, I’ll enable its Infinite Extent so that it’s active no matter where the camera is.
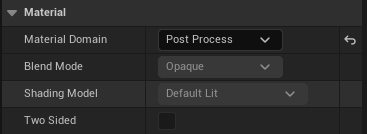
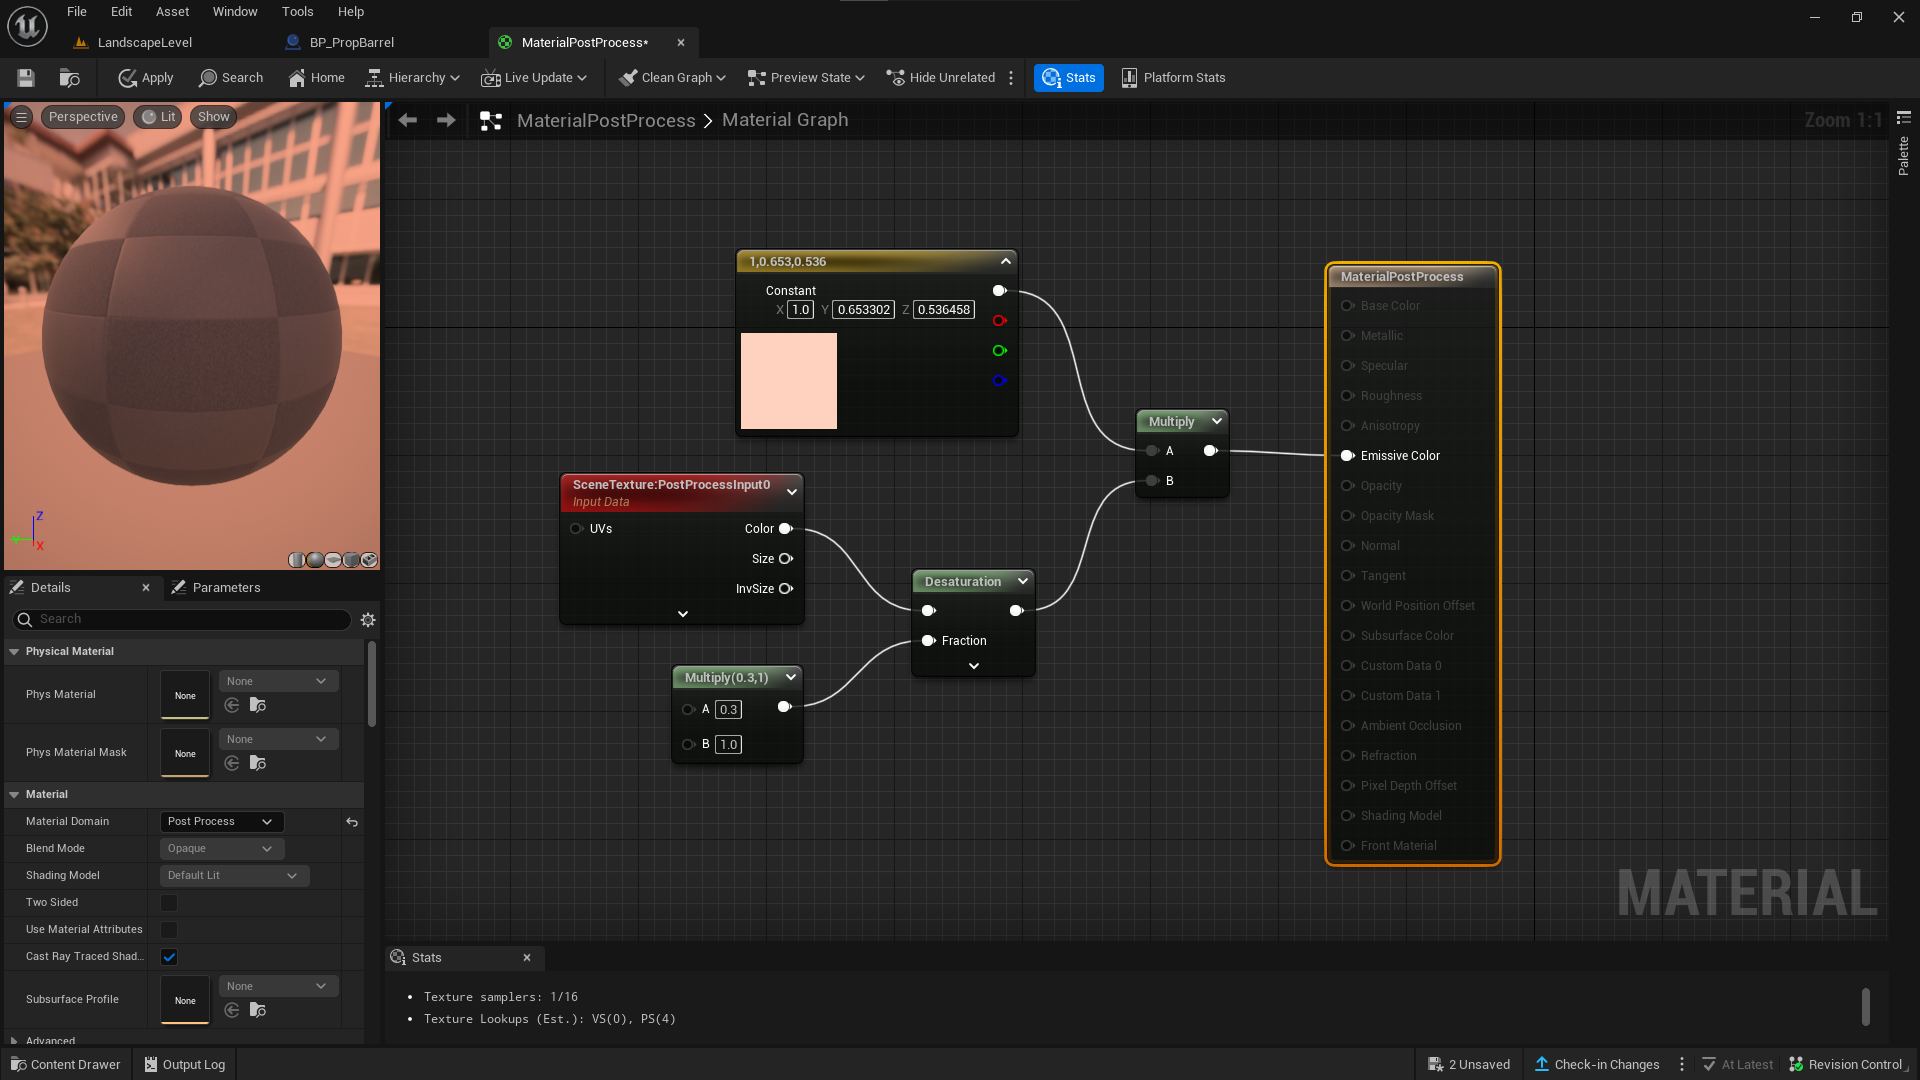
Next we’ll need to create a new Material for our adventure. Set its Material Domain from the default Surface to Post Process.
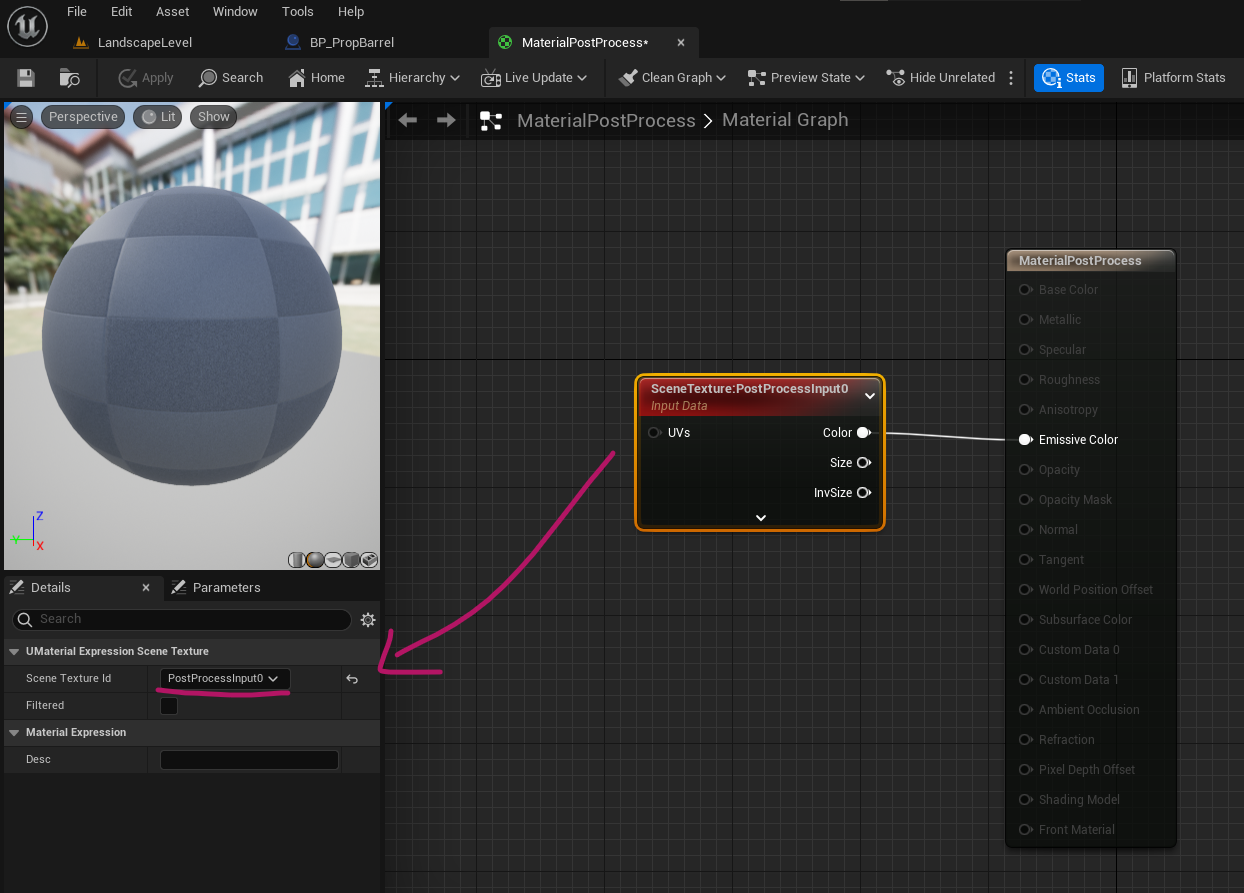
Our material node will now change and only accept an Emissive input. That’s OK, we’ll search for a Scene Texture node and plug its Color output to the emissive input. Also set the Scene Texture ID to PostProcessingInput0. Click apply at the top left.
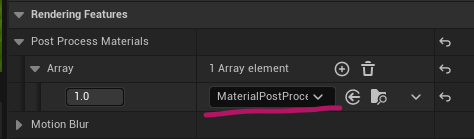
With our material set up, let’s add it to our Post Process volume under Rendering Features – Post Process Materials.
Our scene doesn’t change at all, because we’re simply feeding the current look and feel back to the Post Process volume. Now we can do ahead and make changes to the node in the material, for example by desaturating it. I’ve used a multiply node to leave a little bit of colour in my scene, then mixed the output together with a tad of orange.
To make programmatic changes to any of these material nodes, promote the nodes or their inputs to parameters and override their values.