In this article I’ll show you how to bake out a Normal Map from details that have been sculpted in ZBrush. We’ll use this map to apply the high-res details to an object in Daz Studio for this example, but it will work with any target application. Typically we have a low-ish resolution object that we need to subdivide to add detail, but we don’t want all that additional geometry exported out as it would be too heavy for our target application. Normal maps are the answer! Let’s see how to do this with ZBrush 2022.
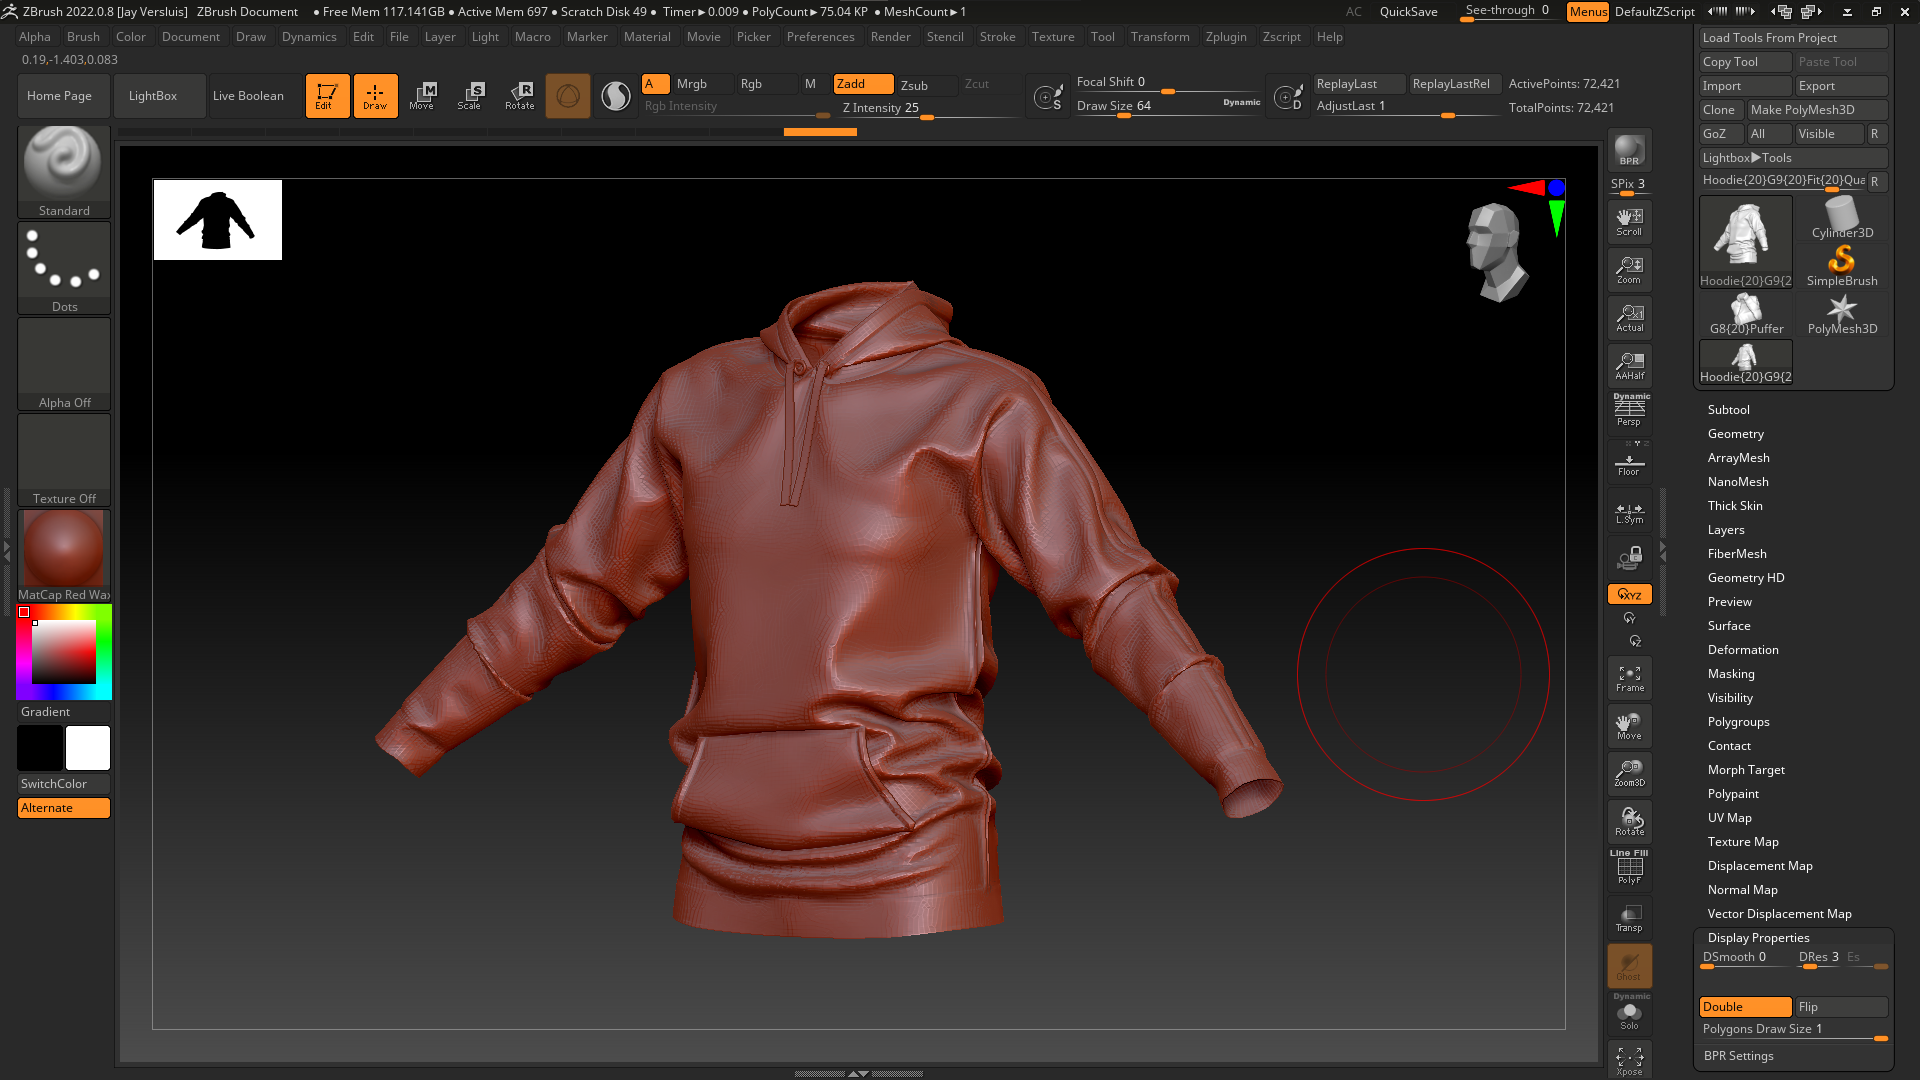
Here’s my mesh before I do anything with it. With 70k vertices it is relatively high res already, but it’s not enough to sculpt any meaningful detail on it.
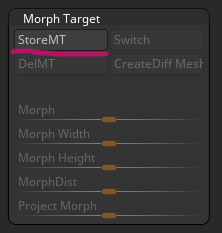
Let’s store this base mesh as a Morph Target so we can switch back to it before baking out our normal map. This is often helpful in case the base mesh changes size when we work on it.
I’ll subdivide my mesh three times with CTRL+D until it has just under 5M vertices and pick an alpha to add some detail to it. Nothing fancy, but feel free to spend hours adding stitches, wrinkles, finishing touches, you name it. Use layers to work non-destructively.
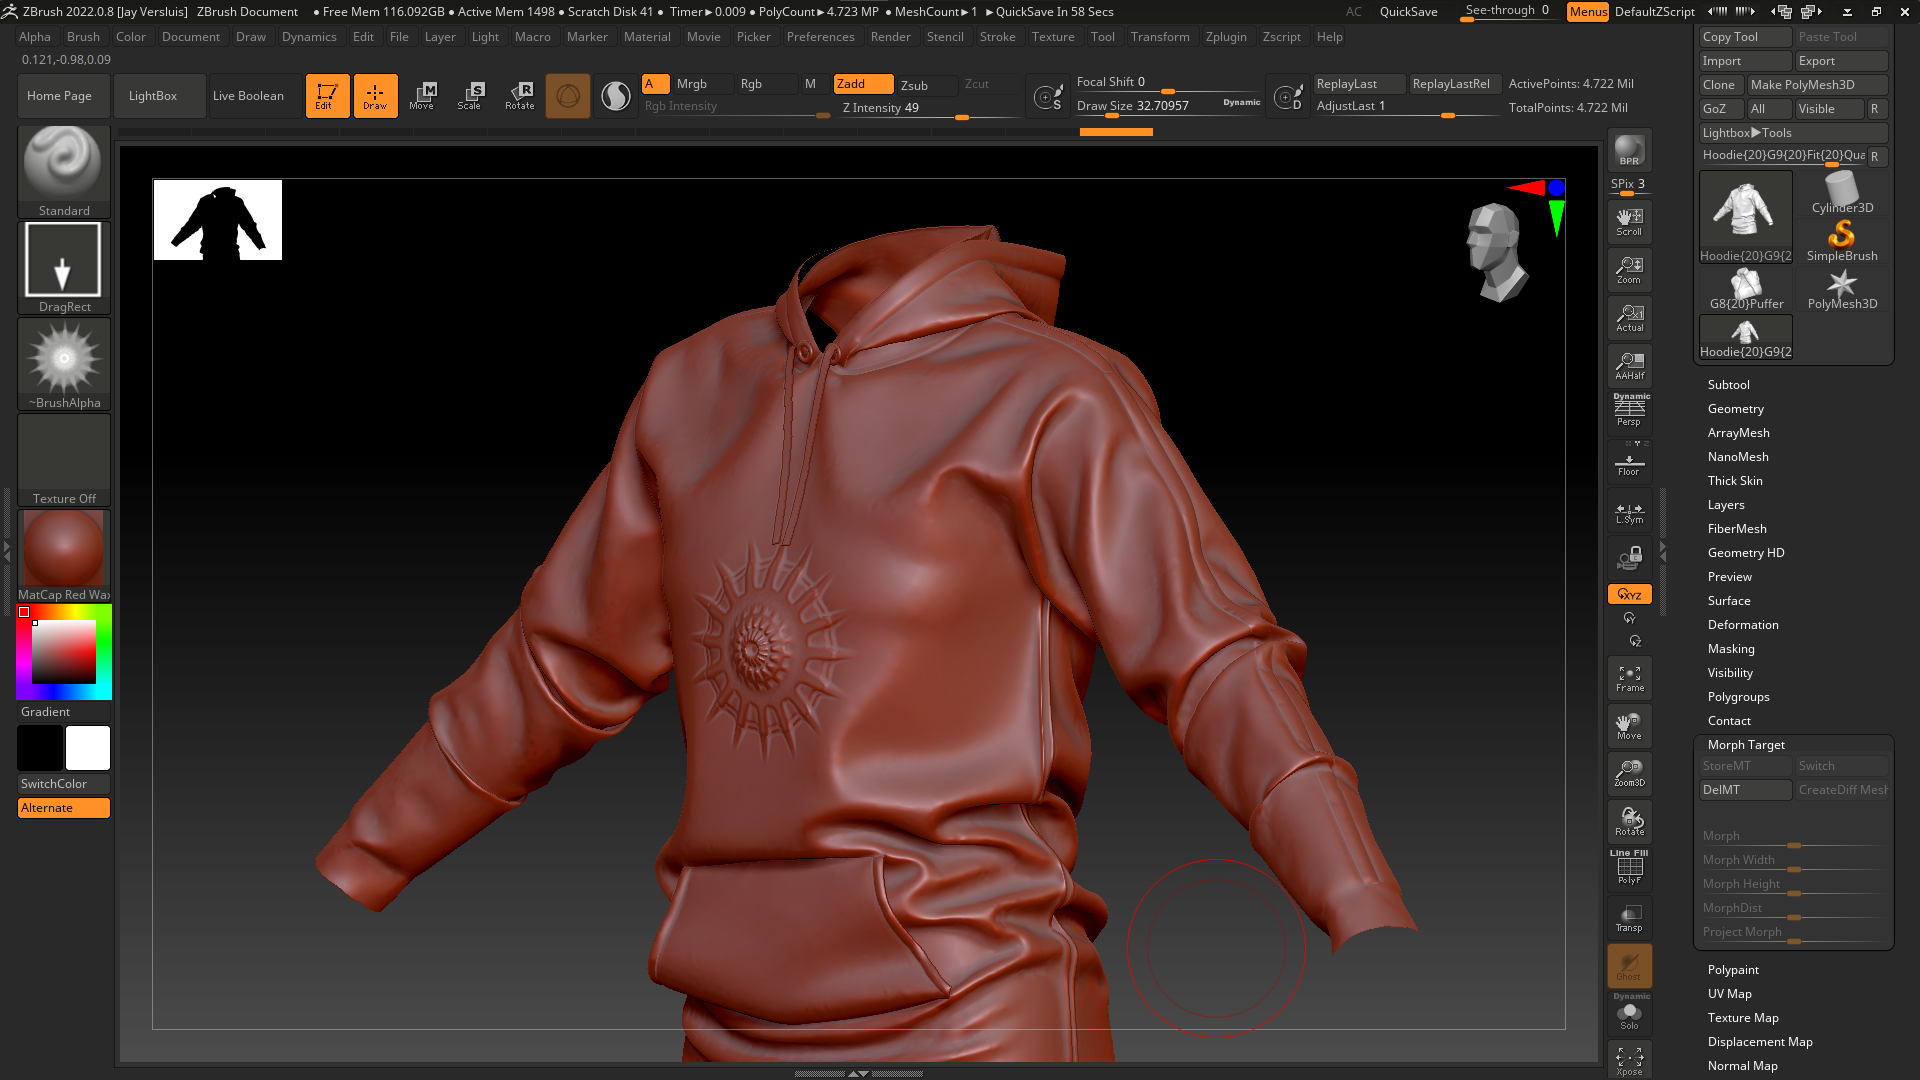
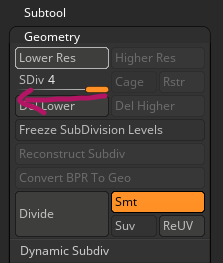
When we’re done with your detail work, go back to the lowest Subdivision level with the slider in the Geometry menu. Your details will go all fuzzy, but that’s OK. ZBrush will remember them.
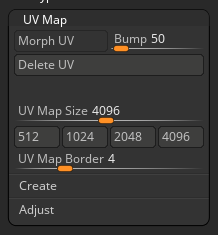
We need to tell ZBrush how large our normal map needs to be, so head over to the UV Map menu and pick a size. I’ll use 4096×4096 for mine. The object needs to be UV mapped at this point.
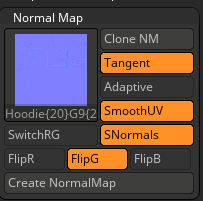
Now we can use the Normal Map menu to bake it. This is going to take a few seconds, at the end of which we should see a little purple thumbnail. Hover over it and you should see some detail in there.
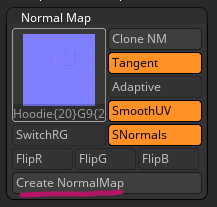
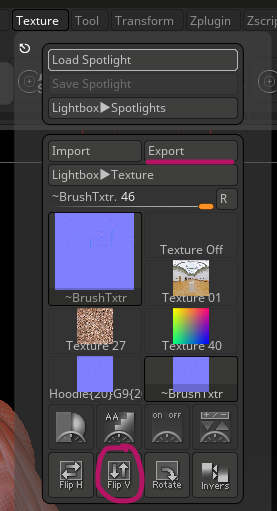
To export this map out, click Clone NM to copy it to the Texture Palette. You’ll get literally no feedback, so head over to Texture and find your map as well as additional options. ZBrush has a habit of using maps upside down, and to make them usable in most other apps, we need to click Flip V at the bottom to take care of it. Once flipped, click Export and your map will be saved out.
Now I can apply the map in my target app and see high res detail – hurray!
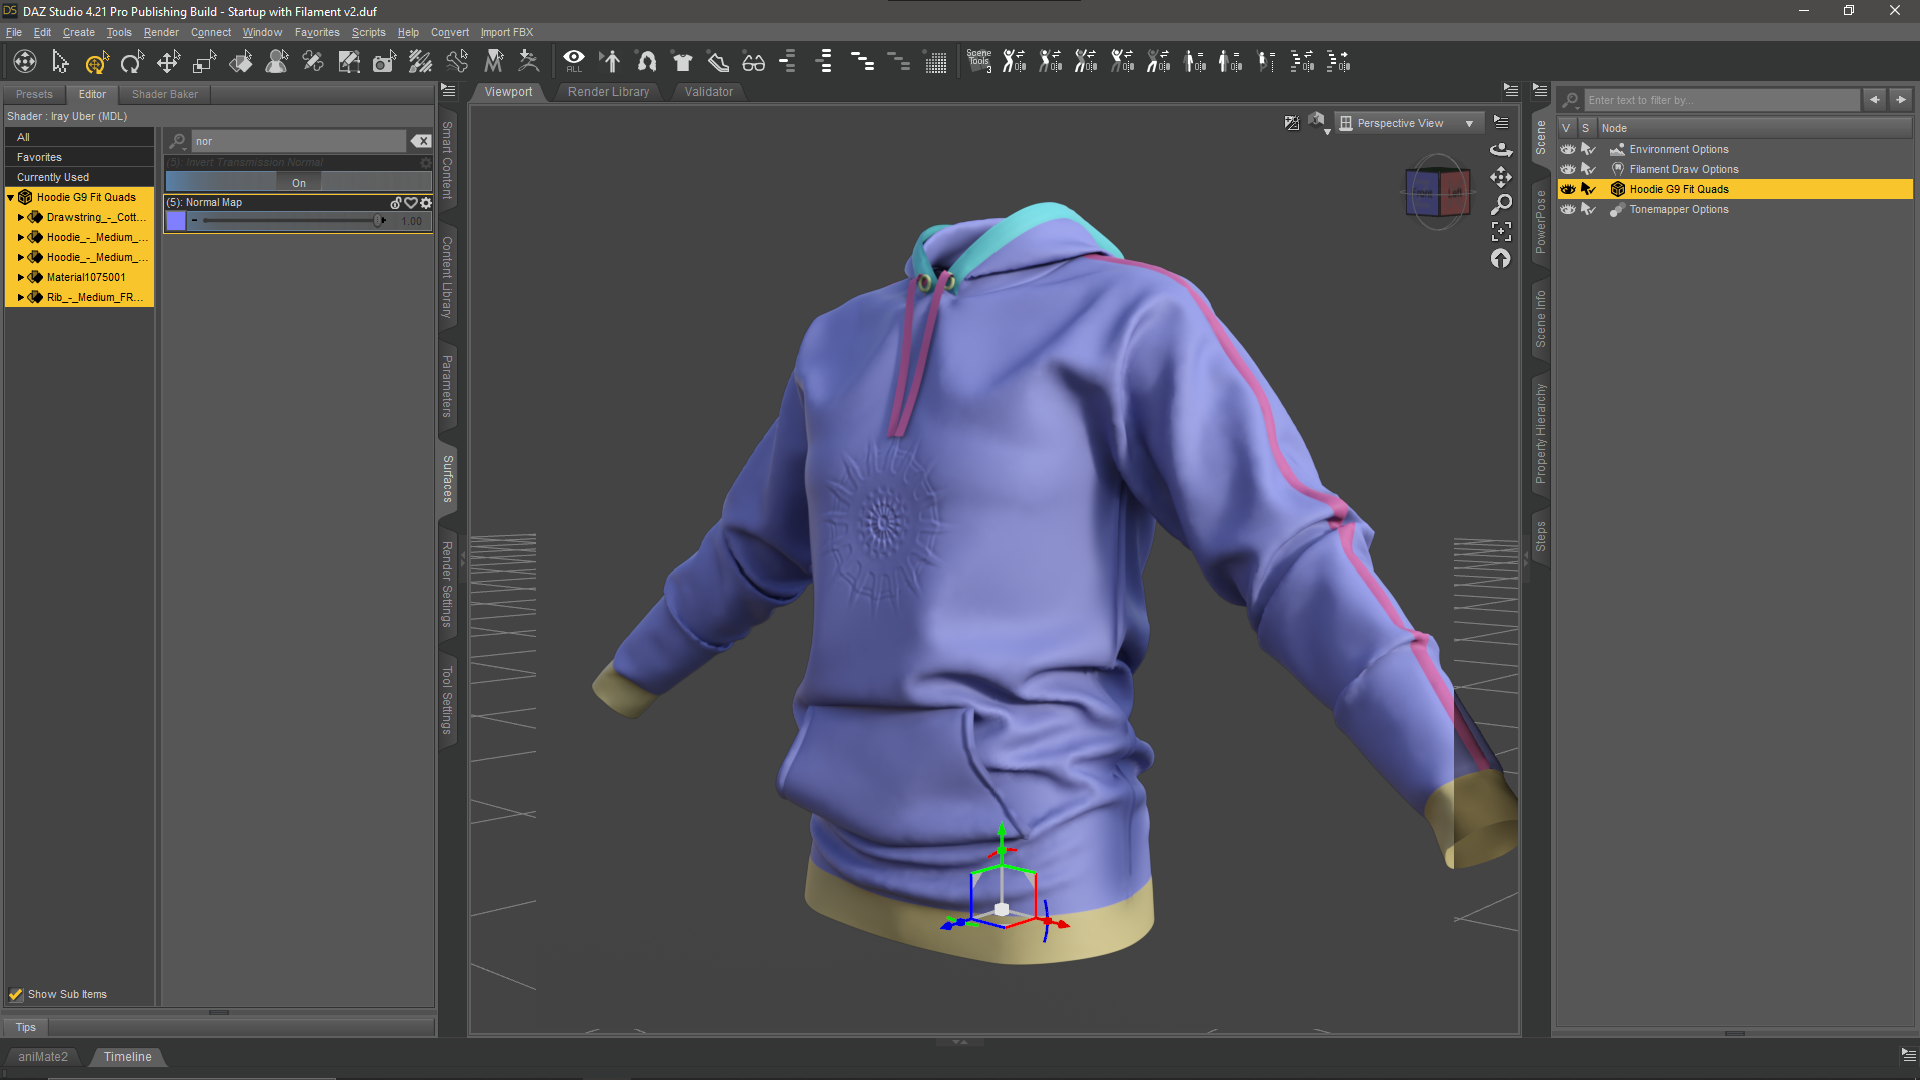
Note that the normals may face the wrong direction. As far as I know, ZBrush will create OpenGL compatible normal maps, but I would always go by the following rule of thumb: “does it look correct in the target app”. If not, and your normals seem to face the wrong way, try flipping the green channel in the Normal Map dialogue, then clone and export again (flipping only needs to be done once).
That’s it! Happy ZBrushing!
- Joseph Drust has more on Normal Maps in ZBrush