I had this really flat object whose texture looked OK, but it didn’t have a normal or displacement map. I wanted the object to look a little more interesting, so I applied the base texture as a height map, and that worked well. The question was, how do I export this so that the details would be baked into a Normal Map?
Turns out this functionality is built into Substance Painter, as long as we tell it to convert the height into normal information. Here’s how to do it (or should I say, this is how it worked for me).
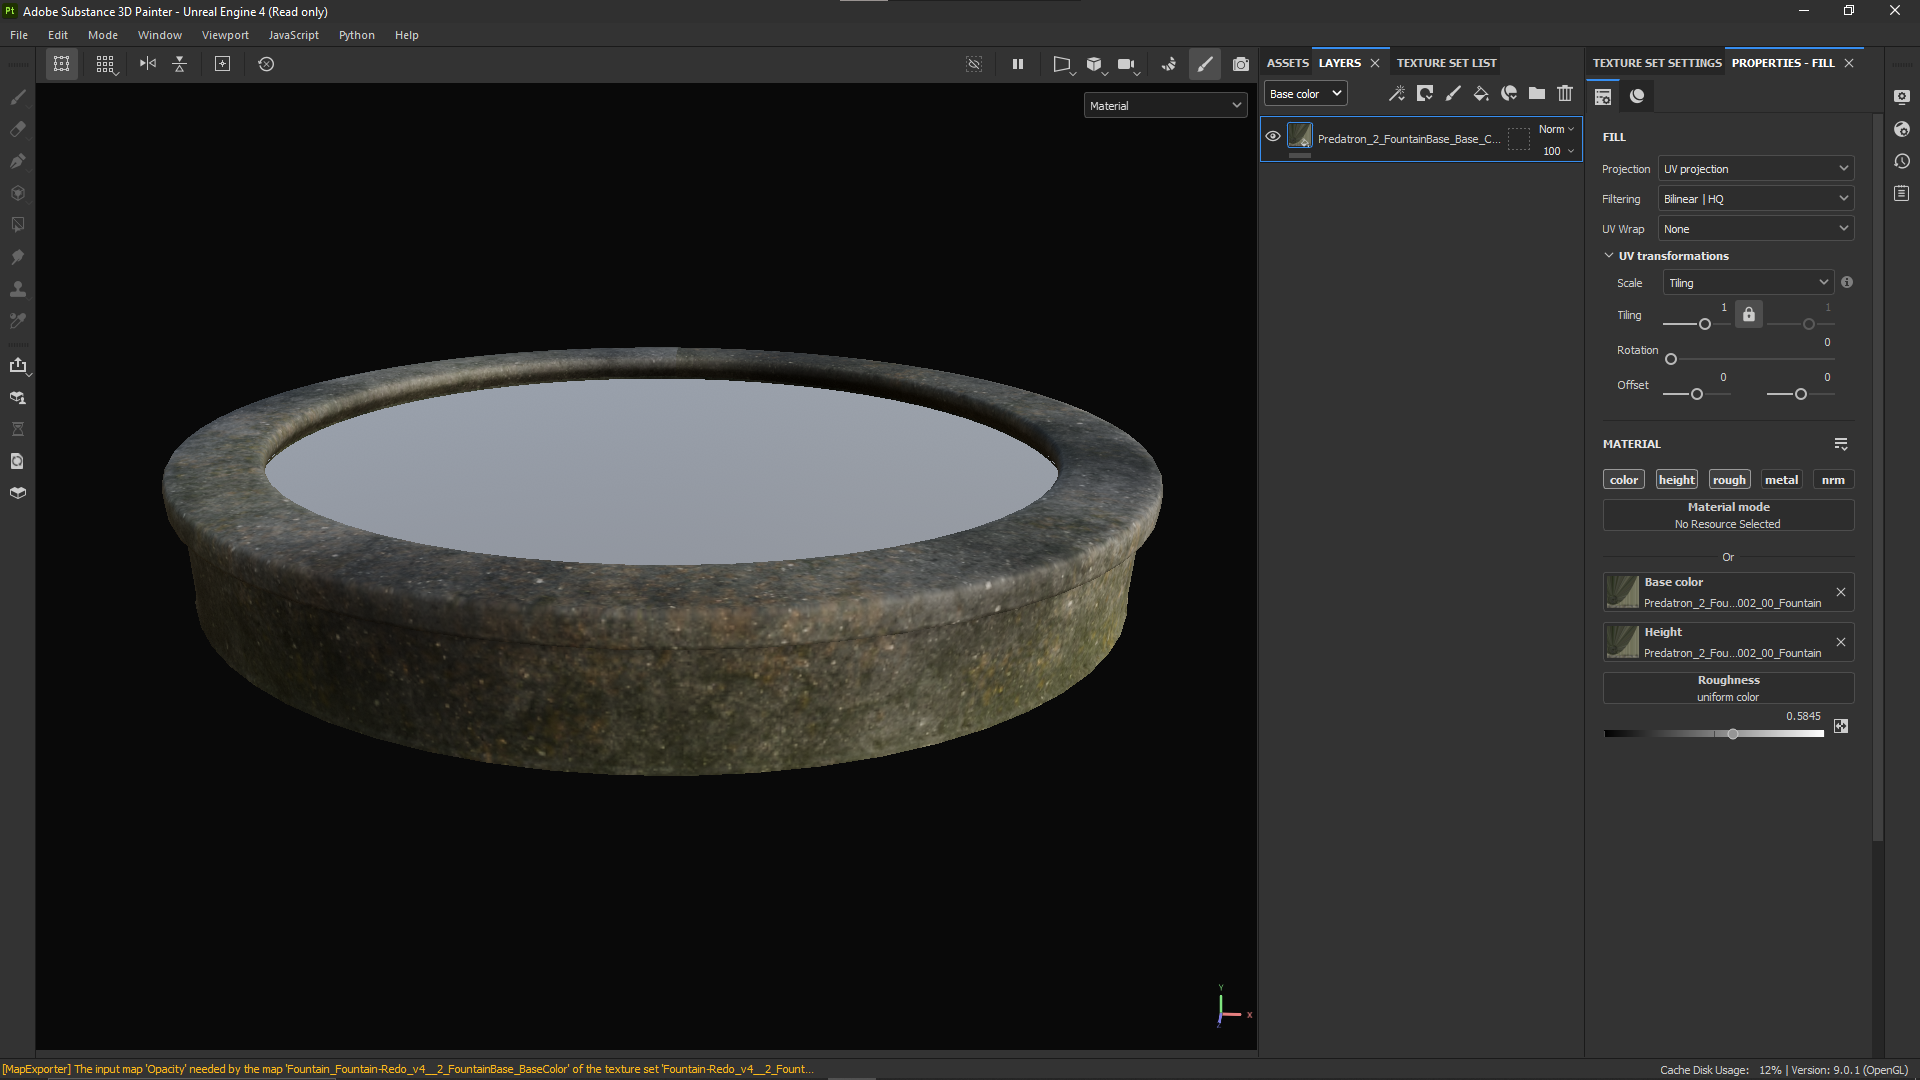
This is my flat looking object. All I did was add the colour map at this point, but notice the same map is also applied to the height channel.
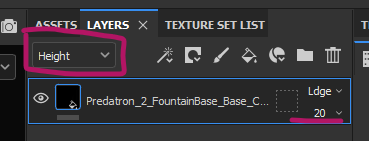
To make the information come out, head over to the Layers Palette and switch over from Base Color to Height. Notice how the blending mode changes from Normal to Ldge (whatever that’s short for). Let’s turn it up until we like it.
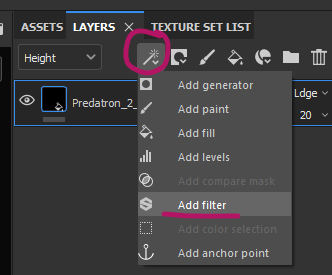
This should make our object look a little bumpy. However, if we were to export our textures out, the normal map wouldn’t show any detail. Let’s add a Height to Normal filter to make this happen. Click on the Magic Wand icon and add a filter to this layer.
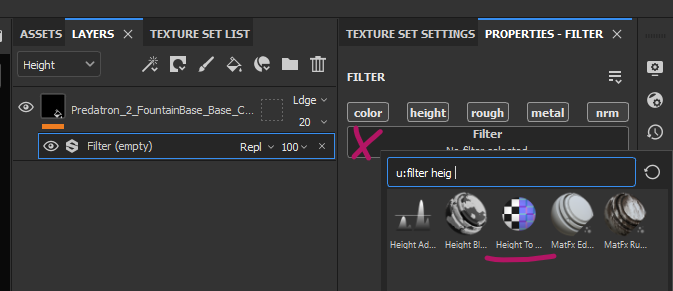
Over in the Properties section, click on the Filter (where it currently says “no filter”), then search for height. A half-checker/half-purple icon will pop up, and I guess if the interface was a little bigger, it would read “height to normal”. We just have to trust that it does.
Our object will now look a little terrifying and overly bumpy. That’s because we have to tweak the settings of this filter to something a little less strong. The Height Depth slider will make this happen.
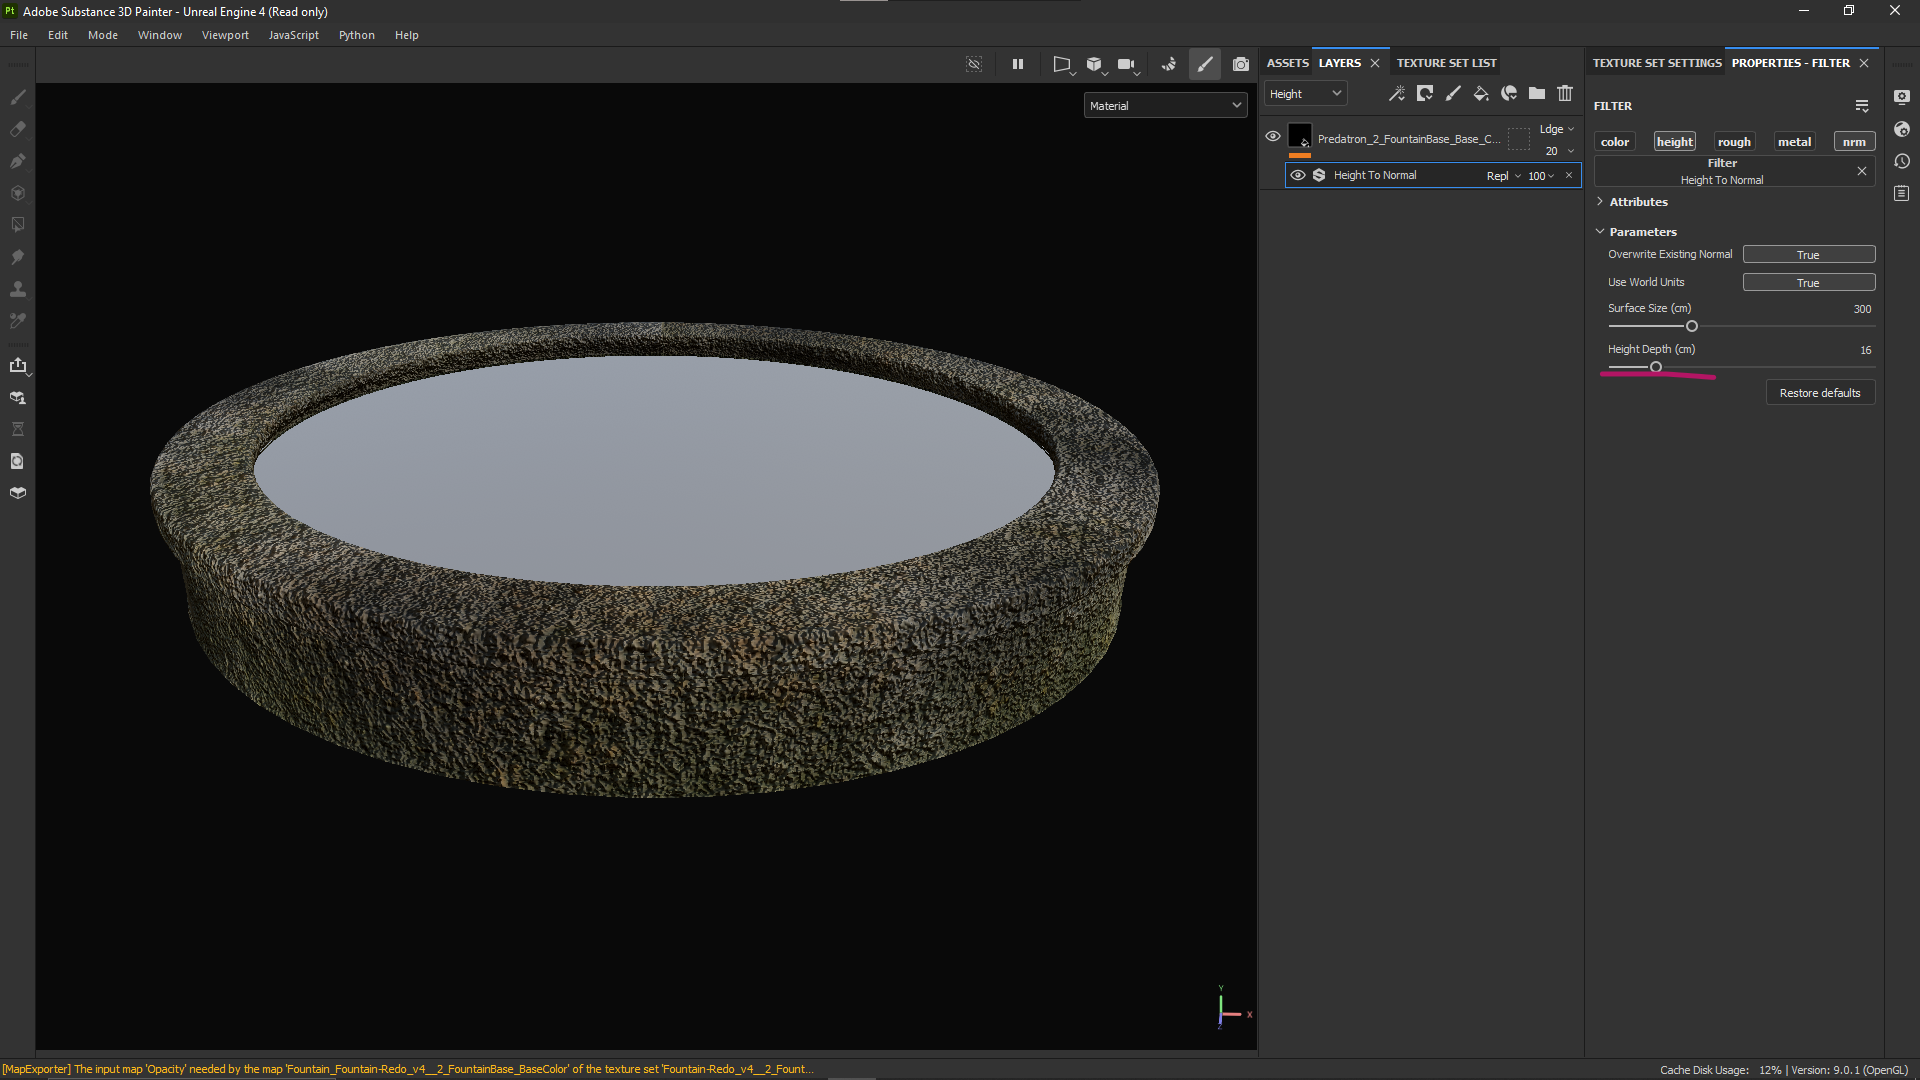
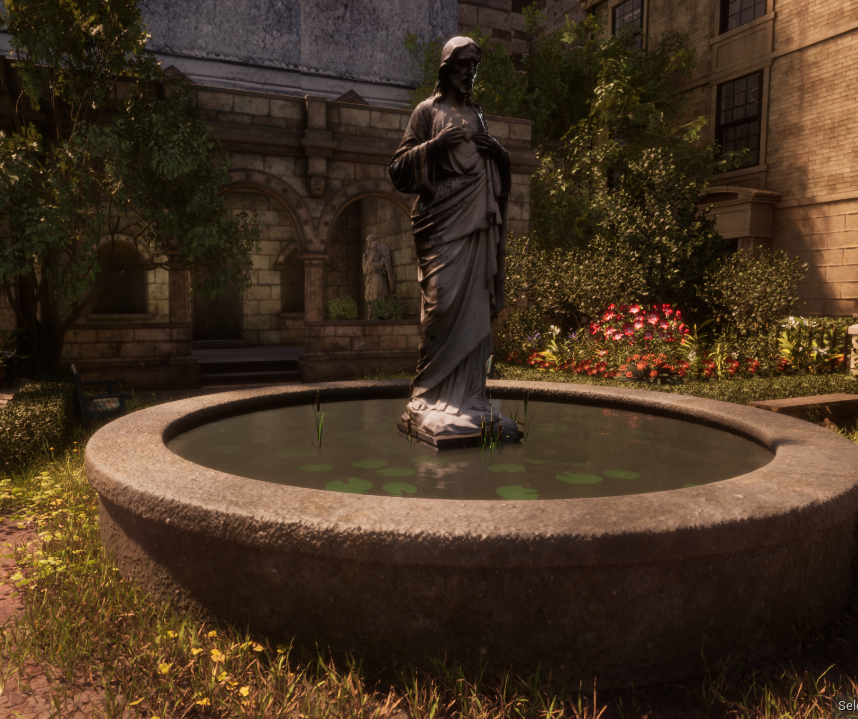
That’s it! Now you can export your maps and the height detail will be baked into the normal map. Here’s my object in Unreal Engine, it looks so much better than before.