If you copy and paste a layer, Photoshop will just create another layer. It essentially adds it to the current viewport. If we have something like a black and white image and want to use this to mask some off an existing layer, we need to view the layer mask first, then paste so that it becomes part of the mask. Let me show you how to do it.
I have this exciting image here, made up of difference clouds at the bottom and a circle pattern at the top. The circles will become the mask.
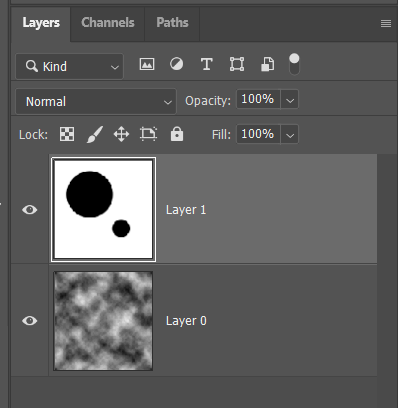
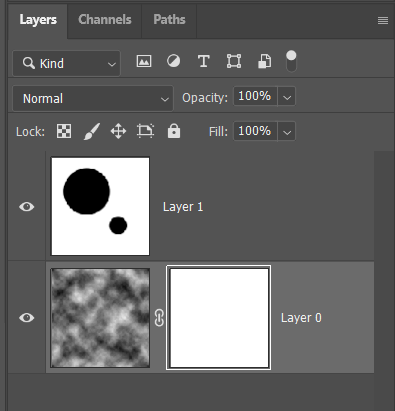
Let’s select the circle layer and copy it so we can paste it in a moment. This isn’t as easy as hitting CTRL+V though: select the top layer, then select everything (CTRL+A), then copy, then de-select everything (CTRL+D). Next we need to create a mask on the clouds layer, which will be white by default. Here’s what my layer stack looks like now.
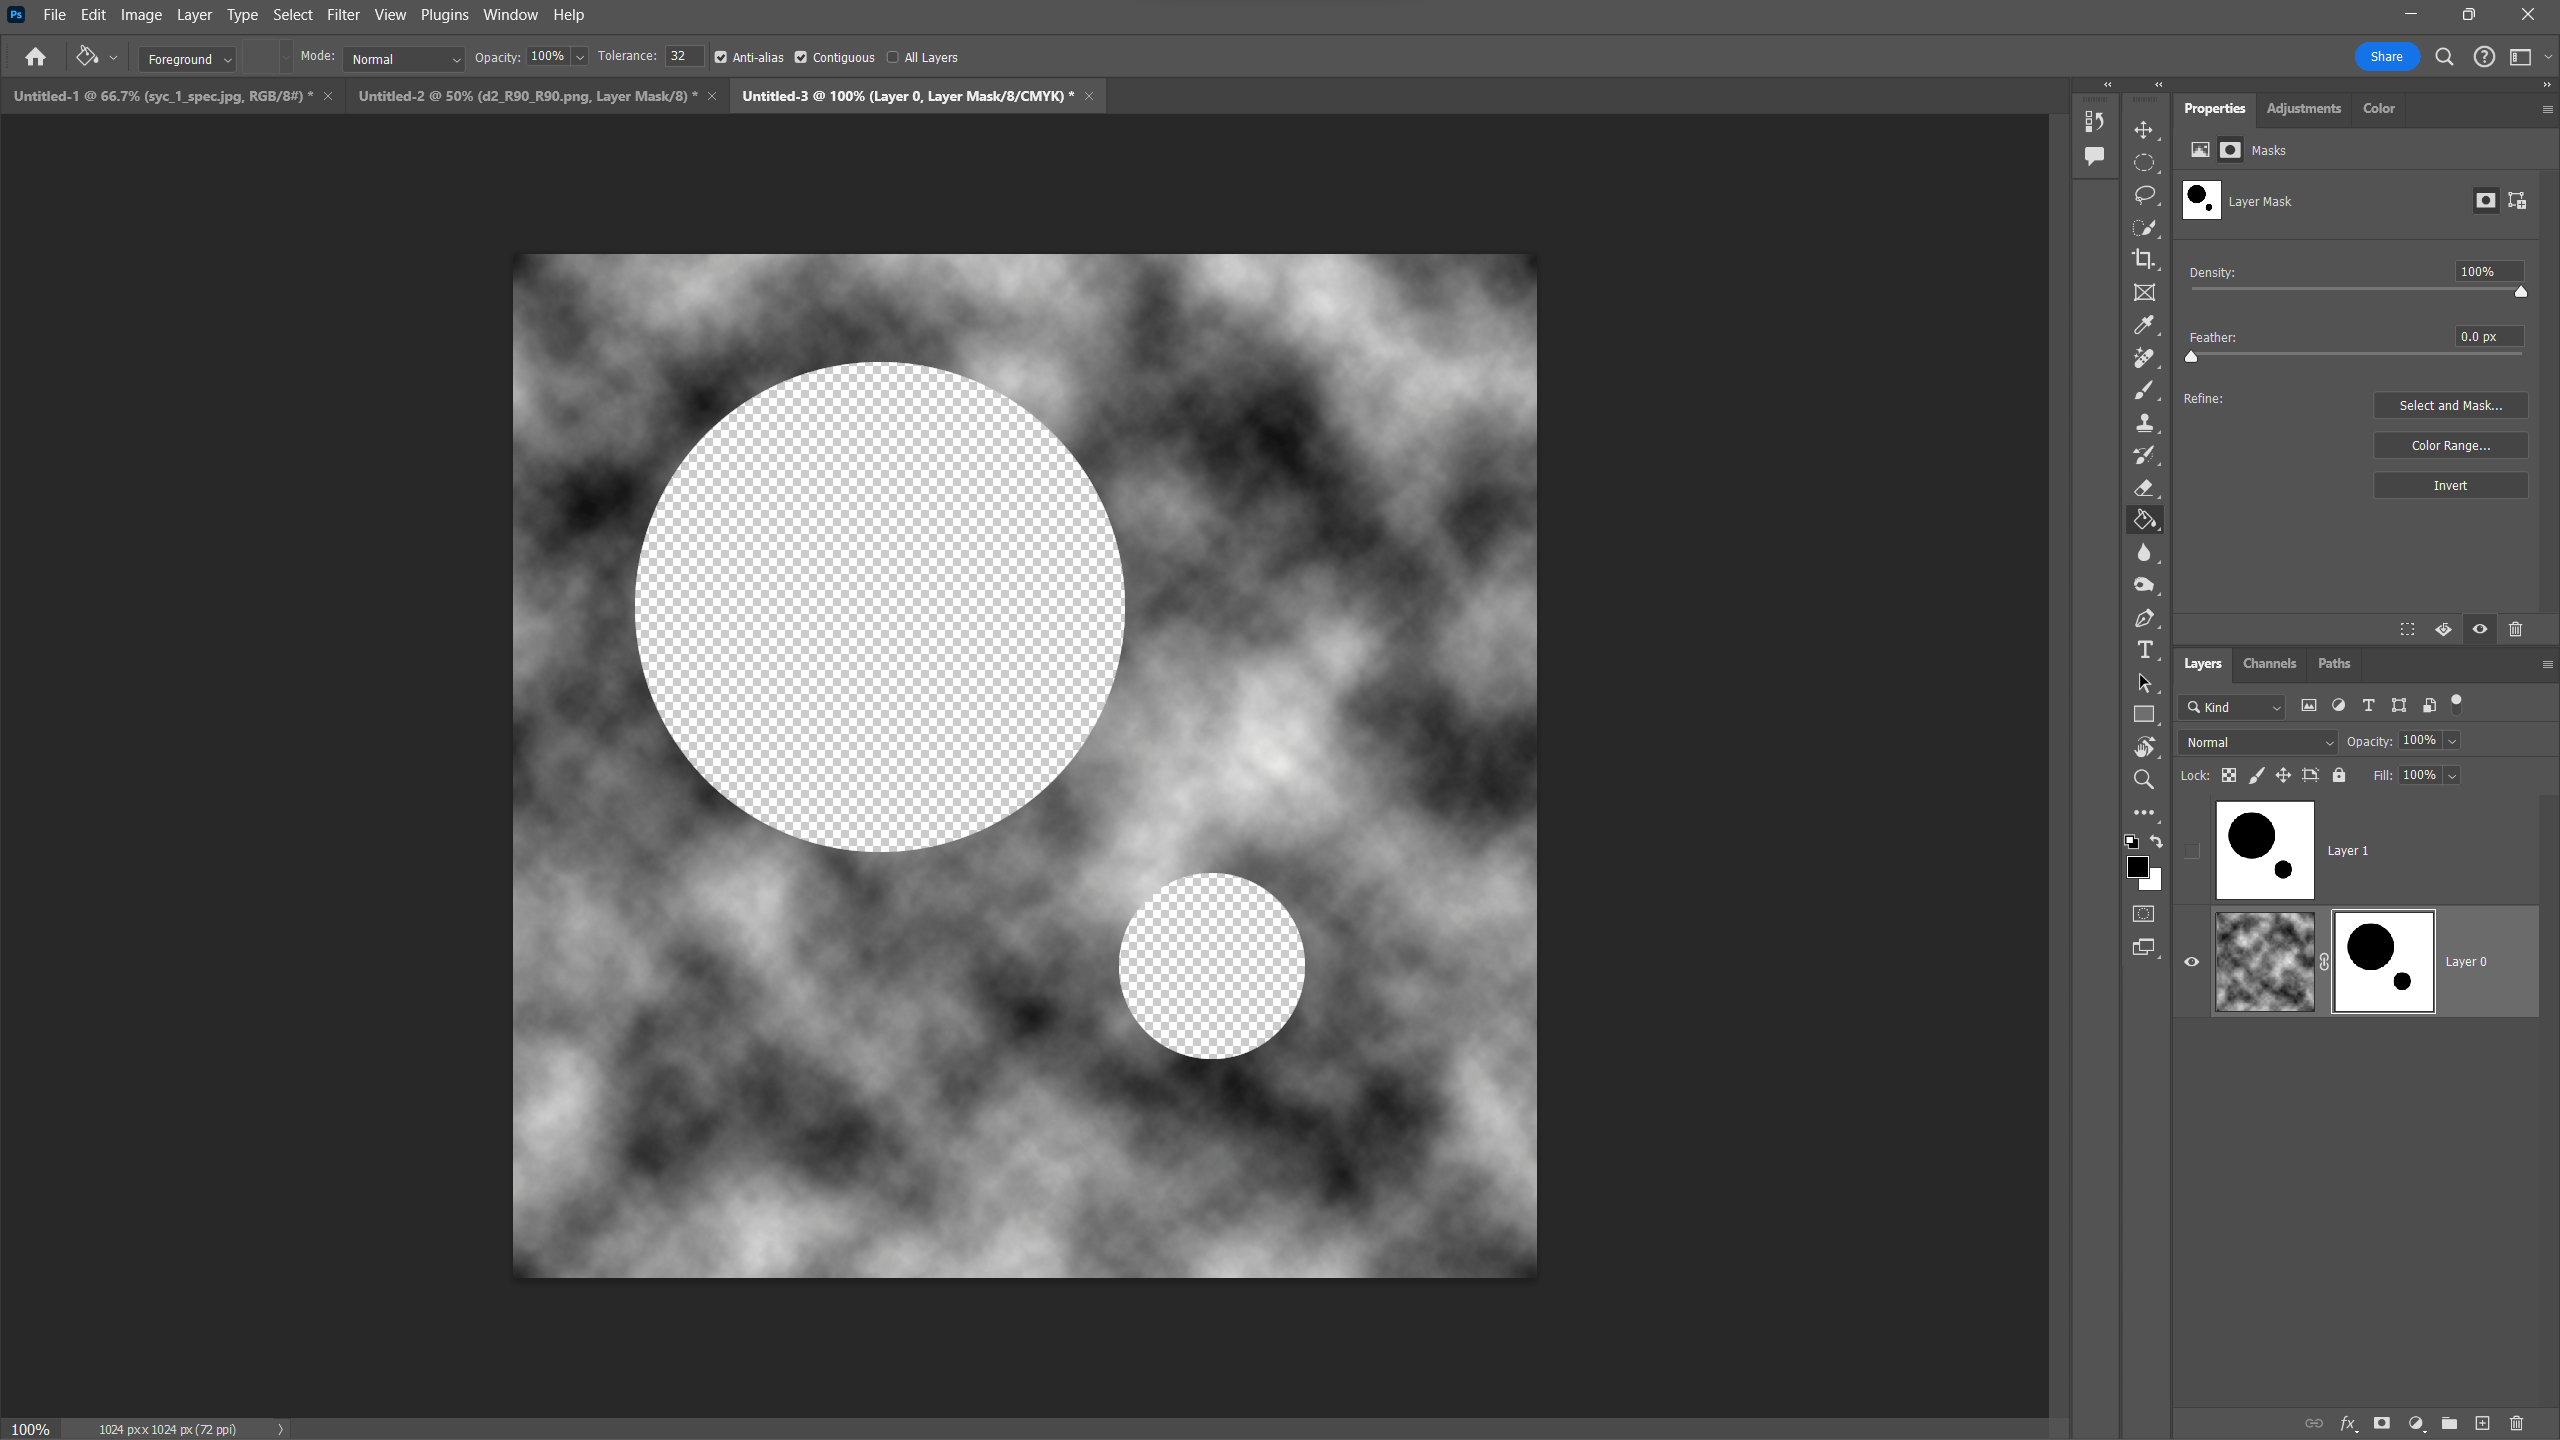
Now hold down ALT on PC (or OPT on the Mac), then click on the layer mask. This will show us just the layer mask in the viewport and turn off the little eyeball icons on all layers. Anything we now do in the viewport will happen on the mask, so let’s paste in the layer we copied earlier.

We still don’t see the effect though, because we’re still looking at the mask. Click on the eyeball icon of our bottom layer and the mask effect is now shown (two holes punched into the clouds). Don’t forget to disable the top layer to see the effect.
That’s cool, Jay! I love using masks for all kinds of stuff, but sometimes they make me crazy(er). LOL
I shall have to give this a go… Hope you and Julia are doing well, good sir!
Crazy how neither of us knew about this until now right? I could have done with knowing this years ago too LOL
How are you doing Rod?