Other 3D packages usually have a camera setting that allows us to “point at” an object. This can be either part of a scene or a null object which doesn’t show up but can be animated. The idea behind this is that no matter where you move the camera, it will always frame your object of choice.
Blender doesn’t have a “point at” option. Instead we can use a constraint to use the same principle. Here’s how.
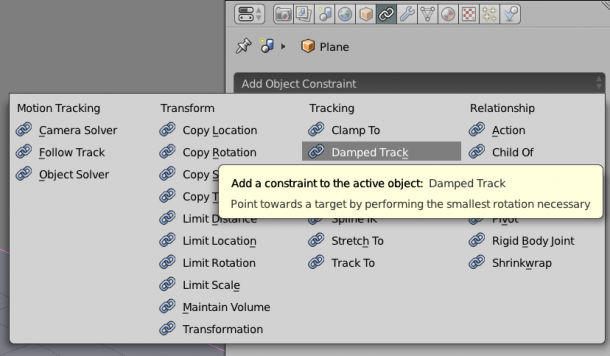
First select the camera you’d like to point at something. Next, in the Properties Panel on the right hand side, find the little chain icon.
Select Add Object Constraint from the drop down to create a new constraint. There are quite a lot to choose from. The one we need is called Damped Track (I don’t know why).
Rename your constraint if you like in case you have several Damped Tracks in your scene. Choose an object from your scene at which you’d like to point the camera. Notice that the camera may be facing away from the object, or otherwise in a different direction. That’s no problem: use the axis letters to pick the one that rectifies the point-at direction and you’re good to go.
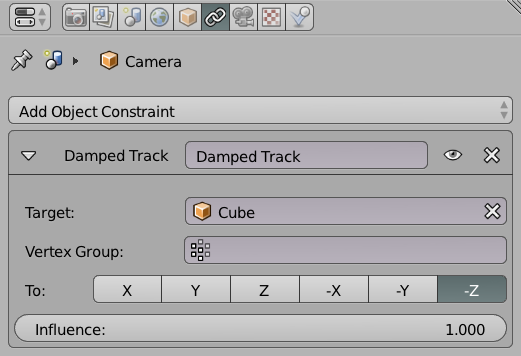
You can even narrow the vertex group down you’d like to point your camera at, and of course you can use this method for objects other than cameras too. And finally, you can adjust the Intensity with which your object points at another (anything between 0 and 1 goes here).