Joining objects in Blender means that two different meshes can become part of the same object. This sounds like it’s related to grouping and parenting, but it’s more useful in modelling. Think of a complex object made of several primitives: rather than having a hierarchy in Object Mode, you’ll have a single object with multiple linked parts.
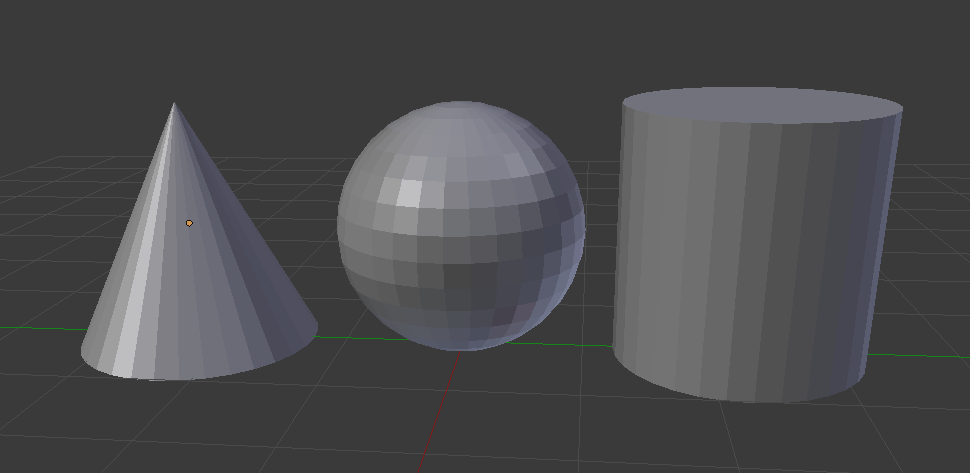
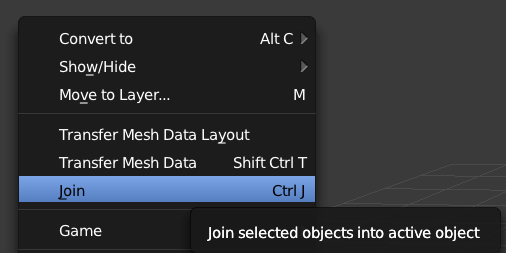
Let’s say we had these three objects, and we’d like to turn them into a single mesh. Here’s what we’d do: in Object Mode, SHIFT-select each object and head over to Object – Join. Alternatively hit CTRL+J.
Notice that in the scene selection window, your object is now a single thing, named as the object you’ve selected last. Rename as appropriate.
If we now go over into Edit Mode, we can still select all faces that made up the previously standalone objects. To do this, enter Edit Mode, hover over the object in question and hit the L key. This will select all vertices / edges / faces of the linked object, depending on what selection mode we are in (L stands for linked).
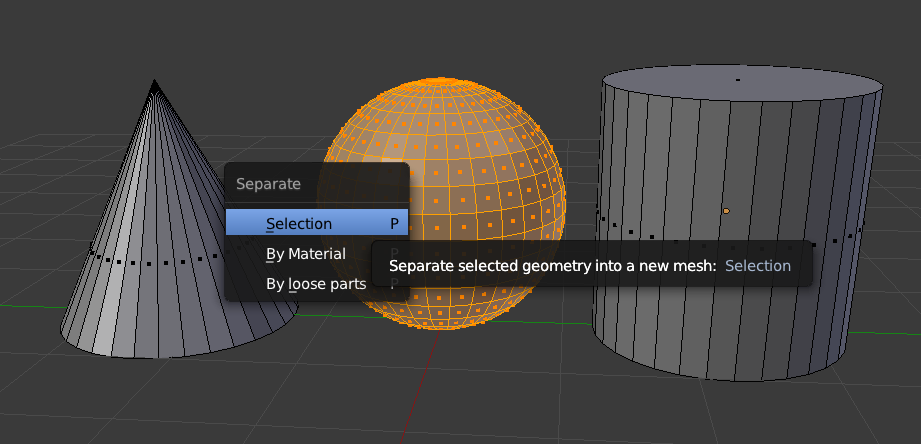
Should we ever need to separate an object from our joint venture, hit the P key to bring up the separate selection pop up. Choose Selection and you’ve successfully split out the selected object.