Unreal Engine has a super easy way to render spherical cameras, whose outputs can be used as HDRIs in other applications, or even Unreal Engine itself. This is a great way to make use of the many EPIC freebies we’ve been collecting over the years, without having to know all that much about Unreal Engine itself. Render out several HDRI camera positions, then bring them into apps like Daz Studio, add a character and tell a story.
Let me show you how to do this in Unreal Engine 5.1. I’m using the Lookout Tower asset by QuadArt for this demo. Even if you don’t know Unreal Engine, you should be able to follow along with this.
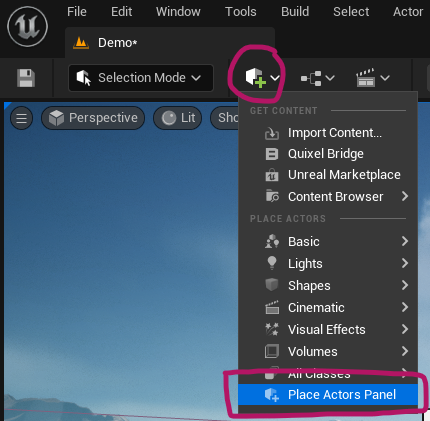
First we’ll dock a panel so that we can easily find the class we need. Select the Content Cube and choose Place Actors Panel. This will bring up a list of objects we can add to the scene on the left.
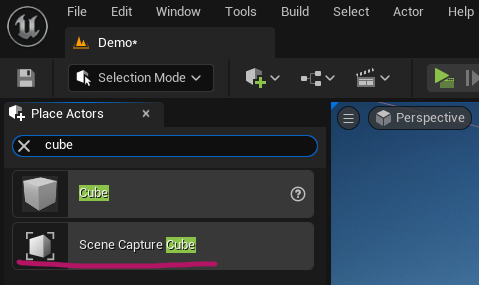
In this new panel, search for Cube and find the Scene Capture Cube object. Drag it into your scene, roughly where you’d like to render your HDRI from.
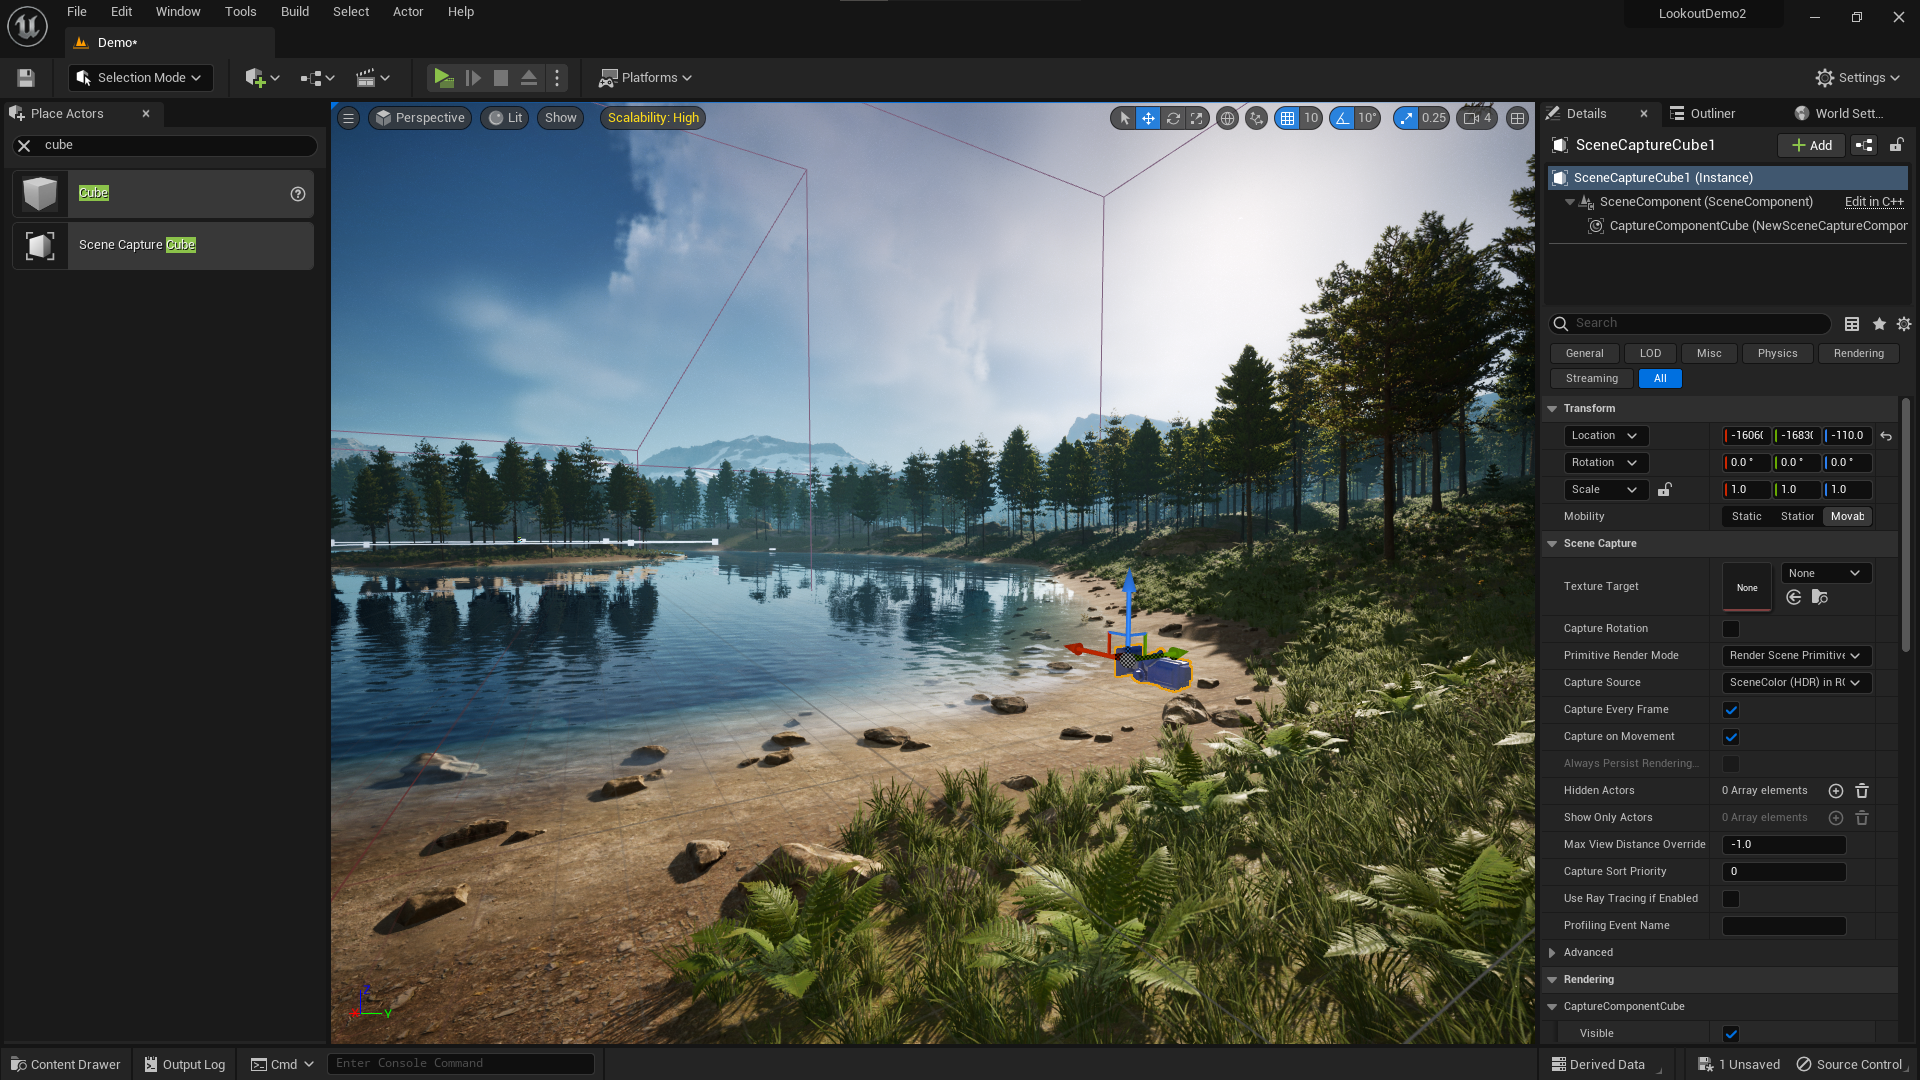
There are no hard rules for best spherical camera placements, but I find that they work best when you position them where you’d render an object or character later, so about 150cm above ground and somewhere with flat terrain underneath. This makes for convincing shadows. Also, make sure you’re not up against a lot of objects like walls or trees, ideally we want to see wide open spaces in the distance. This spot by like lake works well for me.
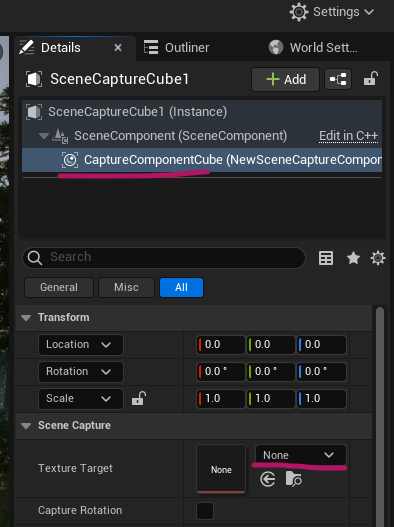
Notice that the Scene Capture Cube is actually a camera object. We can take a look at its output by creating a new Cube Render Target. To do this, select the Capture Component Cube that’s attached to your instance, then find the Texture Target options in the Details Panel. On the drop down next to it, click on None and select Cube Render Target. You’ll be prompted for a save location, so I’m creating myself a new folder called HDRIs and call my render target HDRcam.
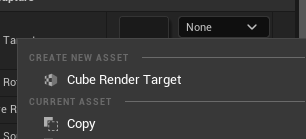
Navigate to your target in the Content Browser and double click it. A new tab will open, showing you a preview of your spherical camera.
Note that Unreal Engine may be a little less responsive right now. This is because the HDRI you see is actually a live render, and it updates in more or less real time. You can move it to the side and move your camera position, and you’ll see exactly what you’ll get on your HDRI – how cool is that?
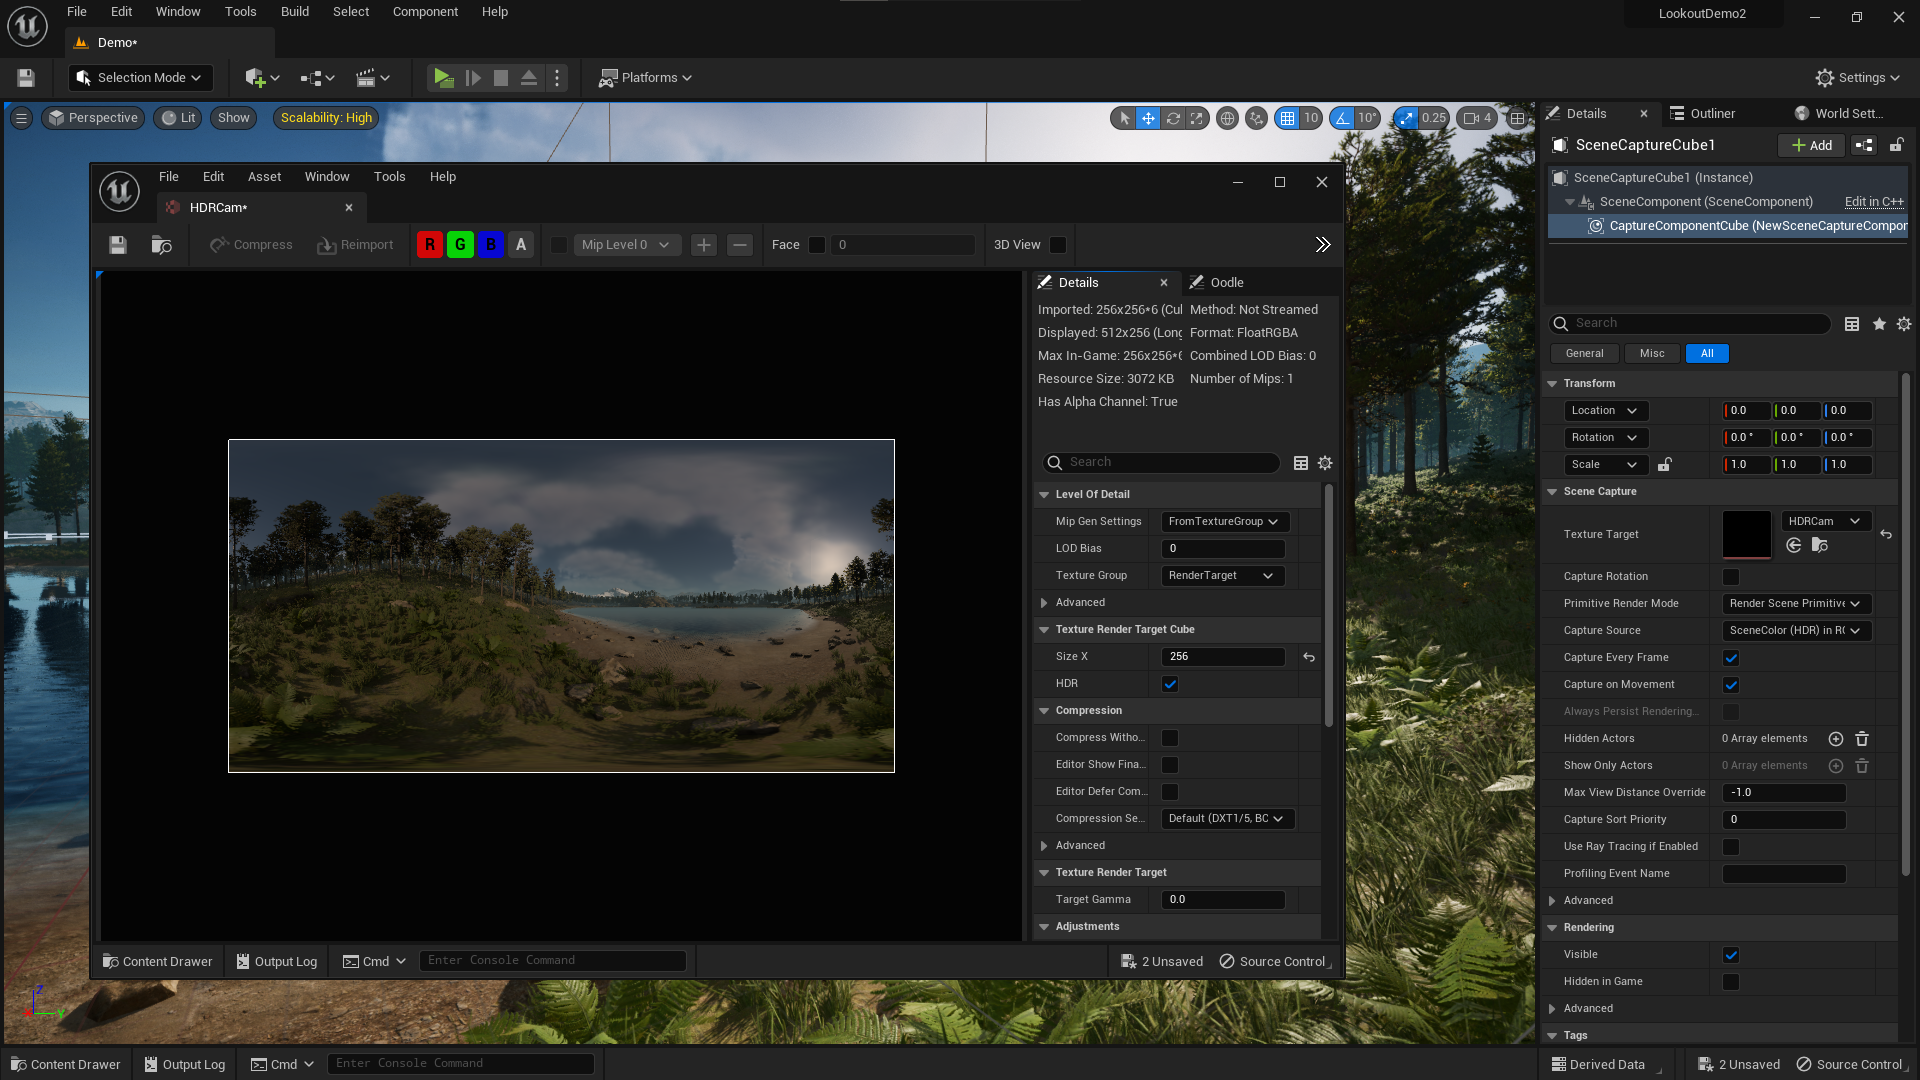
I’m OK with my placement and will render this view out. Take a look at the details panel of this new window. Under Texture Render Target Cube, the default option is 256. Let’s change that to 2048, which is the highest value we can use in Unreal Engine by default, resulting in a 2048×4096 image. HDR is already enabled, which is what we want.
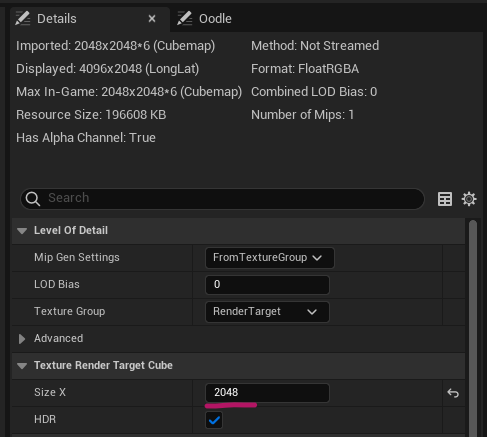
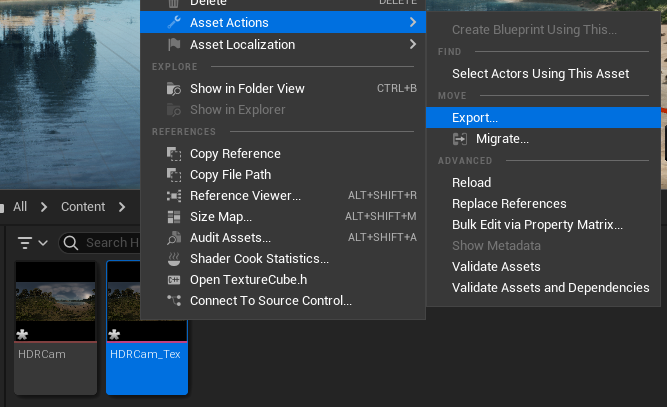
Back in our Content Browser, right-click on our HDRcam object and select Create Static Texture. This will create our HDRI render and save it directly next to our object in the content browser.
Now we have we HDRcam objects, one with a pink strip, and one with a pink strip that’s 0.000000001% lighter than the previous one. Nice job, UI designer! It is the latter object that we can export, the one with “_Tex” at the end of the name. I recommend renaming this to something meaningful and descriptive, I might call mine “LakeWest” perhaps. This will help if I want to render out various other places in this scene later.
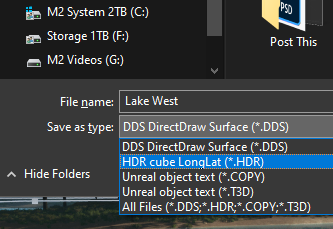
Let’s export this image out. Currently it’s an Unreal Engine Asset, so to turn it into a HDR, right-click on the texture and choose Asset Actions – Export. Browse to a location and pick the HDR file format at the bottom.
That’s it! Now we have a HDRI we can use in other applications. Enjoy!
Testing my HDRI in Blender
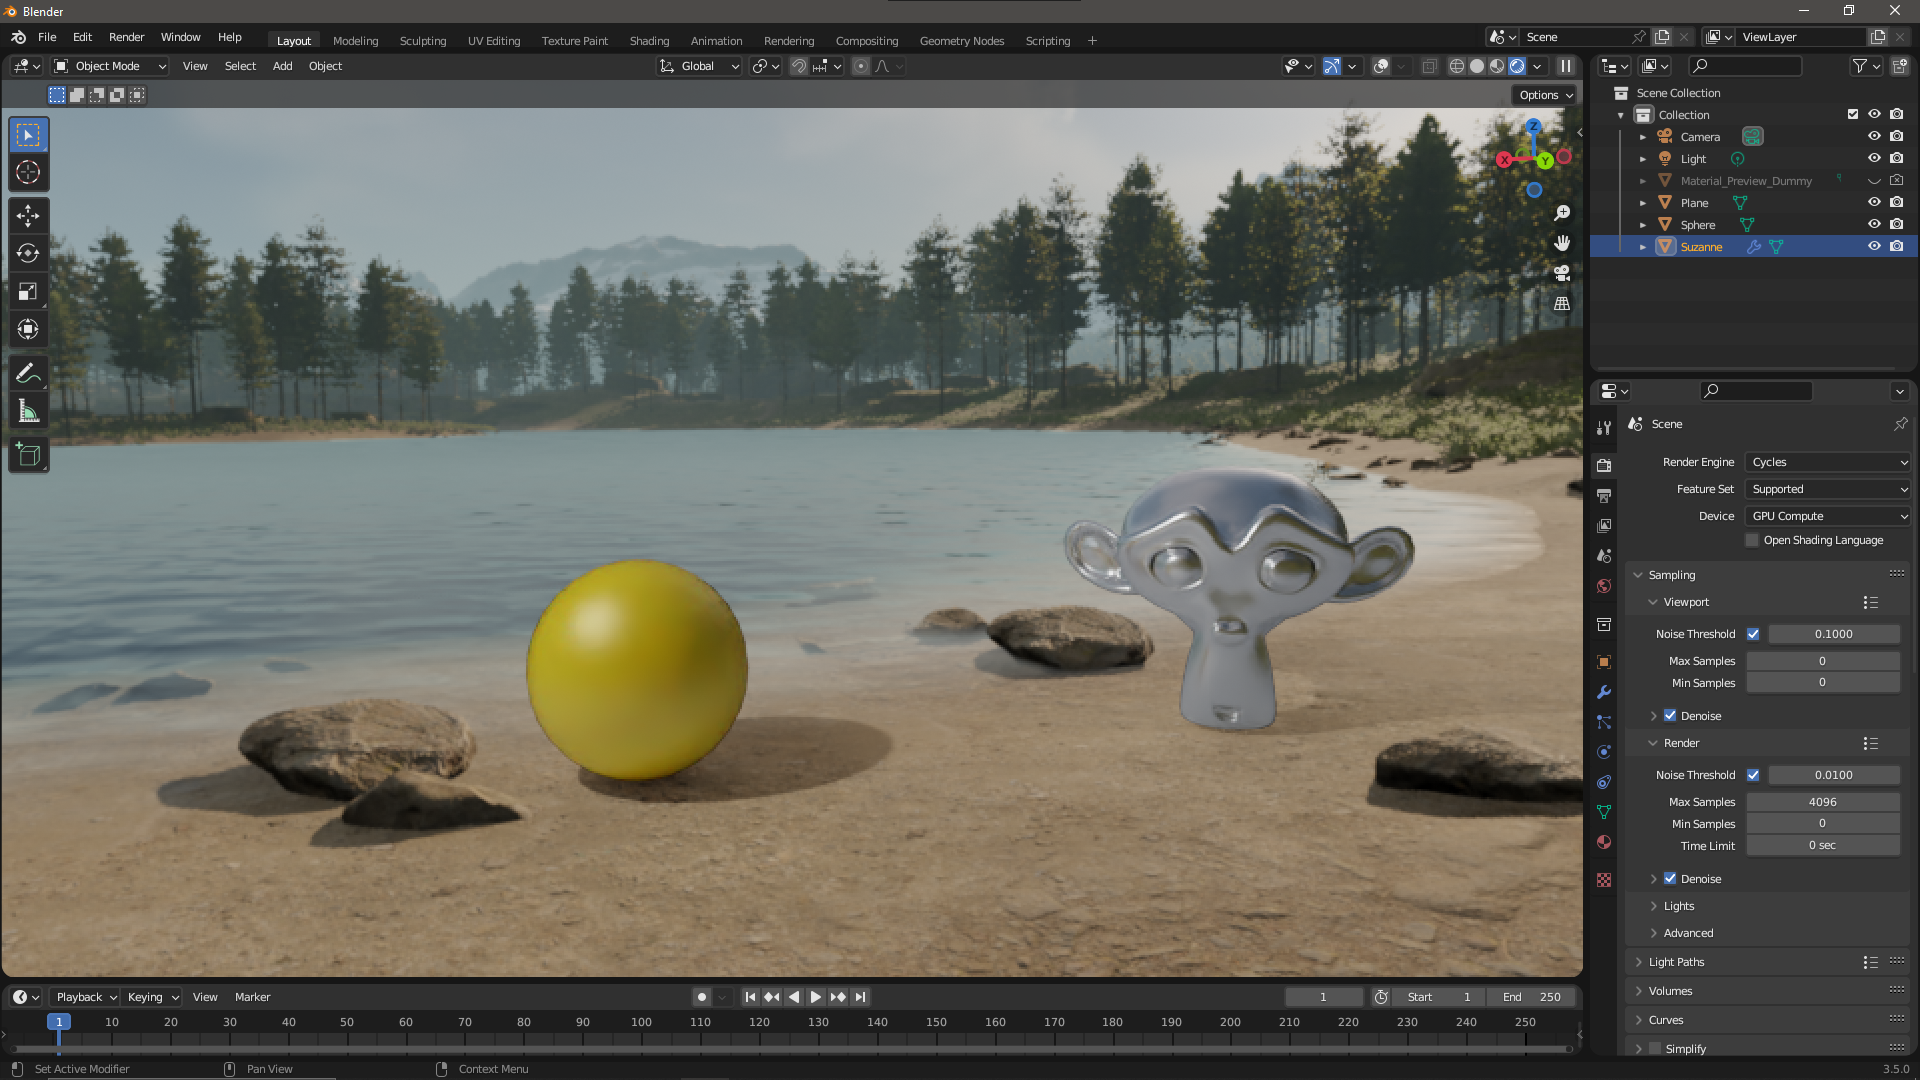
Looks like my monkey and yellow ball look like they’re enjoying themselves on the beach. All I did here was to add my HDRI as Environment Texture, then add the objects with materials, and add a shadow catcher to render the shadows.
Testing my HDRI in Daz Studio
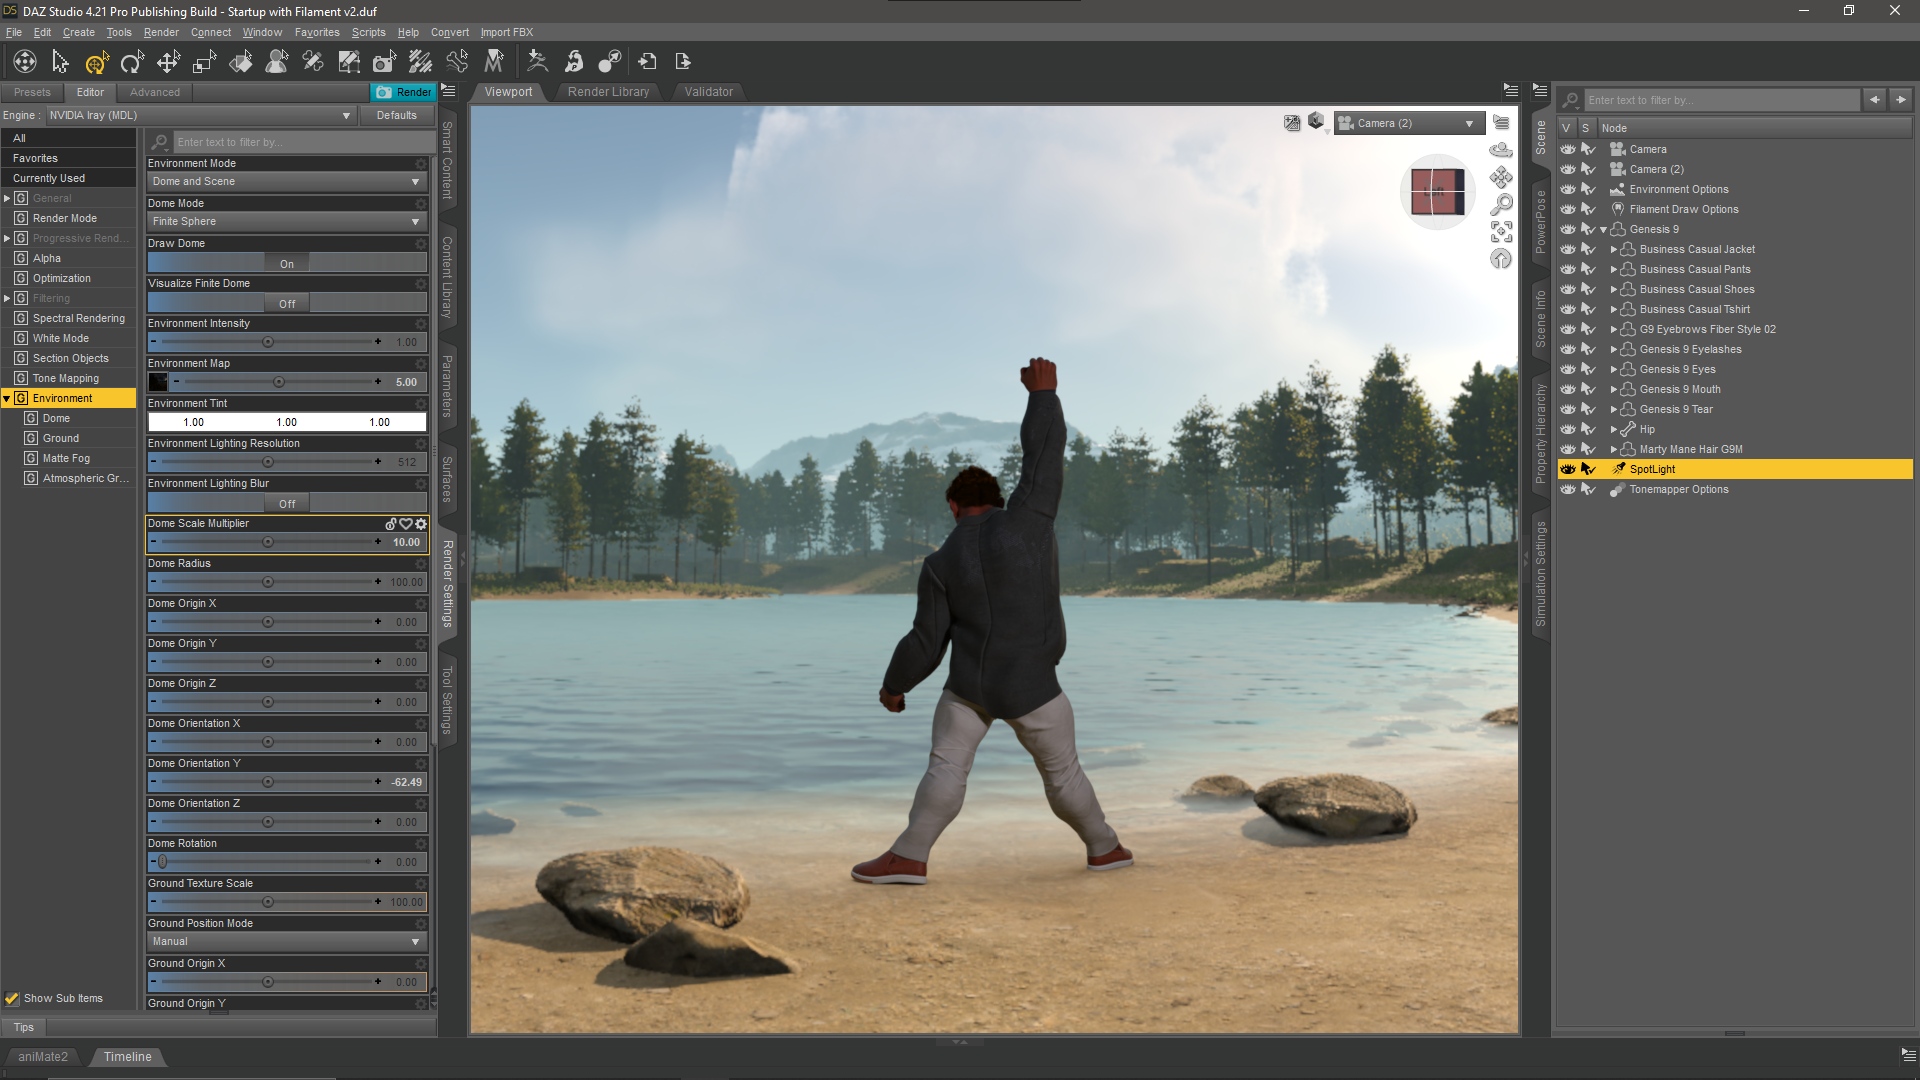
I’ve used Thimor in a business suit and a classic rock pose, and it’s working great on the beach. To get a wider sense of scale, I’ve switched the HDRI to use a finite sphere, decreased the dome scale multiplier and added a spot light from the right to brighten up our hero. It’s minimal effort to do, and the render time is just like it would be for a single character without environment.
Can we make HDRIs larger than 2K in Unreal Engine?
Currently not, the max value seems to be hard coded to prevent severe slowdown. I’ve heard rumours that you can increase this value by re-compiling the engine from source, but seriously who has time for that.
You’re probably better off using a small amount of natural depth of field to blur the background, or use the HDRI for lighting and replace the background rendered from Unreal Engine if necessary.
- Ryan Manning explains more about HDRIs in Unreal Engine: https://www.youtube.com/watch?v=jvX1LEV0v_g
Hi Jay,
I followed your steps, but when I open the image in the content browser I get a white image and not an image from my scene. Do you know what I do wrong and how I could alter that?
Kind regards,
Meijke
Hi Meijke, I’ve seen this before in other applications, but not in Unreal Engine. When does this happen, when you add the Scene Capture Cube and open it? White doesn’t necessarily mean that there’s no visual information in the HDRI, but rather that it’s very bright. What usually works for me is to export it anyway, then turn down the brightness in the target app and see if you get a background. You can make adjustments in Photoshop too and correct the exposure, but only when there’s any image information in the HDRI. I’ll make a video about this process, sometimes that helps visualise things.
Hi, that is very helpful. I’ll try that. It happens indeed when I open the capture. But I’ll try to use your tips, hopefully that works.
It worked! But I have another question, can I also export an 2D HDR image out of UE? Or only a 360 view?
The Movie Render Queue can export 16 bit EXR images of your scene, those are 2D HDRIs. I’ve explained how to use the tool in this video. To add this option, add a Setting and select EXR: https://youtu.be/RW-RhnyHogM