Adding textures in Blender depends on which render engine is used. In this article I’ll discuss how to do this for Cycles. I’ll explain how to do this with Blender Render in this article.
First we need to make sure that Cycles is our render engine. Select it at the top of the app. This will change how materials work, so if you’ve got anything interesting setup with Blender Render, you’ll have to rework it all.

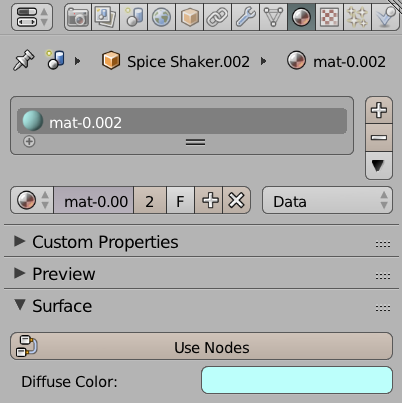
Now select the object you’d like to assign a texture to and find the Materials Tab in the properties palette (it’s the little orange round checkerboard icon). By default the material only has a diffuse colour assigned.
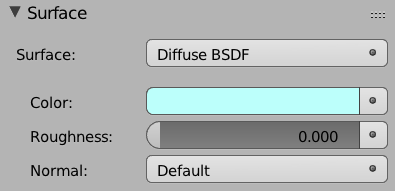
Under Surface, select Use Nodes. This will require us to work with the Node Editor in another viewport. I understand that there’s a different way to setup materials and textures in Cycles, but I find the Node Editor much easier to grasp.
By default a Diffuse BSDF material is assigned, and I’ll stick with it. Feel free to change it to any of the other fascinating options though, for example glass, glossy, velvet or the versatile Mix Shader.
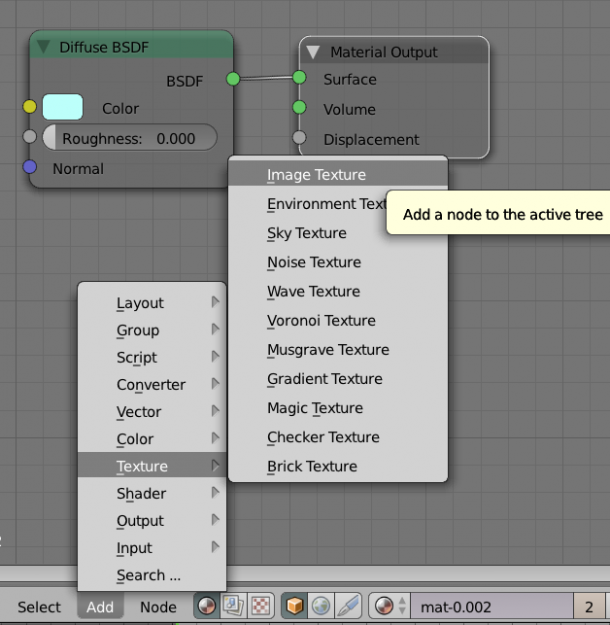
To add a texture to our shader, head over to the Node Editor and select Add – Texture – Image Texture. It’ll be stuck to your cursor – but don’t panic: move it to a suitable position and left-click to set it down gently.
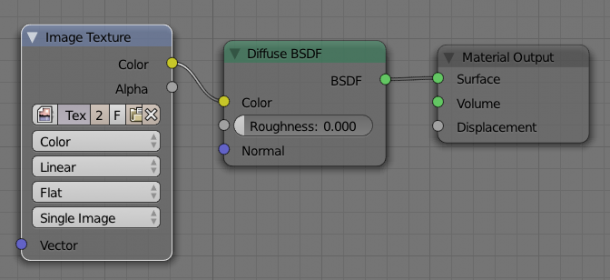
Let’s load that texture now: select Open on your image texture node and navigate to your image. All that remains is for us to “plug in” this texture to the colour input of the Diffuse Node. It’s like in the Poser Materials Room: drag from one end to another and form a connection.
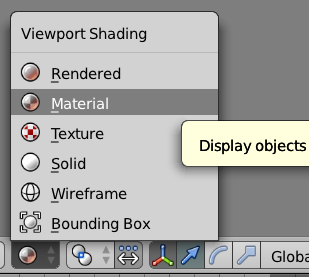
In our 3D viewport, let’s choose Material as the viewport shading mode, and we should see the texture on our object. Result!
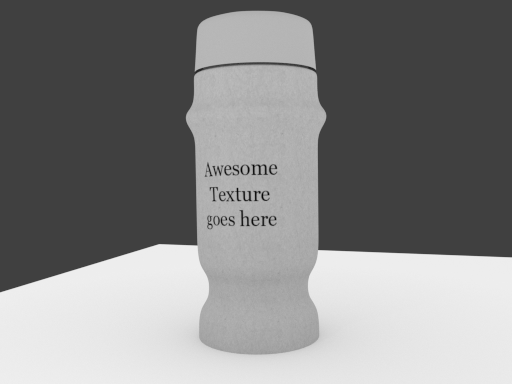
Setup lights as desired and render your image.
Спасибо!