Unwrapping UVs is tough – no matter in which application (apart from ZBrush perhaps, where everything else is really difficult). Here’s how to get started with UV Unwrapping in Blender.
Load an object and make sure you’re in Edit Mode. This is only allowed with a single object selected. Disable any subsurface or smoothing that’s applied on the object so that we have less vertices to work with.
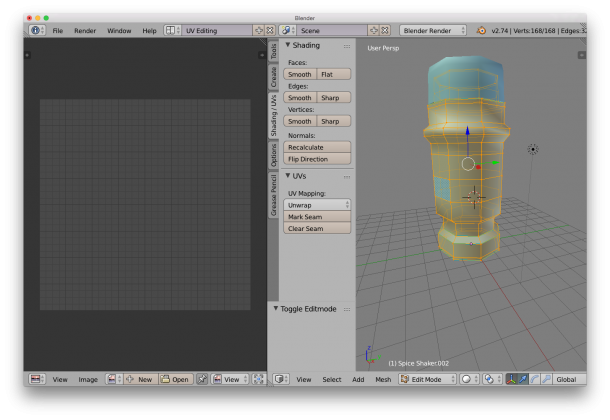
Next switch to the UV Editing workspace (UV View on the left, 3D view on the right). It looks something like this:
 On the right hand side, make sure the Shading/UV tab is showing – it contains some vital tools for this endeavour. Choose edge selection and start marking seams for your unwrap. It’s easy to ALT-RIGHT-CLICK to select edge loops, or use the Select Menu for more funky options.
With an edge selected, select Mark Seam. Nothing appears to happen, but your selection should turn orange (regular selections are white, as you’ll find out when you select something else). Keep going until you’ve added all seams.

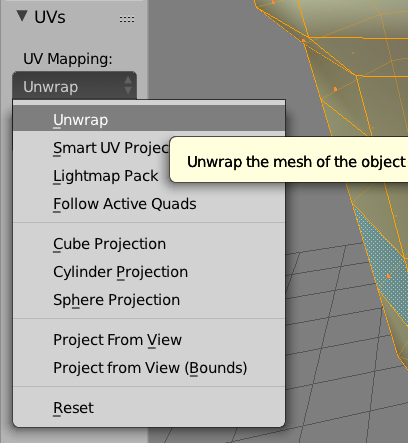
When you’re ready to unwrap, go into Edge Selection Mode and press A. This will select (or deselect) all faces on your object. Make sure they’re all selected, then head over to Mesh – UV Unwrap and choose Unwrap.
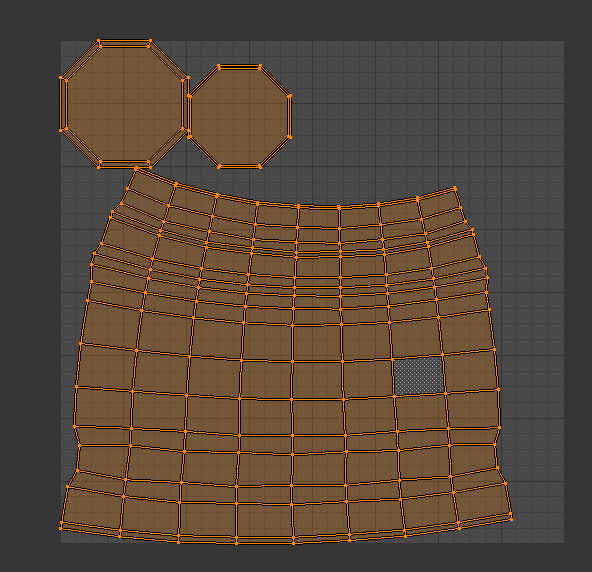
Lo and behold: we’ll see our unwrapped object on the left hand side!
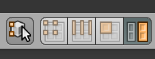
Notice that our selection (i.e. all faces) is still intact. To figure out which face in the UV view belongs to which face in the 3D view, toggle that little cube icon with two orange dots an an arrow. I believe it’s called sync selection. With it switched on, you’ll see what is what in your UVs. 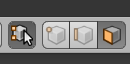
Switch it off again and you’ll see a fourth selection tool appear next to face selection: it’s the island selection mode. With it selected you can move UV islands around and reorder them as you see fit. In fact, all icons seem to change, even though they retain their functions.
To move islands, right-click to select one, then move the mouse to move the island, and click to put it down. You can use the usual Blender shortcuts here:
- G for “grab” (move)
- S for scale
- R for rotate
- X/Y to restrict an axis
- left-click to put an object down
Islands will only appear with all faces selected by the way. Don’t ask…
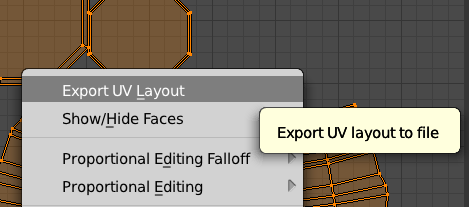
Check out the UVs menu for other funky options, such as Pack Islands and Live Unwrap. As soon as you’re happy with your UVs, save the template with UVs – Export UV Layout. This creates a PNG file so you can start texturing in your favourite 2D application.
Importing an image
When you’re finished texturing, bring the image back into Blender. This is a two-part process: in the first step, you can apply the image to the object to check that your texture fits. If you want to render the image properly, you’ll have to define a material with your texture.
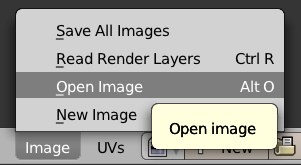
In the UV editor, select Image – Open Image and navigate to your texture.
To see the texture applied, make sure you’re displaying your 3D viewport in Texture Shaded Mode (the little red/white checker icon).
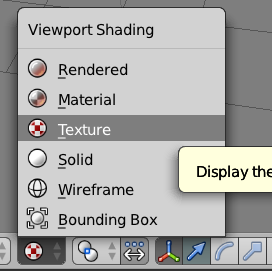
Select any of the other option and you won’t see your texture. That’s because Blender needs to have a material defined to which your texture is applied. The process is different for Blender Render and Cycles, and rather lengthy too.
I’ve described how to do this in Cycles here and in Blender Render here.