UV Mapping Archives

Combining Texture Maps with Blender and SimpleBake

In this article I’ll show you how to combine various UV islands that are spread across multiple UDIMs onto a single texture set. Blender has this capability built-in, but an add-on called SimpleBake makes our job even easier. For this example I’m using the the base Character Creator model. Many thanks to Brian for showing …

Read more

Using an Opacity / Transparency Map in DAZ Studio (Iray)

Transparency is handled differently across render engines and file formats. While a PNG, TIF or GIF file can contain transparency data, a JPG image cannot. DAZ Studio’s Iray render engine can’t handle transparency data embedded in such images and requires the use of a special Opacity or Transparency Map. This might sound a little confusing, …

Read more

How to extract a UV Template in Blender

When you’re done with UV Mapping in Blender, you may need to save out a template of your hard work so that you or someone else in your team can get to work on some fabulous textures. In case you ever need to save out such a UV Template, head over to the UV Editing …

Read more

How to flip or rotate a texture in Blender

When you’re UV unwrapping in Blender, it can sometimes happen that a texture doesn’t show the way you had intended it to. Instead it may appear rotated or mirrored (flipped). Take the above example of a simple frame with a picture in the middle. When I originally added the texture file after unwrapping, the crab …

Read more

How to add margins between UV islands in Blender

When UV islands are packed too tightly together, there’s little to no room between them. That’s great because it makes use of every available pixel on the UV Map, however when it comes to texturing in Photoshop, selecting separate islands is very difficult. Blender has a nice feature that lets us add a margin in …

Read more

How to export a UV Texture Template in Photoshop

Screen Shot 2016-04-29 at 11.21.17Sometimes it’s necessary to have a 2D Texture Template for a 3D model. It makes texturing a lot easier in 2D painting apps.

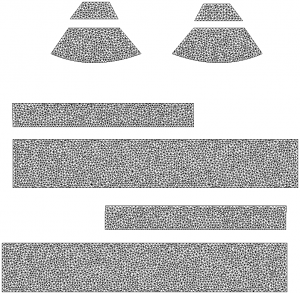
While some programmes like Marvelous Designer can create the UVs, and quite clearly show them to us, there’s no easy way to export them as a flat file – akin to the one you see on the right here.

Photoshop to the rescue! All versions of Photoshop 3D and Photoshop CC can import OBJ files, and they can not only display the UV Map as an overlay, they can turn it into a new Layer for us as well.

Here’s how to do it.

Read more

Getting started with UV-Unwrapping in Blender

Unwrapping UVs is tough – no matter in which application (apart from ZBrush perhaps, where everything else is really difficult). Here’s how to get started with UV Unwrapping in Blender.

Load an object and make sure you’re in Edit Mode. This is only allowed with a single object selected. Disable any subsurface or smoothing that’s applied on the object so that we have less vertices to work with.

Next switch to the UV Editing workspace (UV View on the left, 3D view on the right). It looks something like this:

Screen Shot 2015-05-10 at 17.13.19
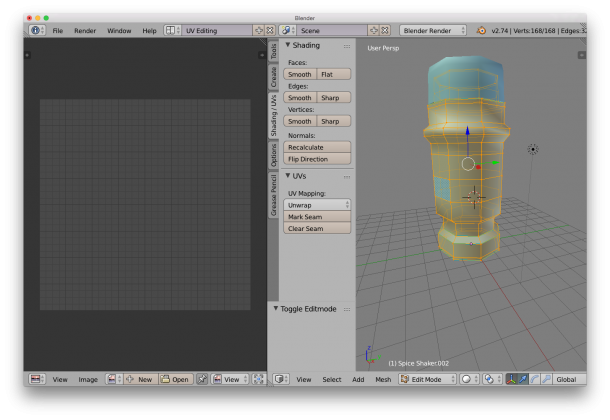
On the right hand side, make sure the Shading/UV tab is showing – it contains some vital tools for this endeavour. Choose edge selection and start marking seams for your unwrap. It’s easy to ALT-RIGHT-CLICK to select edge loops, or use the Select Menu for more funky options. 

Read more