 Photoshop can combine multiple images into one and save them as HDRI, which allows us to use them in our 3D renders – either as 360 degree backgrounds or as light sources.
The way to do it has changed several times over the years – so here’s how this works in Photoshop CC 2015.
First, head over to File – Automate – Merge in HDR Pro…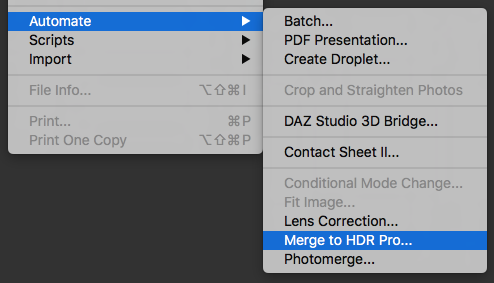
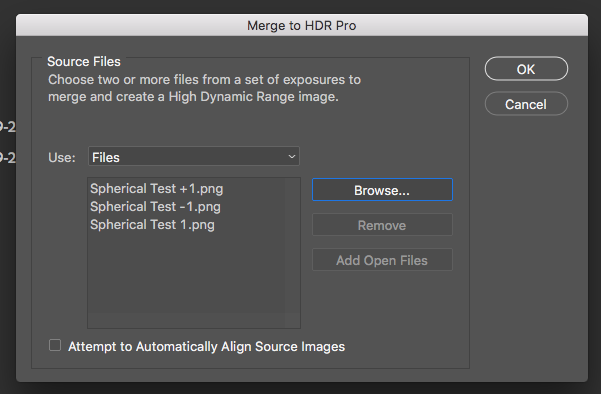
Next, pick your images. You can either browse for them or use some that are already open.
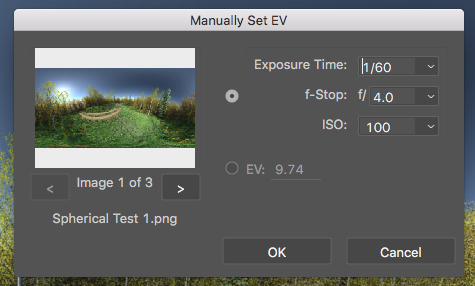
Photoshop will now greet you with a small dialogue in which you can tell it how your images are exposed. Typically you’d have a baseline image (properly exposed), as well as at least one over and one underexposed image. Pick an imaginary shutter speed for each picture and move on.
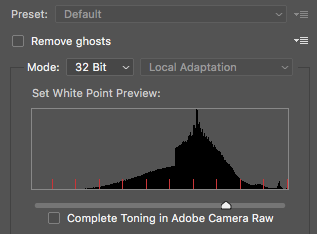
Now comes the important part: pick 32 bit as your image mode. Because if you don’t, the combined picture can’t be saved in a format that’s recognised by our 3D apps.
You’ll also have the option to tweak the contrast of your image here, to eek out the last details that may be available. Hit OK to go back to your image, which should now be open in Photoshop’s main view.
That’s it – time to save your image. Head over to File – Save As… Pick either the OpenEXR or Radiance format and you’re done.