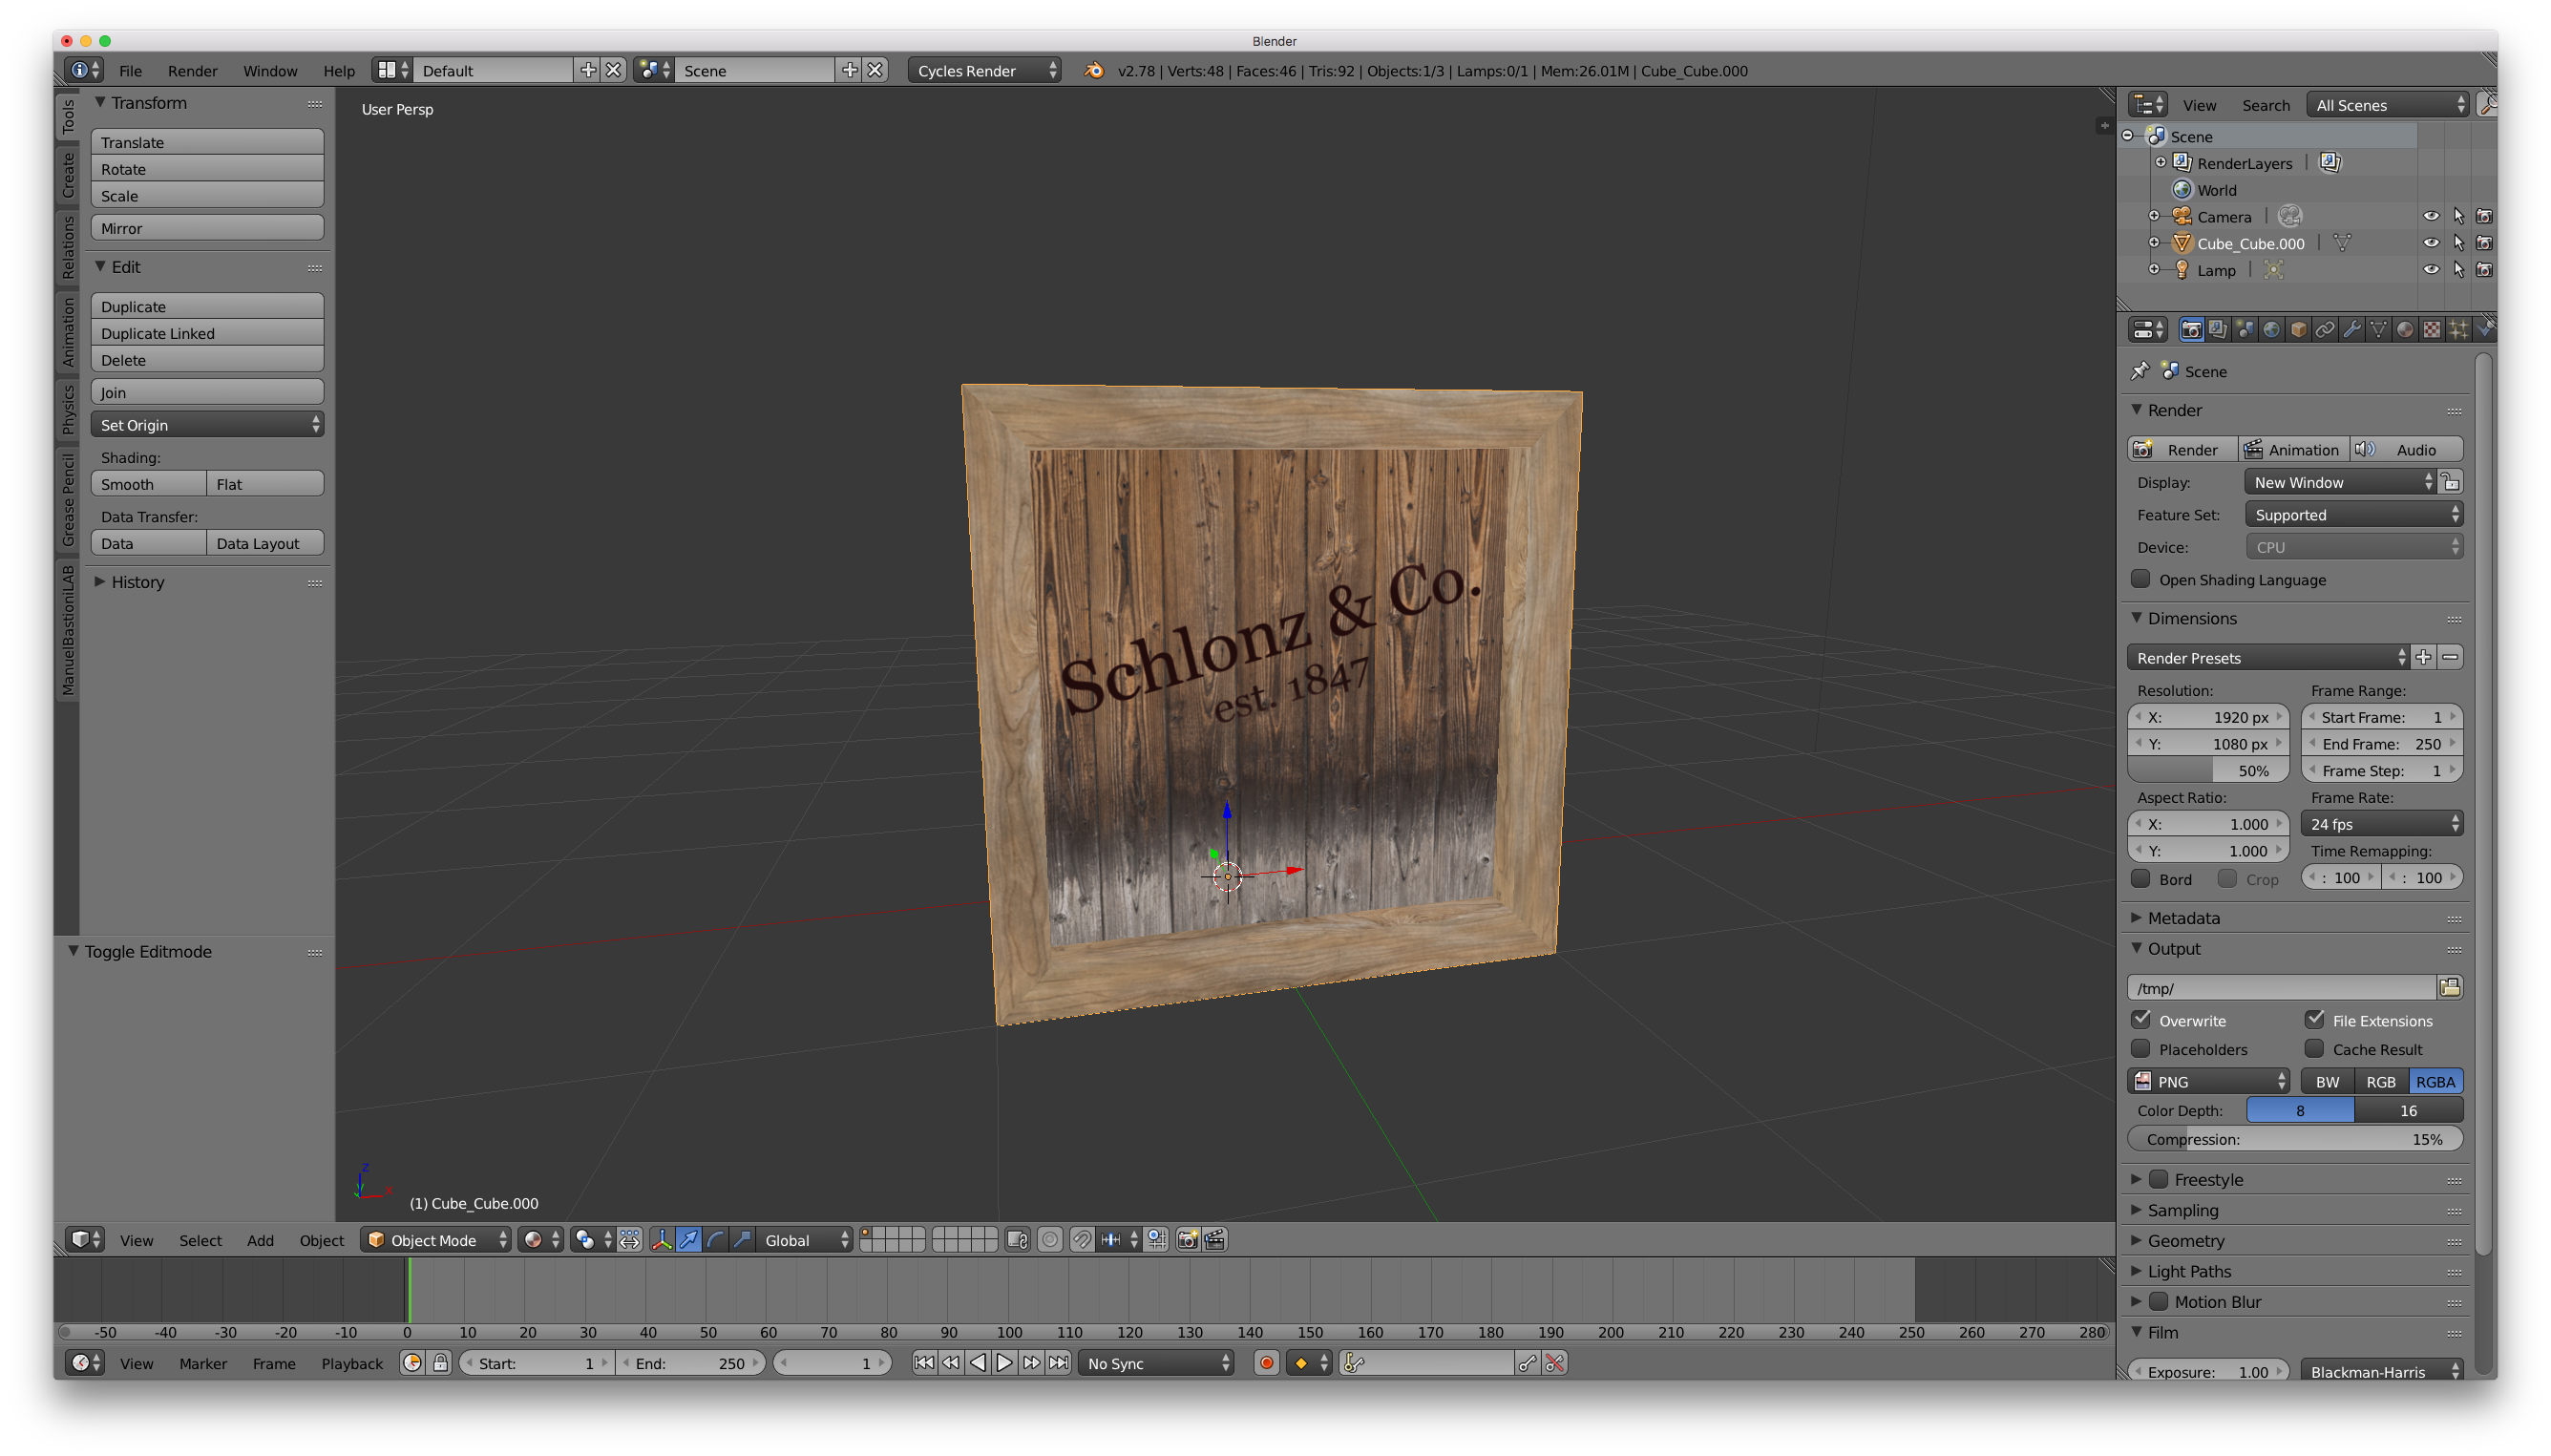
I was trying to import a texture into ZBrush from an object I had created and UV mapped in Blender. The above shows an example of such an object, looking all nice and dandy in Blender.
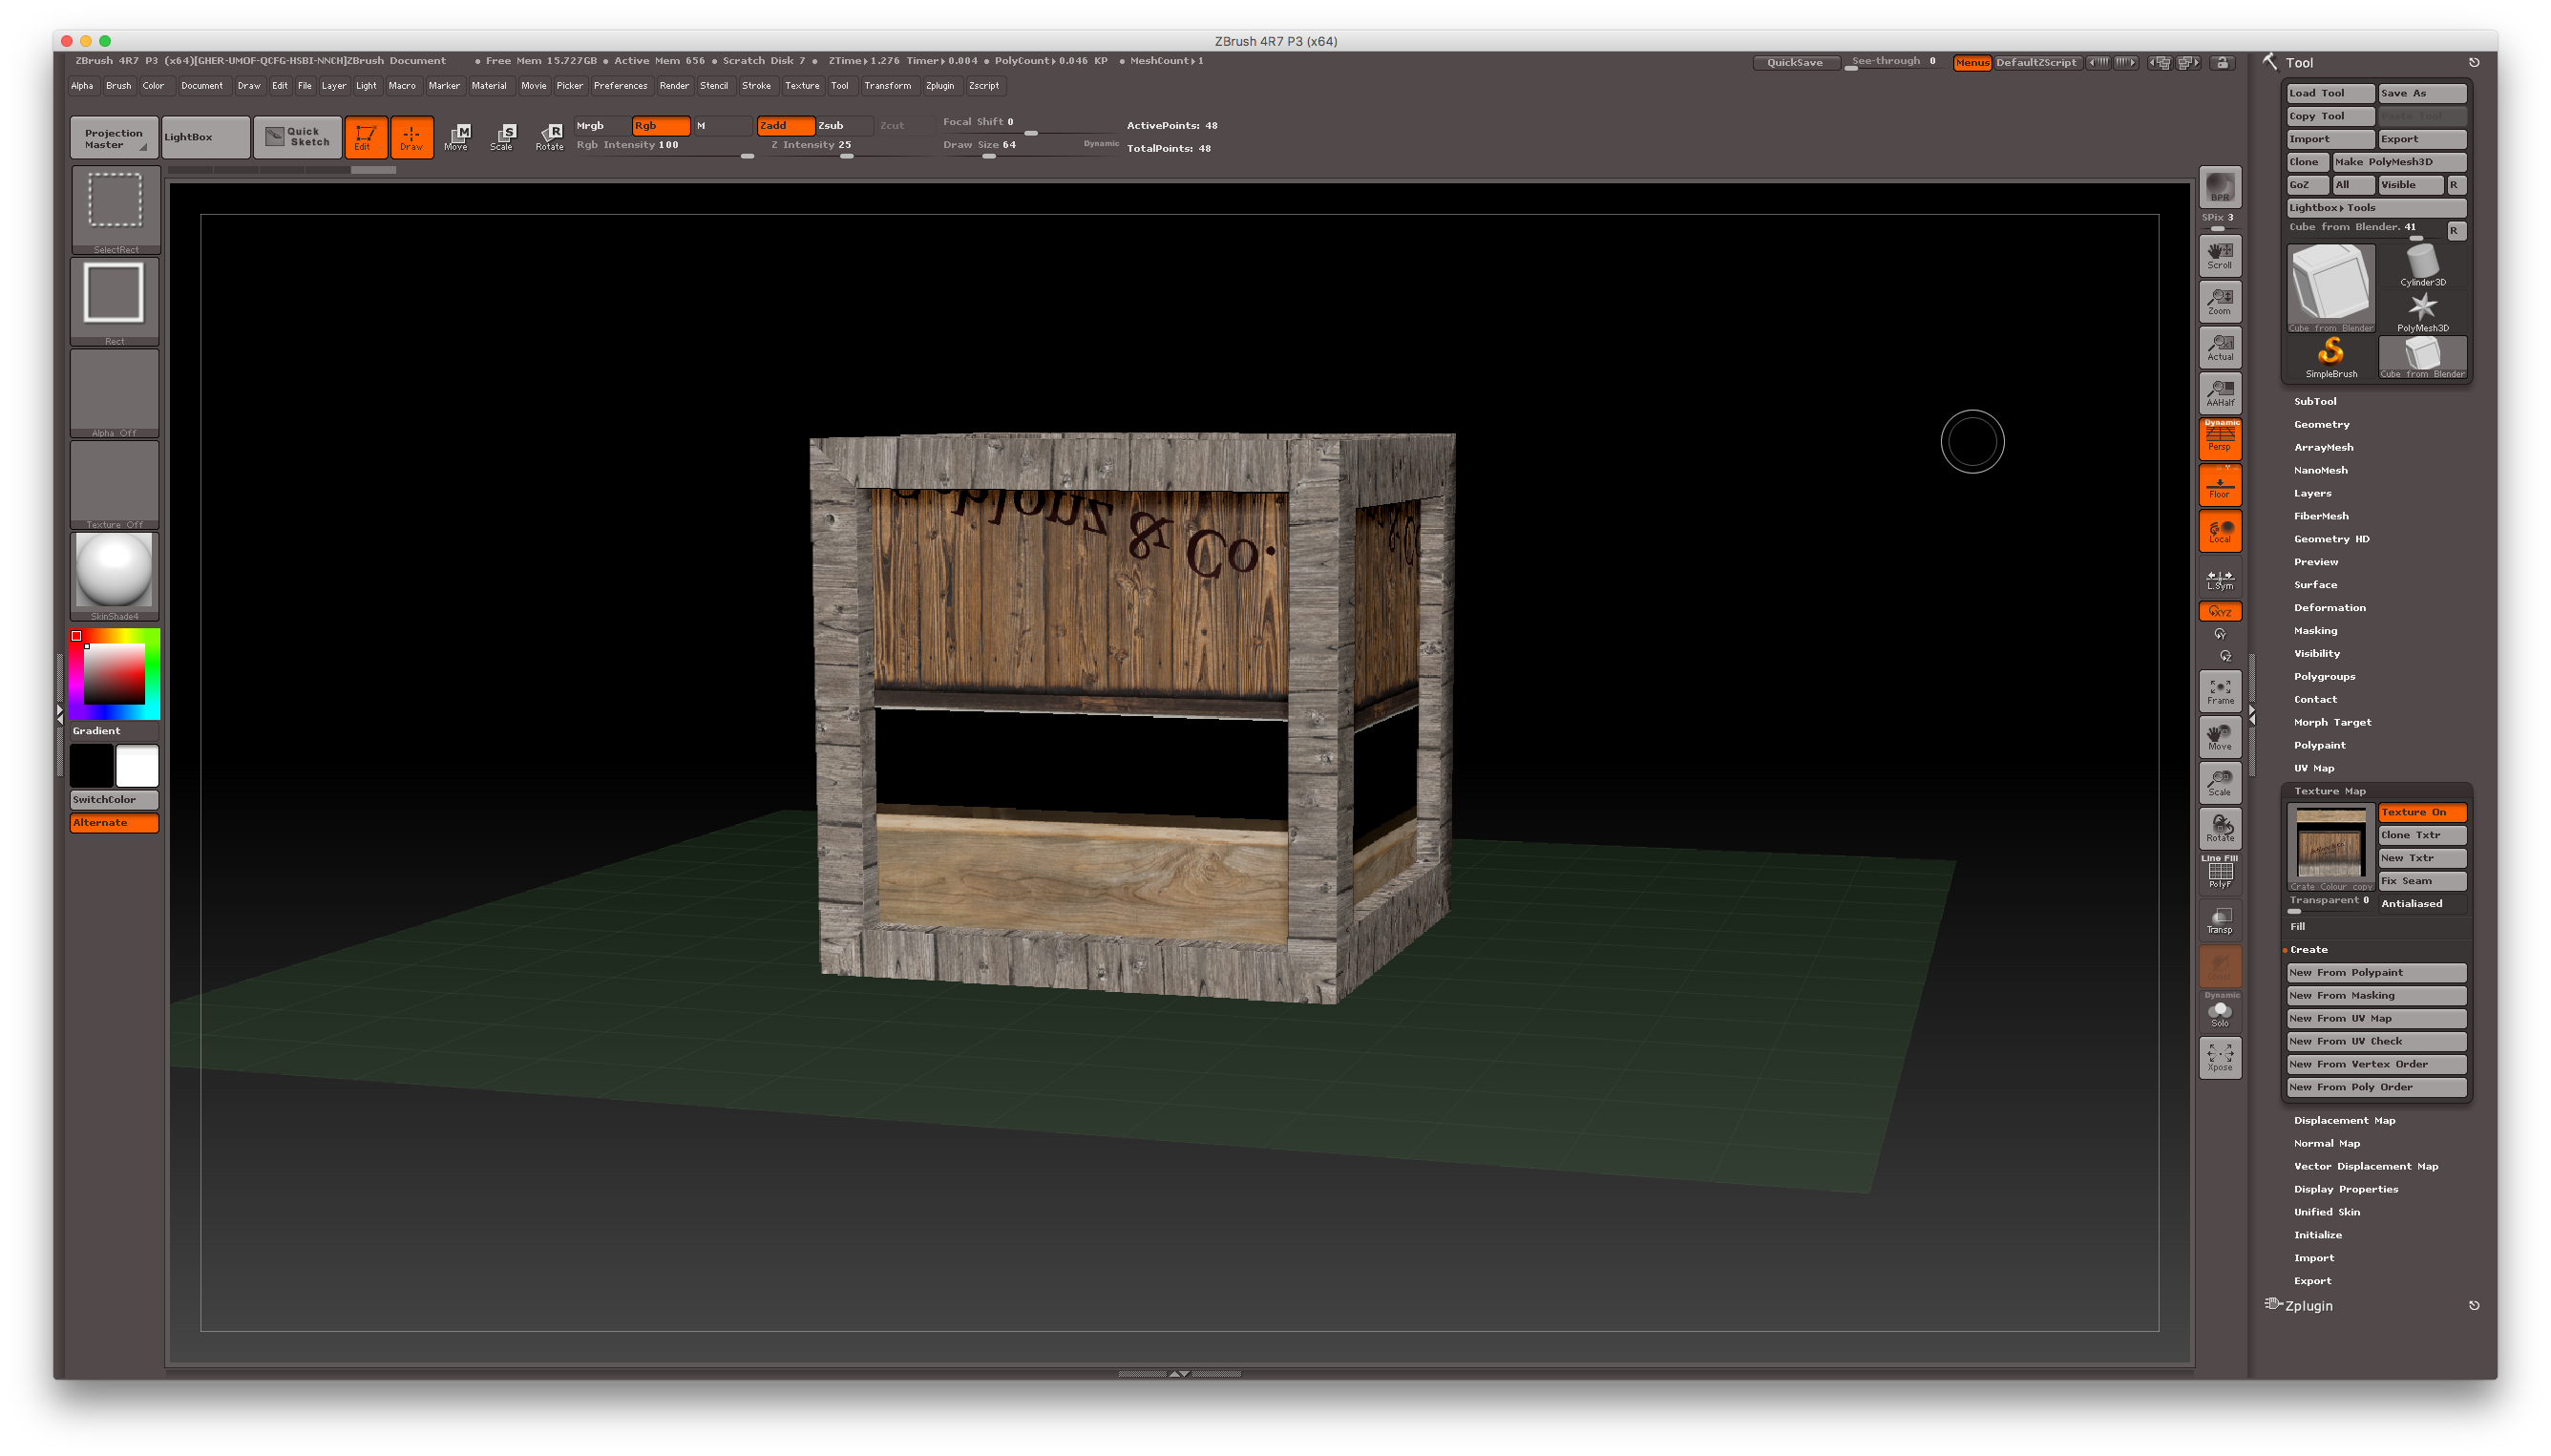
However, when I imported it into ZBrush (after figuring out how to do that), I was shocked to see how ZBrush displayed my texture. Take a look:
That’s neither funny nor necessary. I’ve tested the same principle in DAZ Studio, Carrara and Poser and they all played ball, displaying the texture without a hitch. Only Hexagon wanted the texture flipped vertically, but – just like Carrara – offered handy tick boxes as to which direction an imported texture needed to be mirrored.
Zbrush also has such an option, but it’s not next to where you select the texture.
In this article I’ll show you how to import and apply a texture in ZBrush, to an object that has been created and UV mapped in another application. Let’s do this step by step:
1.) Import your object
I thought I’d include this step because it’s the first hurdle many would fail at. In ZBrush, head over to the Tool palette and hit import. Navigate to your OBJ.
Now drag it out on the canvas, preferably holding down the SHIFT key so that it doesn’t rotate. When you’re done, immediately hit the EDIT button on the top left.
Your object will likely look dark red. To change that, apply a different MatCap on the left. Change the default “red wax” to something like “skin shade 4” so we can see our texture better in a moment (otherwise, it would be projected on top of the dark red material).
2.) Apply the texture
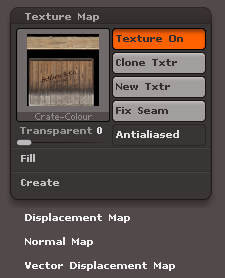
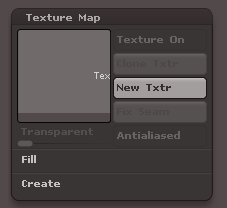
Find the Texture Map option in the Tools palette and notice the grey square it is showing. That’s because we currently don’t have a texture. Click the grey square and see a new panel with several textures opening, among which we find an Import option. Select it and find your texture.
Your texture should now be visible on the object in the viewport, as well as in the little square in the Texture Map panel. Notice that you can only apply PSD, JPG and TIFF files. ZBrush doesn’t like PNG files as textures I’m afraid.
3.) Adjusting the texture fit
Because we’ve UV mapped our object in another application, there is a good chance that it’s either horizontally or vertically flipped on your object (see my second screenshot above).
To fix this, take a look at the UV Map panel.
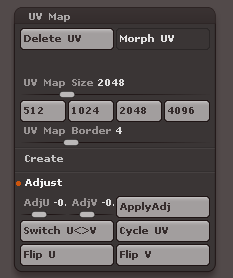
Most of these buttons are toggles that switch/rotate between two or more options. The two buttons at the bottom (Flip U and Flip V) will mirror your texture horizontally and vertically. Click them until your texture looks nice and dandy.
If you’d like to see something cool, click the Morph UV button. ZBrush will show you an animation of how your object turning into the UV map. Click the same button to restore order in the viewport.
That’s it!
If you want you can apply other maps to your object in the same way, using the panels underneath Texture Map: