In a recent stream I got accustomed with some of the options of the Octane Plugin for DAZ Studio. It’s easy to get brain overload with so many sliders! After some fiddling though, I discovered how to render the final image. However, there appear to be four different types of options on how to achieve that. These are:
- Direct Lighting
- Path Tracing
- PMC
- Info Channel
Rather than read the manual, which I’m sure would explain what the difference between each option, I did a few test renders of the scene we built. Let’s see if we can visually detect any differences.
The renders below were done at 2000×1500 with the built-in denoiser, which kicks in at the end of the image. Until that point, minor grain is visible. These were saved as 16 bit PNG files (click to enlarge).
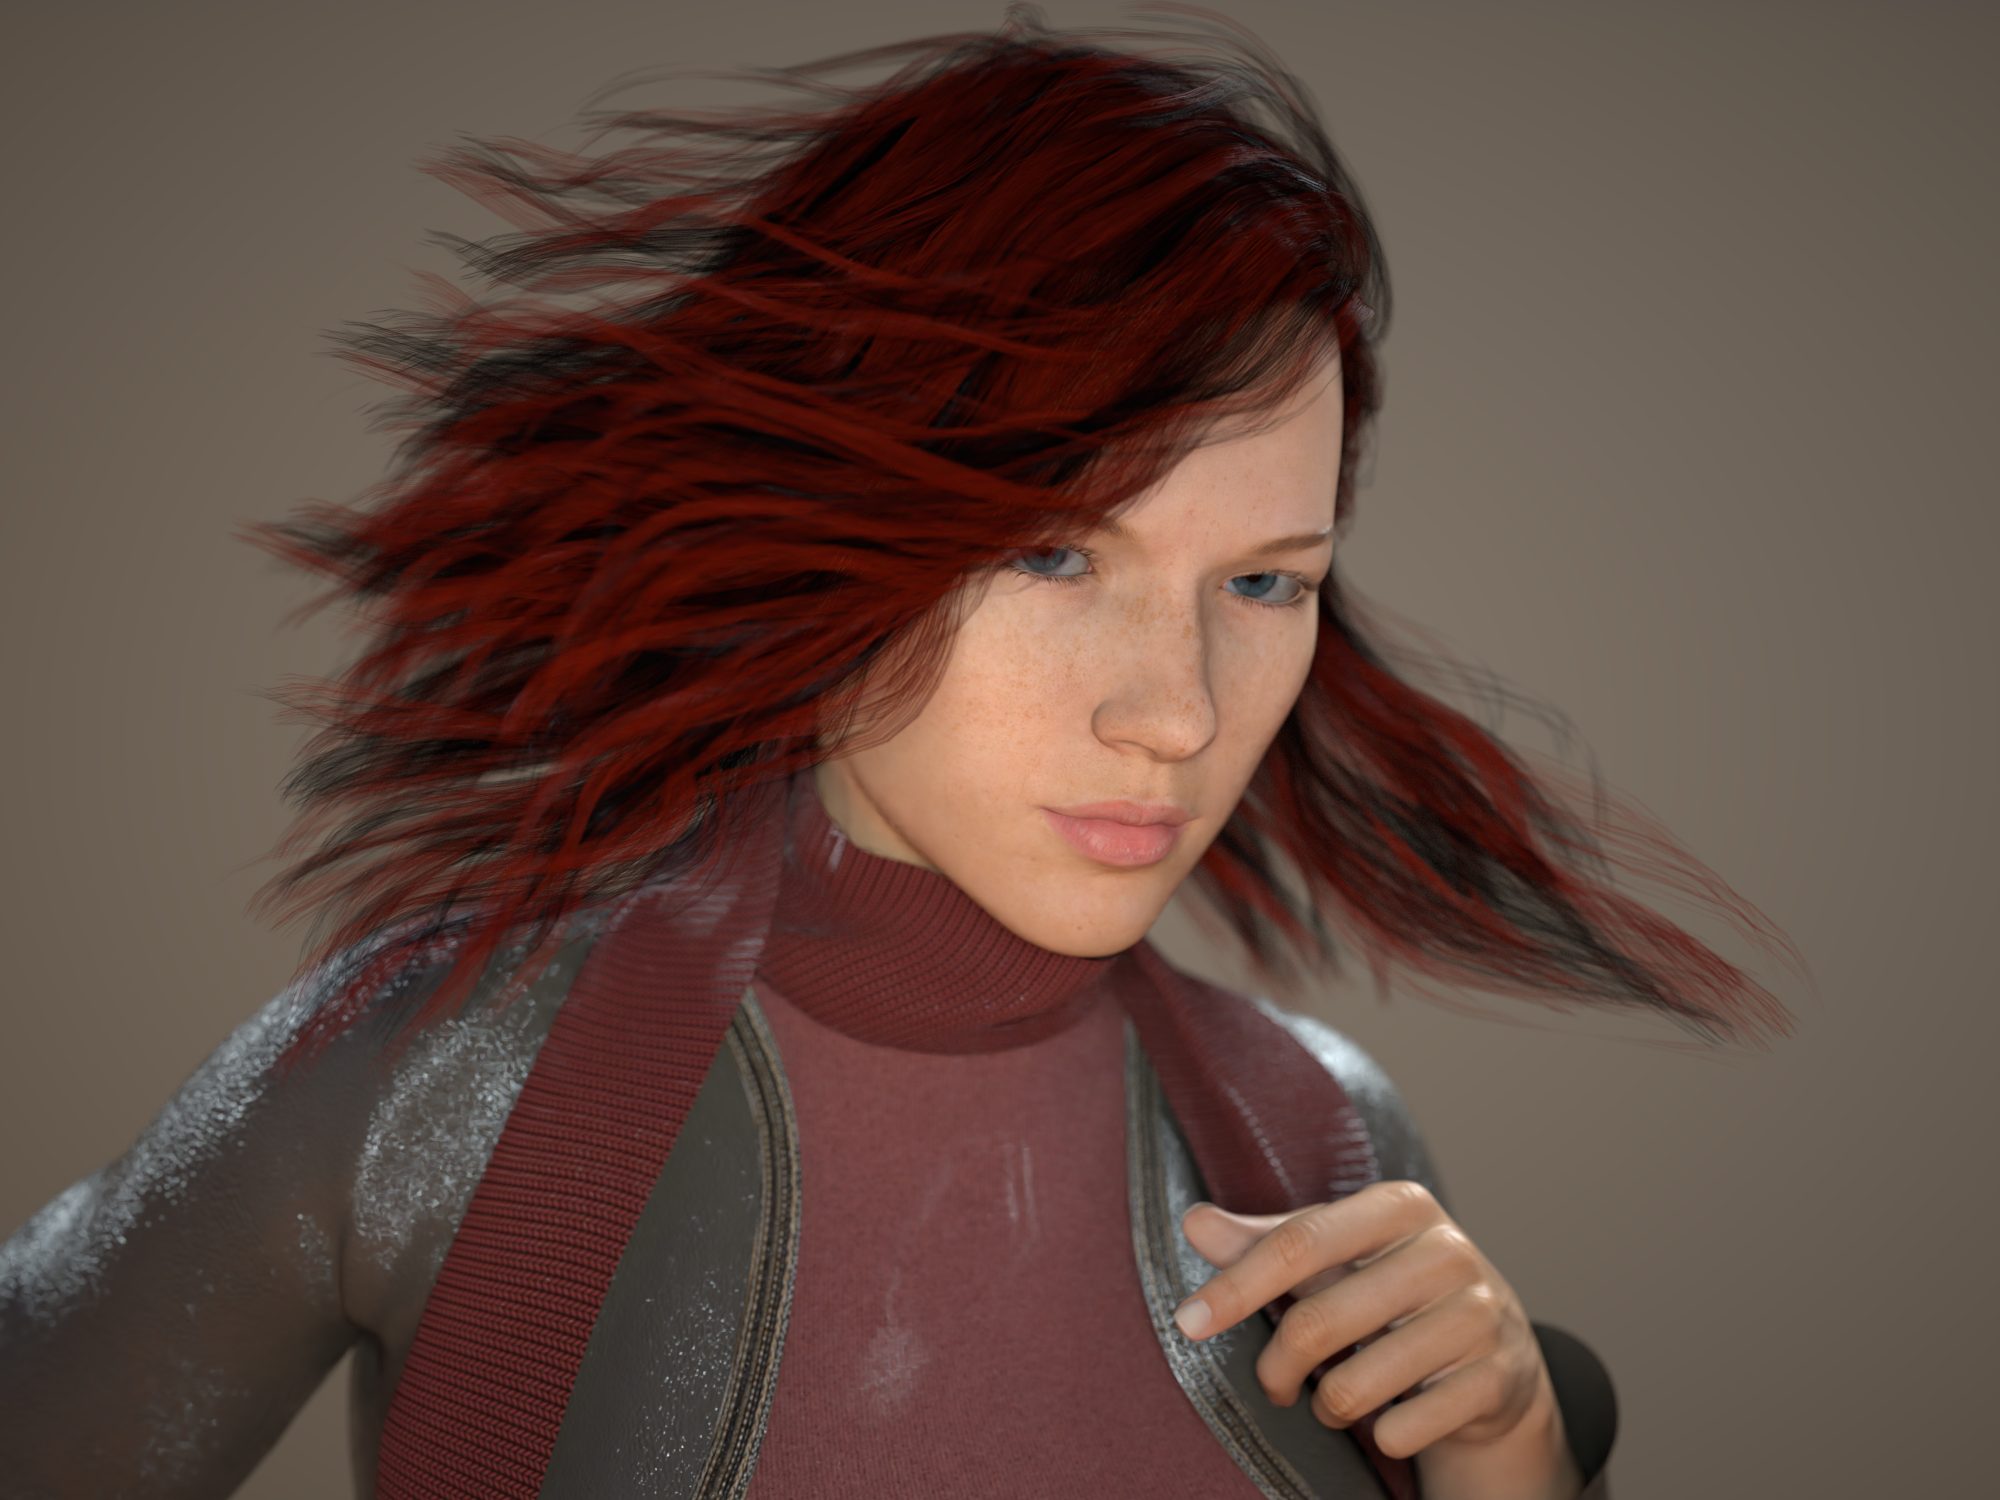
Direct Light
The default option, or rather the first one in the list is Direct Light. It came up with 500 samples as a default, which is why I’ve rendered it as such. Without the denoiser grain is a bit much, with with it enabled it looks fine. Just to make sure, I took another pass with 4x the samples, but it still had grain.

Note that we have three options for Global Illumination:
- Off
- Ambient Occlusion (default, as used above)
- Diffuse
Here are the other two variations for completion. The diffuse option adds

The impact on render time is negligible, but as you can imagine Diffuse takes the longest, while off is the most efficient. We’re talking a 20 second variation here between the options. I find that Diffuse gives a slightly more natural and brighter result, comparable to what we get with Path Tracing.
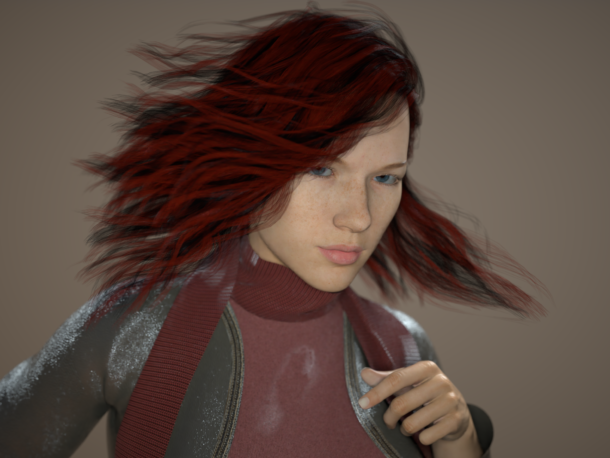
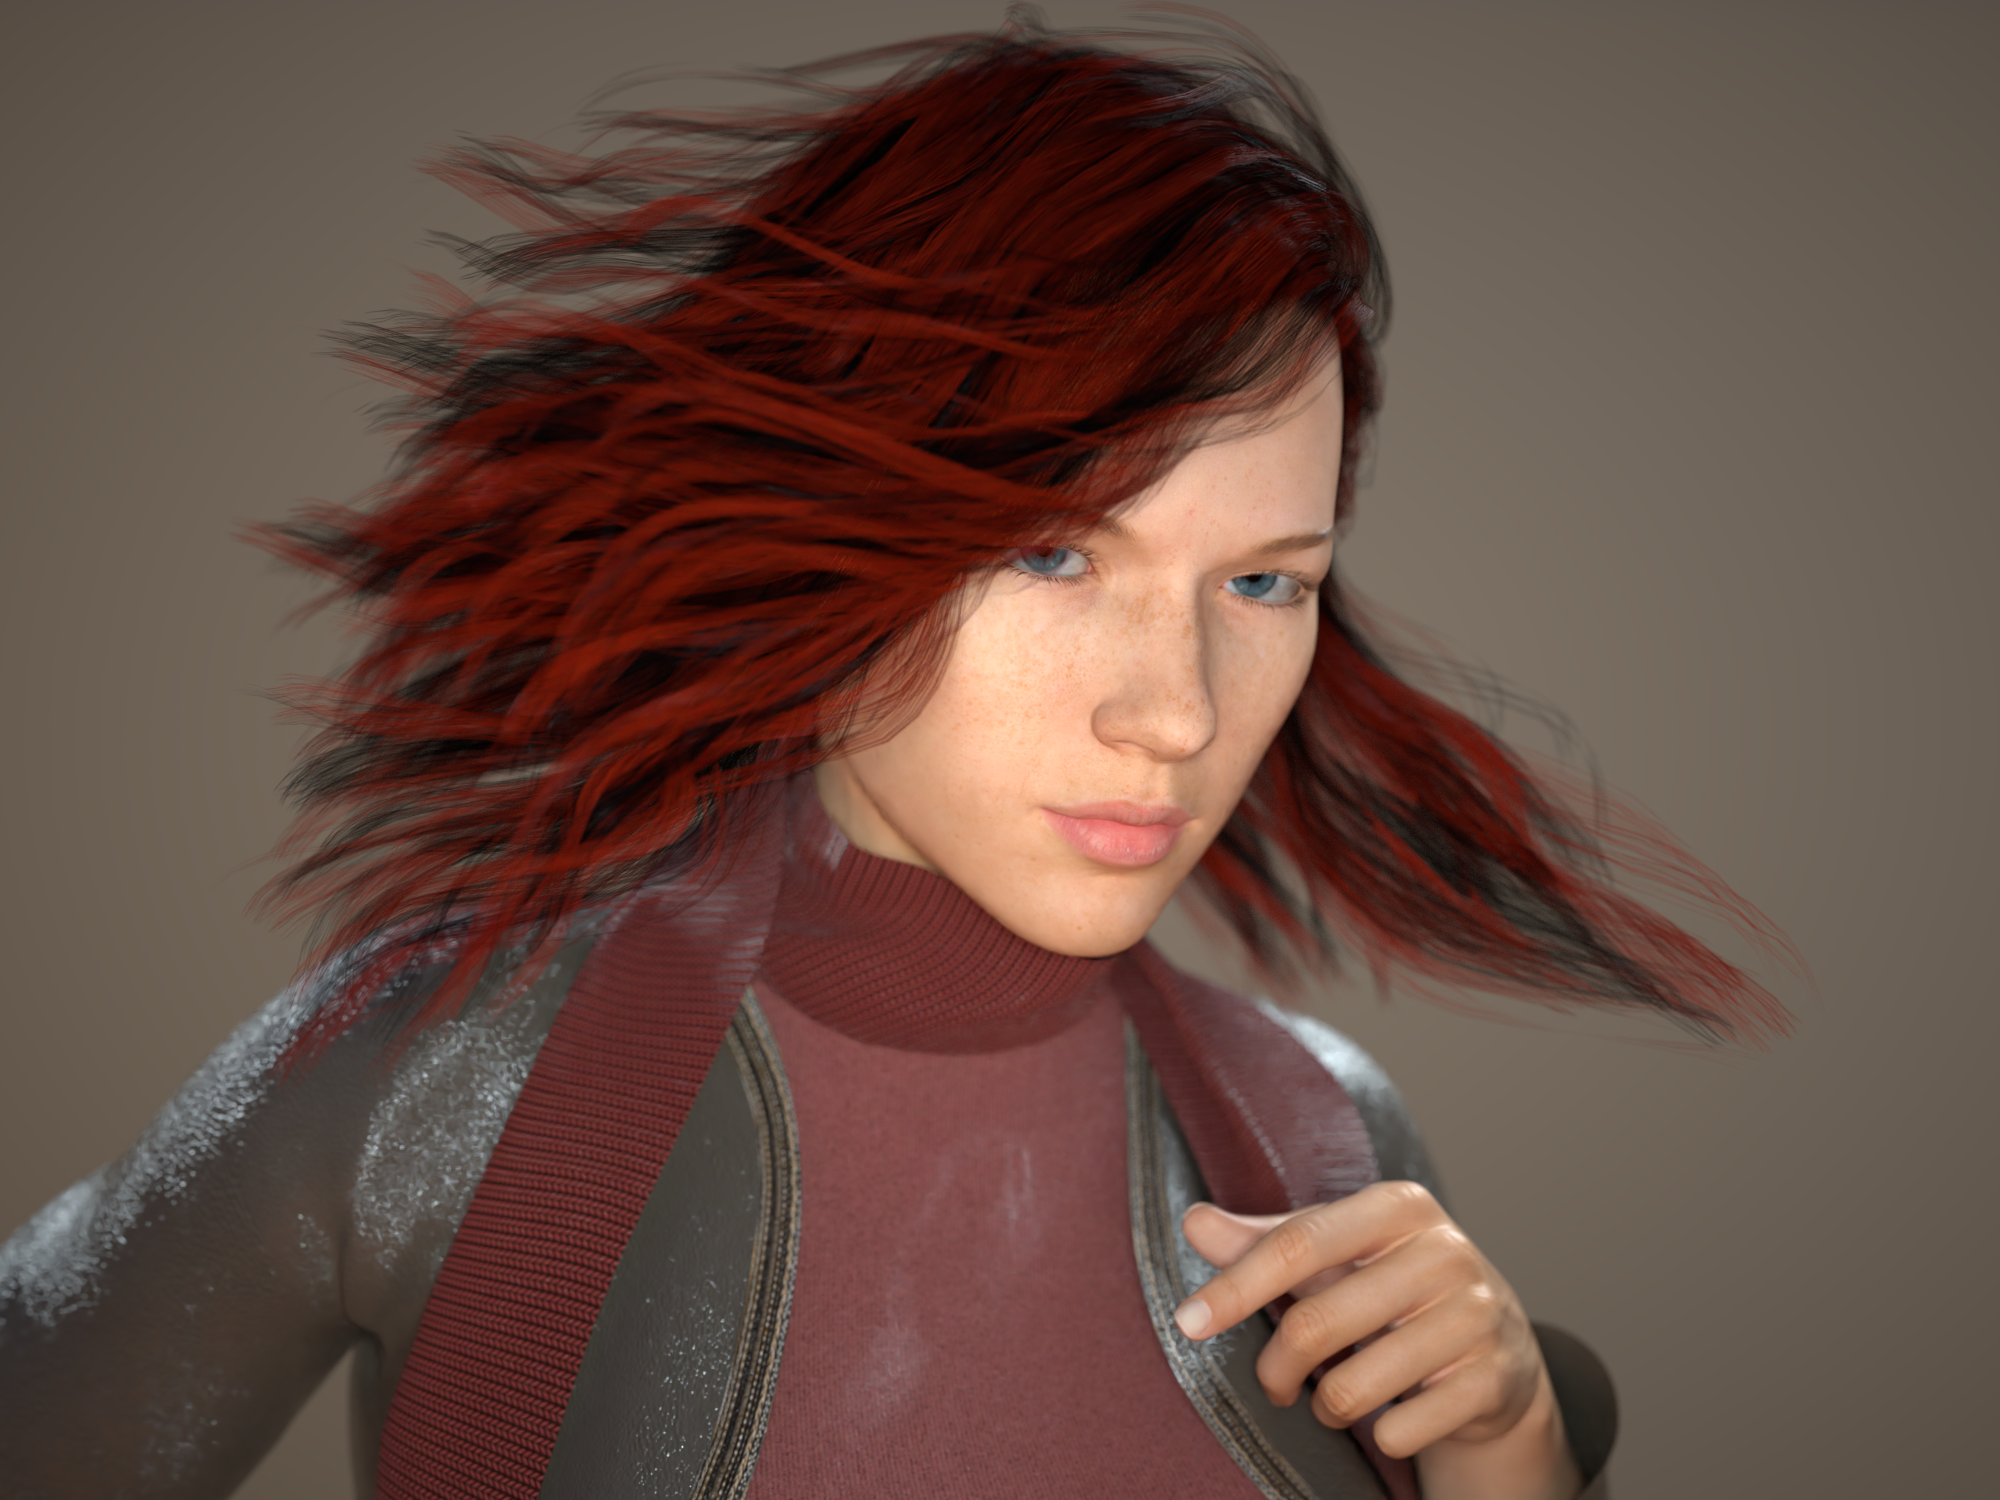
Path Tracing
The second option came up with 1000 samples by default, and takes a bit longer to render per pass. To get a direct comparison to the Direct Light option, I’ve rendered the default and a pass with 500 samples. While I don’t see any immediate definition changes, I find that Path Tracing renders slightly lighter than Direct Light, and more samples appear to make the image slightly brighter (most likely related to Global Illumination).

PMC
The third option takes the longest to render, and I’ve not had much look with it at all. At first I thought it does not give me a real-time preview while it’s working. This seemed a bit unusual, but perhaps there was a tick box I could have ticked and had forgotten. According to the Windows Task Manager, my GPU was using about 1% during this render, while my CPU was using about 20-30%. That was… fishy.

Turns out this was a mistake: it took my system about 47 minutes to render the scene, and all I had to show for it was a 23k black picture (see inset on the right – I thought I’d post it here for a laugh). It’s not what I had expected, but with any test, there’s information in here.
I restarted DAZ Studio, and at that point, I did see the preview render using PMC. I guess this tells me that should we ever NOT see a render building itself up, we should quit and restart immediately. However, a 500 sample test took way longer to render than the 2000 sample test below, and by the time it was finished, the image was not denoised, nor could I press the “save” button. It took a third restart to render the 500 sample image, but the denoiser never kicked in.
I’m no expert, but if I can’t get something to work after 3 hours of testing, PMC is probably not something I’d like to work with. Besides, I don’t see a visual benefit for the increased render time.


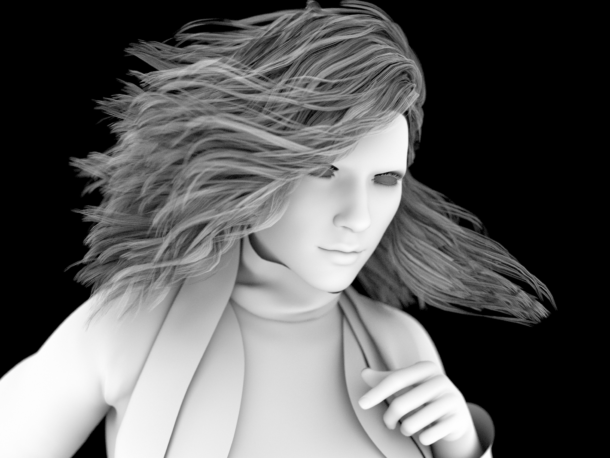
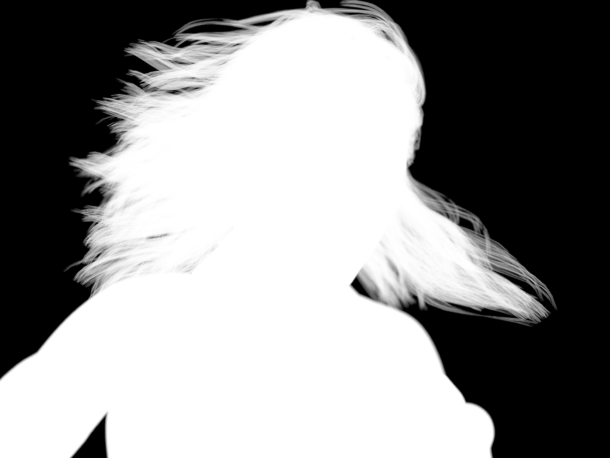
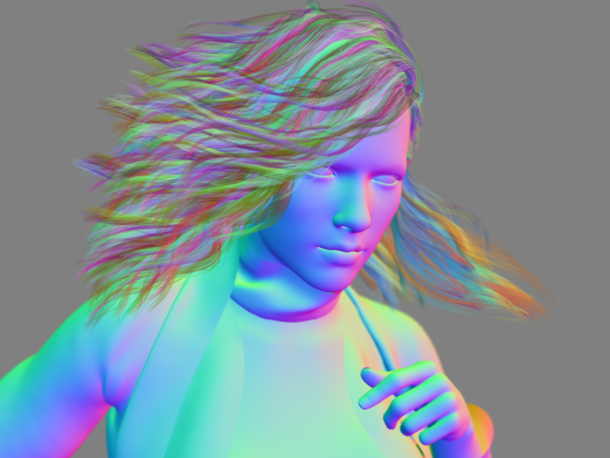
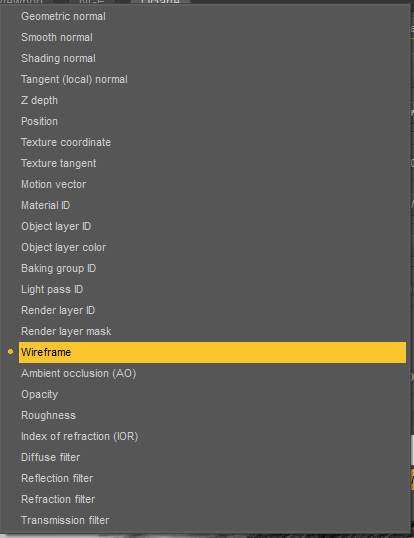
Info Channel
This option generates a special pass, like wireframe or a depth pass. This is in addition to the multi-pass rendering option, which Octane also supports. Some of these effects look quite interesting, but I’m not knowledgeable enough to understand how they may be useful. Here are some examples:
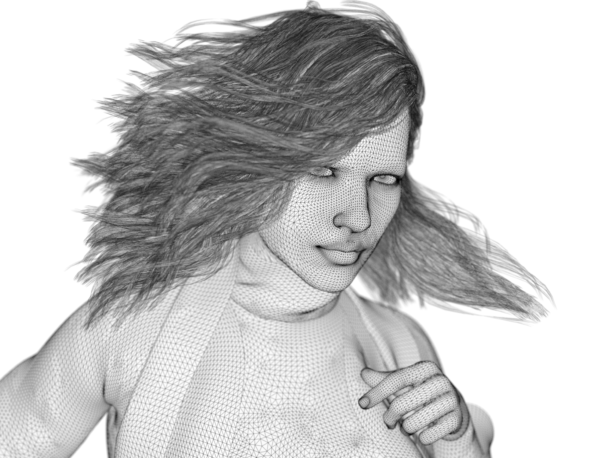
Note that the denoiser does not work in all modes and might render a black image instead.
Conclusion
I’m not sure I have a conclusion… either way, there you have it. After several hours of rendering and testing, that’s what our scene looks like with the various render settings. I think that the default Direct Light with Ambient Occlusion is a perfect place to get started, and a great compromise between render time and results. I’m inclined to use this setting, perhaps with the added benefit of Diffuse instead of AO.
Happy experimenting!