
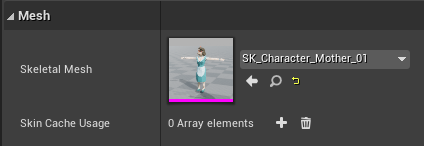
For character selections, we may want to replace the skeletal mesh of a character according to a user selection. This comes in handy when we want players to be able to select a different character, or the same character wearing a different outfit. Assuming all meshes share the same skeleton, there’s a Blueprint way of doing essentially what we do in the viewport under Mesh using the UI.
In Blueprint, we can use a node called Set Skeletal Mesh. All it needs is a reference to the mesh of the character and a name of the new mesh.
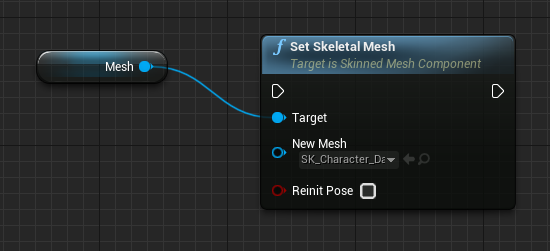
The only other option is called Reinit Pose. It’s enabled by default and appears to play animations from the beginning. This leads to a visual jump when switching meshes. Disabling it will let the animation continue.
Replacing the Material (Outfits)
I’m using the Synty Town assets for my project. Not only do these sets come with different meshes, they also come with a variety of materials for each character. By changing those, the characters appear to wear different outfits. It is equally simple to change our materials at runtime. Here’s how to do it:
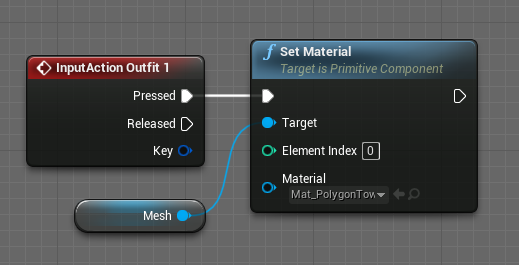
Much like Set Skeletal Mesh, we can use the Set Material node with our mesh and pick a new one.
Demo Project
I’ve put together a quick playable demo that lets you try this out for yourself: Press TAB to summon the menu, then pick a character at the bottom. Now press 1-4 to change the outfits, and 5-7 to change the skin tone.
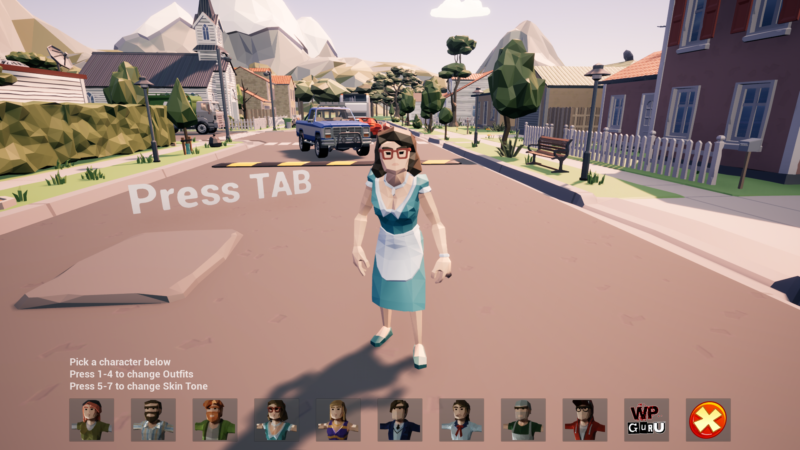
It’s available for download from my Ko-fi store (free).