The process of drawing panels for your comic might seem a little intimidating when you first try it out in CLIP Studio Paint. We all feel that way. Once you get used to it, you’ll be flying around. Let me show you how it works.
You can create panels in two ways: either by using one of the presets, or by drawing them manually with a vector tool. That’s the approach I’ll discuss here. Essentially you can slice and dice the page as you see fit. As you do, all areas outside the panel are masked off, and by default a new folder is created whose contents will be seen in the panel.
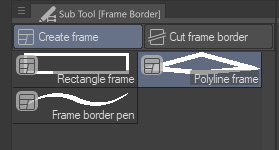
Select the Frame Border tool to get started. It looks like a super tiny mini comic inside an icon.

Every tool has various options that appear on the Settings and Sub Tool Panels in CSP. Let’s take a look at it and see what the Frame Border tool has to offer. In the Sub Tool panel you can choose how you’d like to create a frame. Either draw a rectangle shape, poly-line or you can draw freehand. It’s how the tool behaves.
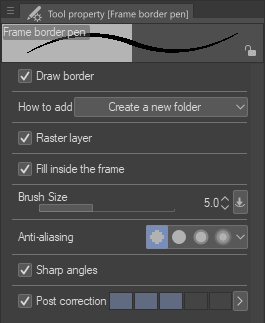
Then there’s the Settings Tab. This has options that kick in once the panel is drawn. You can choose if you’d like to create a new folder or not, if you’d like to draw a frame (and at what colour/size), if this should be a raster layer, and if you’d like fill the new frame with a colour. The latter will add a new paper colour layer for the frame.
Snapping the tool
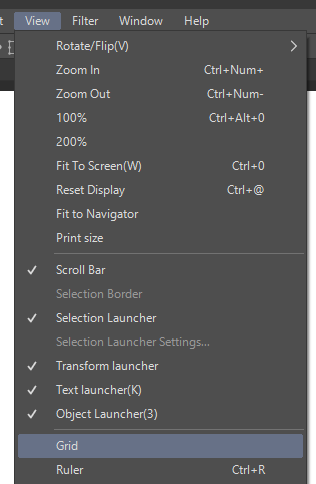
There’s a nice helper function that allows us to draw rectangles by snapping the tool to the grid. We can activate this by first displaying the grid (under View – Grid)…
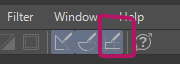
… and then activating the Snap To Grid option at the top (third icon).
That’s the basics. Happy panelling 🙂