I’m currently evaluating a seriously exciting app called R3DS Wrap, also known as The Russian 3D Scanner. It does something rather difficult: it takes the existing geometry of a base mesh and wraps it around another one with a different topology. Imagine wrapping a sphere around a cone, a jacket around a figure or a 3D bodyscan around existing topology, like a Genesis character.
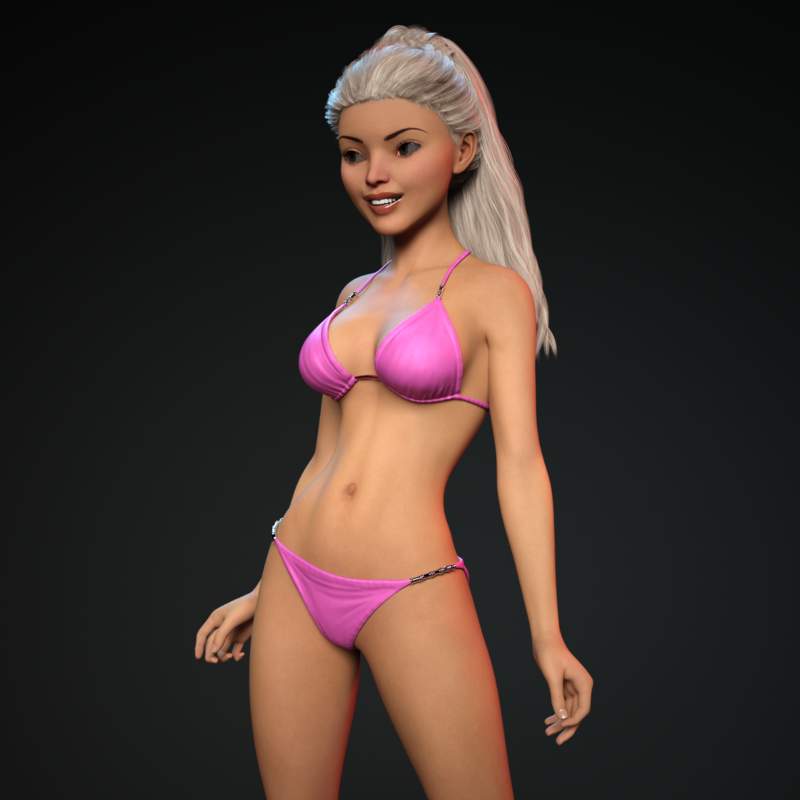
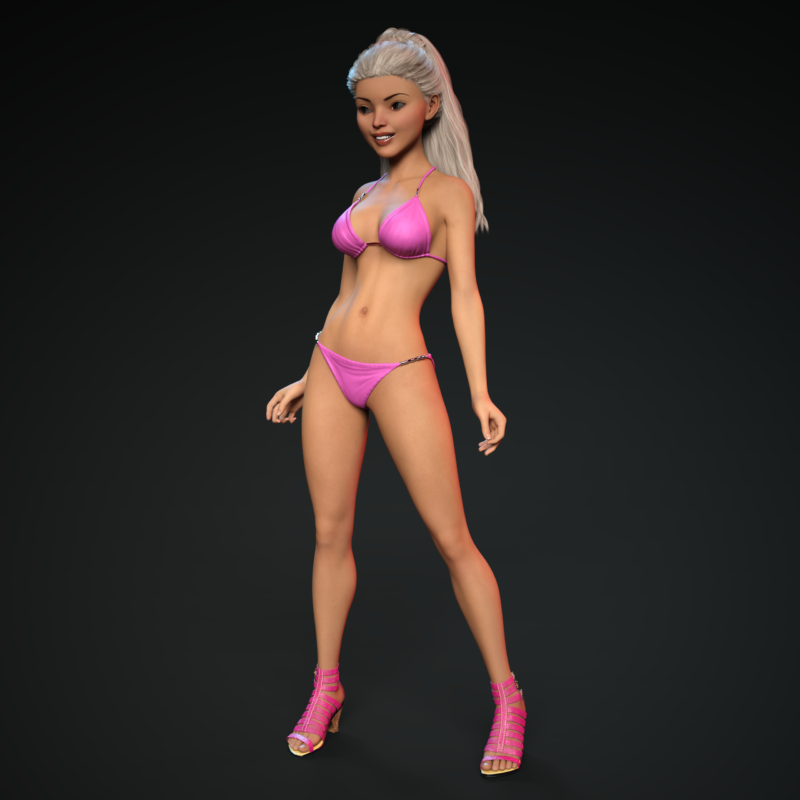
G8 Base wrapped around Girl 6 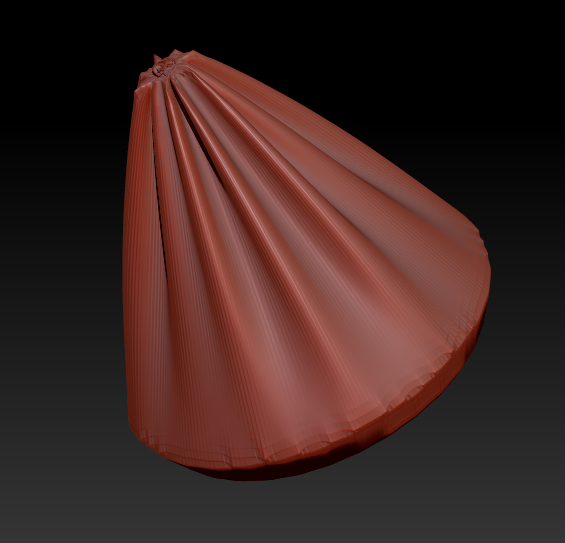
Sphere around a cone
In fact that’s what I’ve tried: wrap Genesis 8 Basic Female around The Girl 6, a Genesis 2 character with an entirely different topology. The results are quite exciting for a first attempt!
This is something Brian has figured out, and he kindly made a very detailed video about it. In this article I’ll give you a brief overview of 3DS Wrap, what the app looks like and how it works in principle. Let’s take a look at the interface and the setup I’ve used to bring Girl 6 back from the vault. The basic steps involved are:
- exporting Genesis 8 and Girl 6 as OBJs in matched positions
- import both into R3DS Wrap
- work some magic
- export the resulting geometry and import it as a morph in DAZ Studio
- marvel at the possibilities
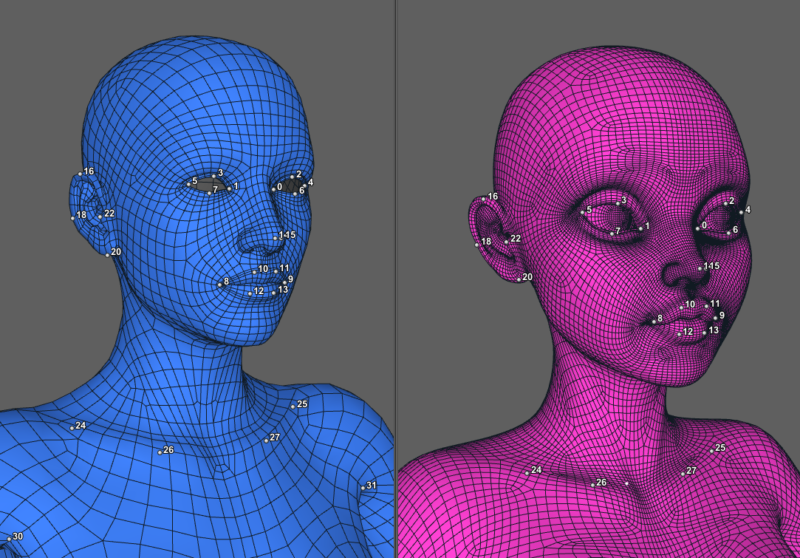
Here’s what the app looks like. In the viewport I’ve displayed both source and target characters, posed in roughly the same positions. With some additional parameters Ive defined via nodes, R3DS Wrap will be able to work out how to shift the vertices of my Genesis 8 mesh so that they’re aligned with those of the target mesh. It’s some serious magic that’s going on there!
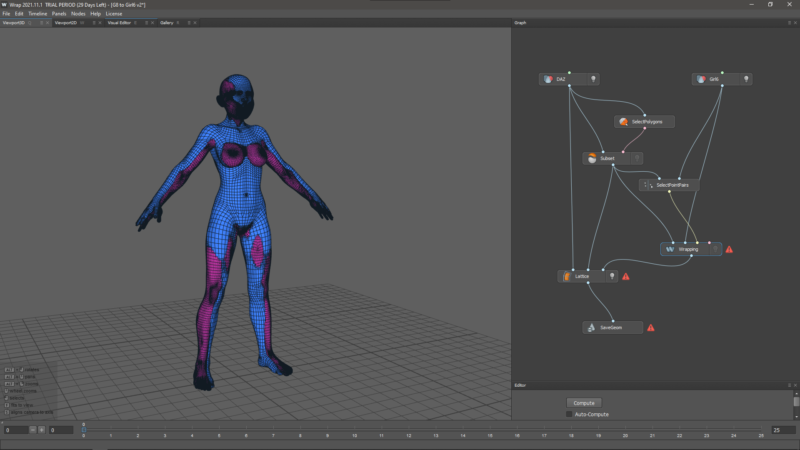
R3DS Wrap is a node-based app, and each node tells the programme what to do in the workflow. This seems mysterious at first, but it’s actually very intuitive once you get the hang of it. Here’s what my setup looks like:
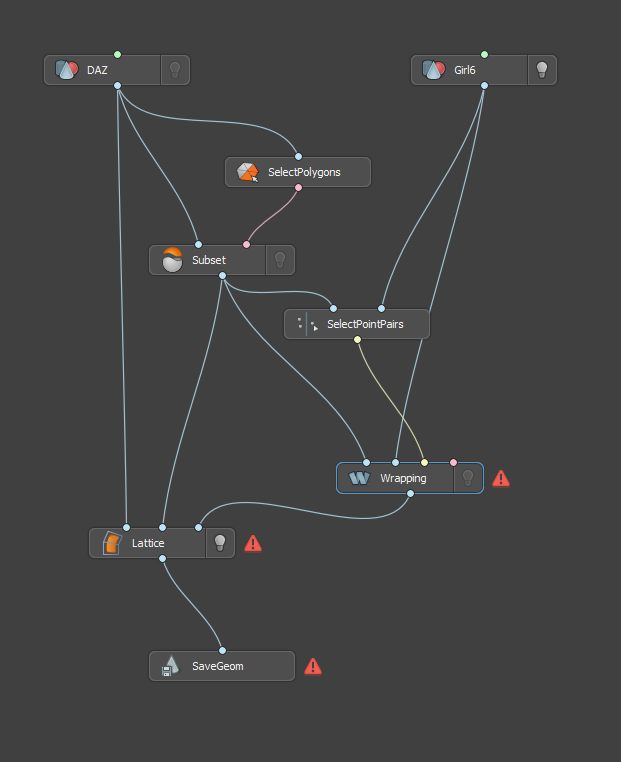
At the top we have two Geometry Nodes (my destination mesh on the left [DAZ], and my source mesh [Girl6] on the right). Those load and specify each geometry. The right tree goes into a Wrapping Node, which will tell the one on the left tree what geometry to wrap around. Towards the end we have a Save Geometry node, which is used to export out the result. Each node has an additional box at the bottom that lets us load a file, start the wrapping or specify parameters.
The other nodes in the left tree are a little more complex, but they address the exact difficulties I’ve encountered before when I tried the same process manually with a Blender add-on: they deal with mouth bags and eye balls. That’s a very tricky part of the process: two hollow similarly shaped meshes are easy to wrap, but human characters contain a lot of stuff in the head area that causes problems for both humans and computers.
To make the wrapping a success, we’ll first remove such objects, then after wrapping we’ll bring them back so that the geometry remains intact on output. This happens with the Select Polygons and the Subset nodes. The first lets us pick polygons to include either by painting, polygroups or material zones (that’s easy with DAZ characters). Once selected the Subset node will create a new mesh on the fly. This can be used for wrapping without issues.
After the wrapping is done, the Lattice node can figure out where those eyeballs, teeth and mouth bags would need to go now that the rest of the mesh is in a different position. Once all that is in place, you click a button and R3DS Wrap starts working its magic. Depending on how complex the meshes are, and how strong the deformation is, this could take a while (although my base resolution Genesis 8 figure only took a few seconds).
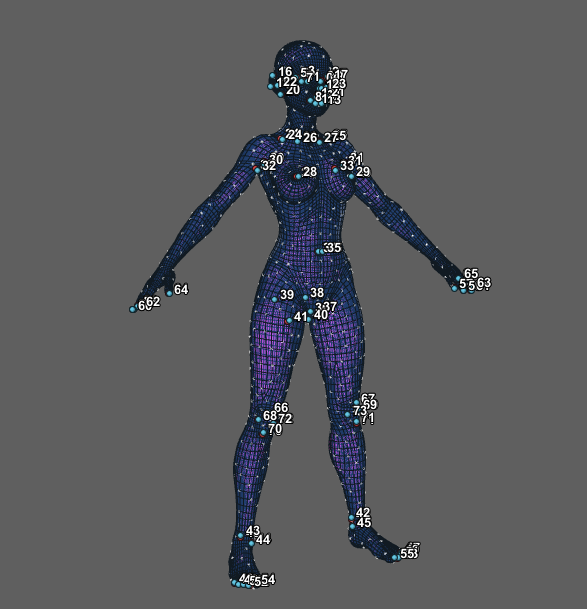
One node I haven’t mentioned yet is the Select Point Pairs node. This helps the wrapping node make sure the correct places of the mesh are wrapped. You can define what’s what on both meshes, things like finger tips, toes and anything that protrudes. This makes for more accurate wrapping.
Prices and Editions
R3DS Wrap comes in two editions: a stand-alone version for $390 (perpetual indie license), and a ZBrush Plugin aptly named ZWrap for $99 (annual indie subscription). I’ve tried them both, and the wrapping functionality is the same. However, ZWrap requires ZBrush, some knowledge on how to use the latter, and or lacks the node functionality (or I haven’t found it yet). You can download trial versions for either edition here:
Watch Brian’s video about the whole process as it relates to DAZ Studio. He’s promised to make another version for Character Creator users soon.