Many render engines have the concept of decals. Those are texture projections that can be thrown onto existing objects without having to amend the actual texture files. Footsteps and bullet holes in video games are examples of decals. I’m not sure if Cycles or Eevee have this concept natively, but there’s a relatively easy way to use “something like decals” in Blender using the Shrinkwrap Modifier. Let me show you how it works.
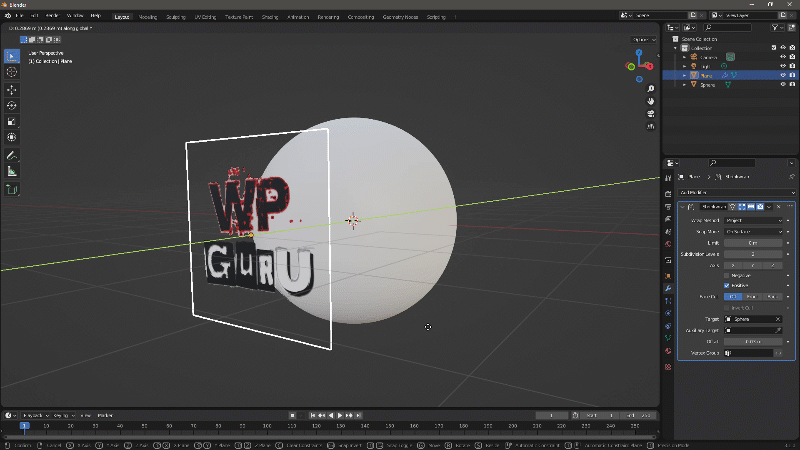
In my example scene I have a sphere with a couple of subdivisions, and a plane primitive with my logo on it. The aim is to project the logo onto the curved surface.
The first thing I’ll do is to add a Subdivision Surface modifier to my plane so it gets more polygonal resolution. You could also use a grid instead of a plane. The more divisions I have, the better it will conform to the sphere object in a moment. Set it to “simple” so it doesn’t distort. Apply the modifier if you like.
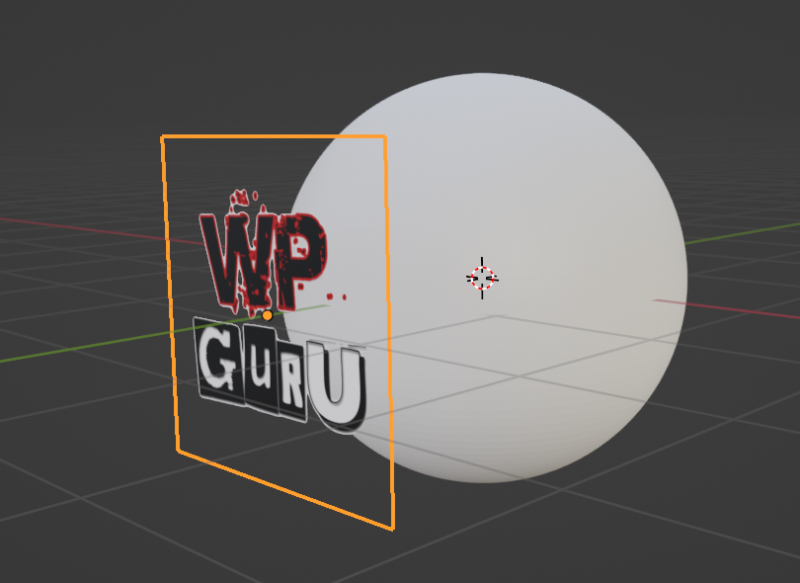
Next I’ll add a Shrinkwrap Modifier to the plane. This is the magic sauce for our decal effect. Set the Target to the object we want to project onto (in my case the Sphere) and choose Project as the Wrap Method. Enable either the Positive or Negative (or both options) to tell Blender which direction to distort your object in. Now move the plane towards the Sphere object and see it deform as it approaches it.
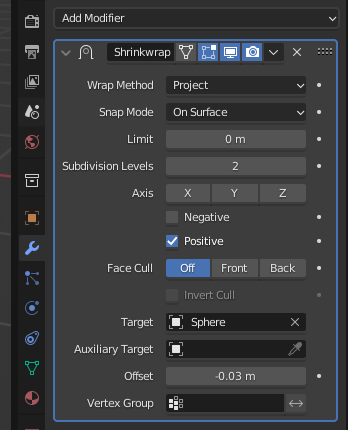
You may need to make the sphere invisible to see the effect properly. By default the projected surface is likely to intersect with the object’s surface, leading to z-fighting. To alleviate that, play with the Offset parameter. Small increments are enough to make it look handsome. Depending on your object, you may need to play with the axis values to get desired results.