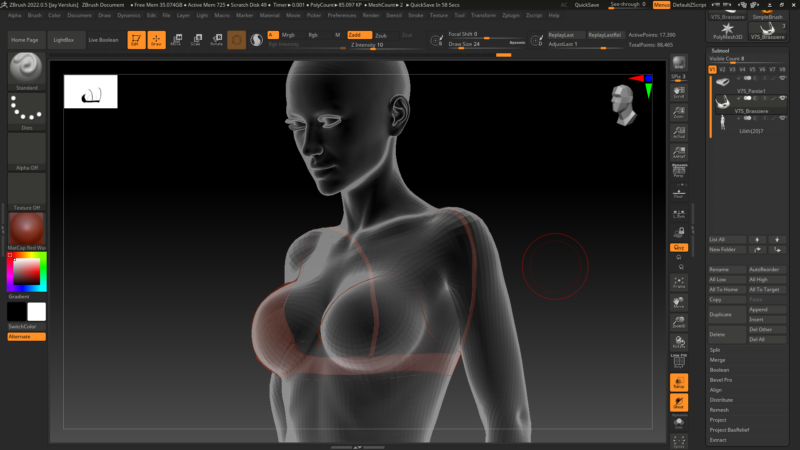
I had a weird issue that threw me when I was working in ZBrush the other day: flipped normals (not Henrik and Morten, the actually phenomenon of normals facing the wrong way). ZBrush only shows the “right” side of the normals by default, and although it has the option to show both sides, the default way highlights issues with the object you’re working on.
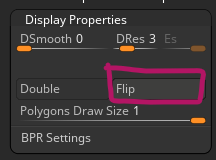
In my case, it was a lingerie pack that had this issue: the right side of the normals was facing inwards. To fix this, you’ll have to select the item in question from the Subtool Panel under Tool, then head to Display Properties and choose Flip.
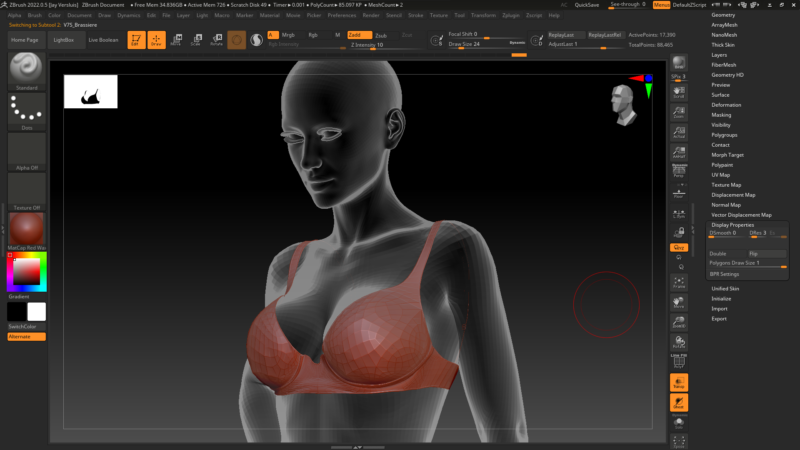
Usually you can just ALT click a sub tool to select it, but that doesn’t work when the normals are flipped. The Sub Tool panel is a bit like the scene outliner in “sane” 3D apps. With that done, the objects look much better.
Note that you cannot “recalculate” normals like Blender does, in case some face the other way and you’d like to rectify this. ZBrush can only reverse what’s in place, not adjust individual polygons.
Another note for Daz Studio integration: changing normals is considered a geometric change and as such cannot create a morph target on an existing object. To make a change on an object like this, you can use Double under Display Properties to make the object show up properly, although it won’t solve the fact that there’s something wrong with the object. Flipped normals can wreak havoc with your render results, so it’s best to take care of issues if and when you spot them.
Another 3D Mystery has been solved!