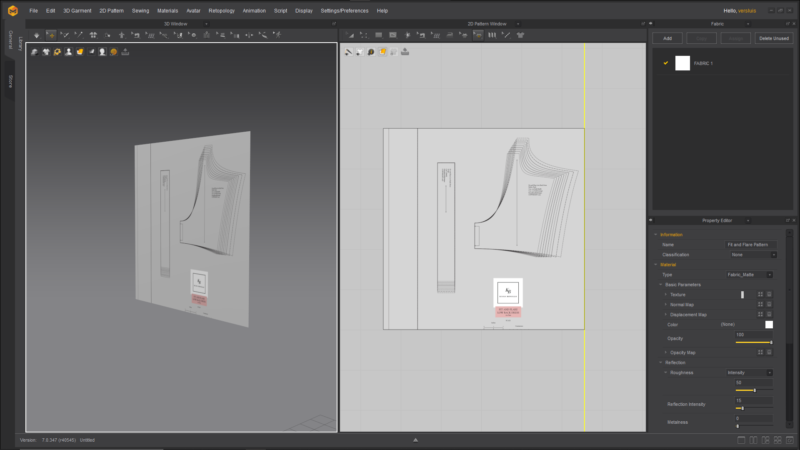
When you trace patterns in Marvelous Designer, you end up with a Graphic Trim on each piece, which can look a little distracting on the final garment. This is in addition to a texture you may have applied, so it’s vital to remove the graphic trim eventually. Sadly this is neither intuitive nor memorable, so I thought I’ll let us all have a little reminder when we inevitably forget next time we want to do this. Here’s how to do it:
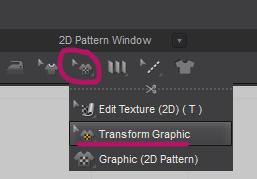
Select one or multiple pattern pieces, head over to the Graphic Trim icon and choose Transform Graphic. I know, you’d think this option is under Edit Texture, but of course that’s not the case. Everyone would find it there.
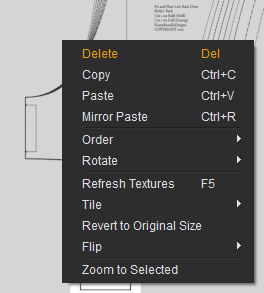
Now right-click on the pattern piece and select Delete. This will remove the attached graphic trim, or remove all trims if multiple patterns had been selected.
Another 3D Mystery has been solved!