I’ve been meaning to make a note about the “attach gun” part, because I always forget how to do this. It’s relatively simple when you know, but not… well when you don’t. Let’s fix that! This procedure can also be used to attach other things besides guns into the right places, such as hair and beard components. Here’s what we need to do:
- create a socket on our Skeletal Mesh
- add a preview mesh and adjust it
- add a skeletal mesh to our Blueprint character
- and finally use the Construction Script to spawn the real mesh to the socket
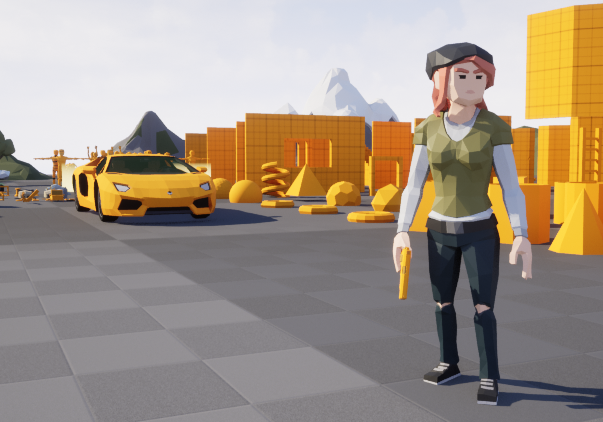
I’ll use a gun mesh from the Synty Prototype pack, and a character from the Town pack.
Creating the Socket
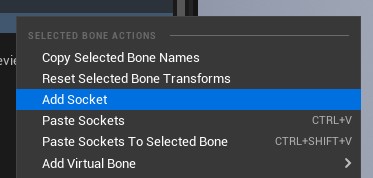
I’ll open up the skeletal mesh of the character I’d like to use, then switch to the Skeleton Tree. Find the bone to which your attachment needs to fit. In my case, that’s the right hand. On that bone, right-click and select Create Socket. Rename the socket to something memorable or descriptive, like GunSocket.
Right-click again on the new socket and choose Add Preview Mesh. This will act as a dummy mesh in this viewport to show you how to position the socket so that it’ll look handsome in the game later. Browse to the asset you intend to use and make any rotational/translational adjustments to the socket until it looks good. Note that you can’t rotate the actual mesh, only the socket.

Attaching the “real” mesh
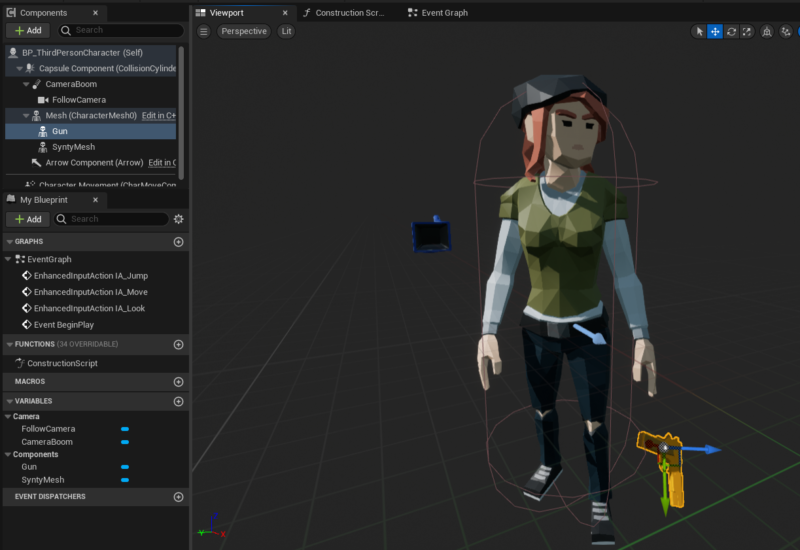
Back in our Blueprint character, add a new Skeletal Mesh to the character tree and select the gun mesh in the details panel. Notice that it just lurks around in the viewport and seemingly bears no relation to where it should be later. That’s OK, we’ll fix that. I’ve already retargeted my Synty character as explained in my previous article, so SyntyMesh is the visible character and Gun is my attachment.
We want to see the gun in our character’s hand even before we start playing our game, so we’ll use the Construction Script to add a clever node called AttachComponentToComponent. It will be the magic sauce that puts the gun into our character’s hand. Connect the Gun and the Synty Mesh to the node, click compile and we’re almost done. The Socket Name must match what you’ve specified when you added it to your character’s skeleton.
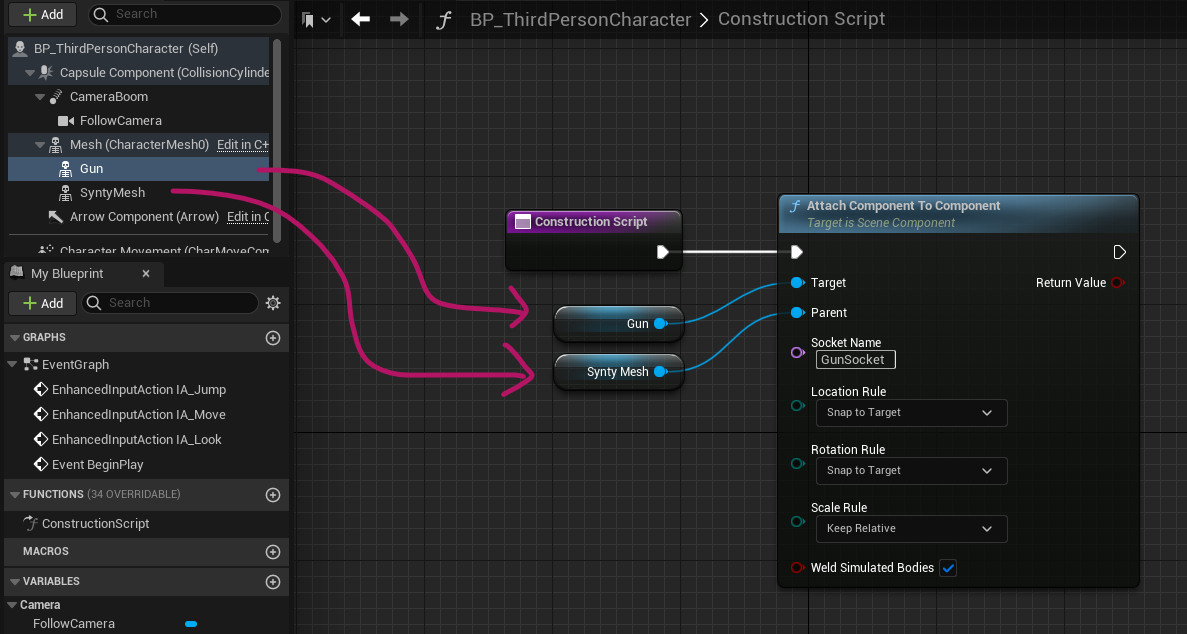
To make the attachment snap into the same position as we’ve tweaked out preview mesh, set both the Location and Rotation Rule to Snap to Target. You can do the same for the Scale Rule if you’ve resized your mesh, but in my case that wasn’t necessary. Compile again and your character should hold a gun, because… it’s probably a dangerous world out there!