Unreal Engine has a convenient way to migrate objects from one level to another in the same project. I keep forgetting how to do this so I thought I’d make a note. This is not the simple copy/paste approach, even though that will work: select actors and press CTRL+C in Level A, then open Level B and press CTRL+V. The issue is that you’re constantly opening levels, which takes up too much time, and it’ll drive you insane fast. Instead we’ll use the Levels tab.
Head over to Window and choose Levels. It’ll dock itself in the right sidebar by default. Open your source level and you’ll see something like this.
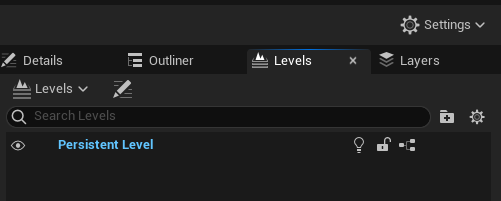
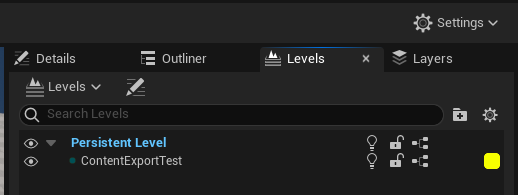
We have one persistent level, which is the one that’s currently open. At the top there’s a drop down menu called Levels, click that and add your Target Level (add existing). This will display it as a child of your persistent level.
Now comes the fun part: select one or multiple objects in your viewport or outliner, then right-click on the target level and choose Move Selected Actors to Level.
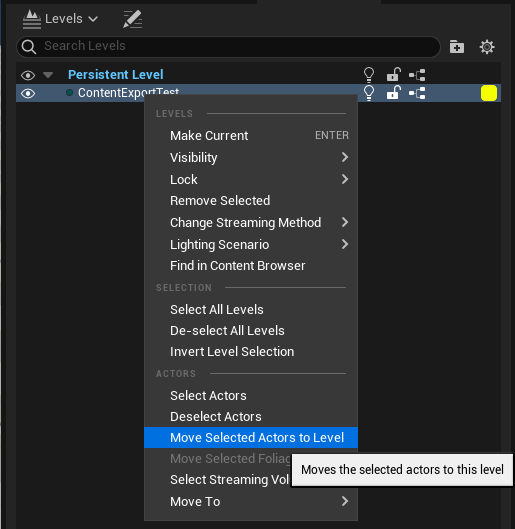
The wording is a little alarming, and to fully comprehend what’s going on we’ll have to know a little bit about the Level Context concept: for our purposes, this operation does remove the selected objects from the current level and moves them over to the target level. They’ll appear in the same world location, so both levels could be used in conjunction (like trees in this map, houses in another).
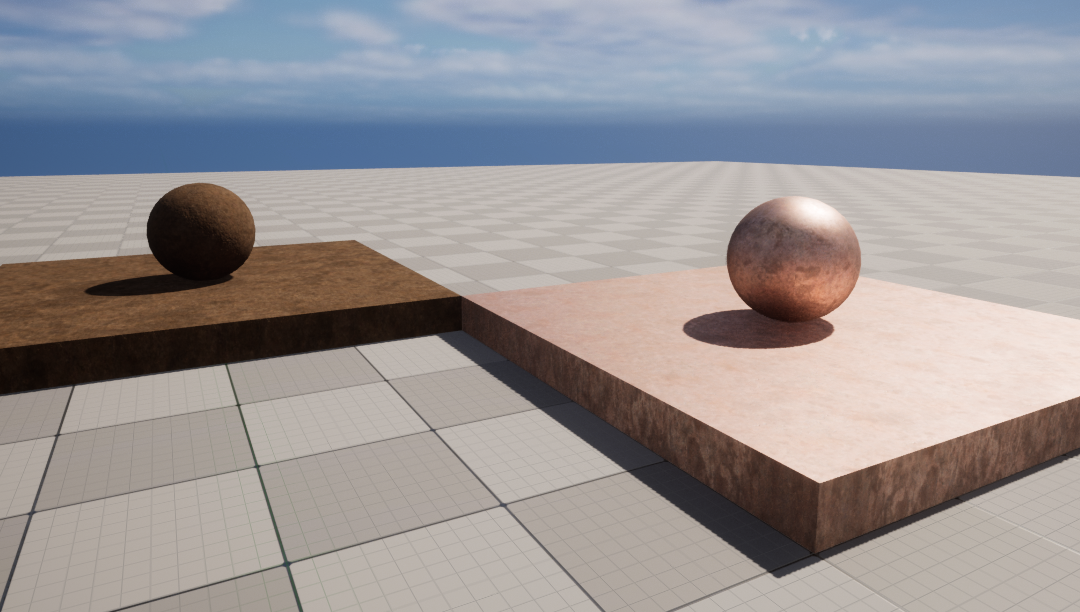
For the purposes of level building, we usually have a “demo map” that comes with an asset pack, from which we pick and choose the assets we want to use. It’s best to make a copy of such a level, attach our target level, then discard the original (copied) level when we’re finished. The great thing about this approach is that you’re not leaving the current level, nor do you have to open your other level and switch between them that way. You can even open multiple target levels and use this technique to quickly transfer objects from a modular overview level and start refining smaller portions of your scene without getting overwhelmed.
Another use case is lighting: separate all your lighting related objects into a separate level for daylight, and another one for night light. This will let you switch moods by just enabling the correct level.
Hope this helps, happy Level Building 🙂
Perfect – just what I needed