Spring Effects in iClone are “faux physics” if you will, something that lets a skeletal mesh bounce as it moves. We can create this from scratch on custom figures, and it’s a little finnickety to setup, but very straightforward if you know how to do it. These effects are not baked to the timeline (like real physics), and they don’t require physics to be enabled, however they can be exported with their full effect intact – which makes this such a valuable tool.
Let’s take a look at adding Springs to a custom object, then animating them in iClone, and exporting them back out for use in Blender and Beyond.
Creating your Object
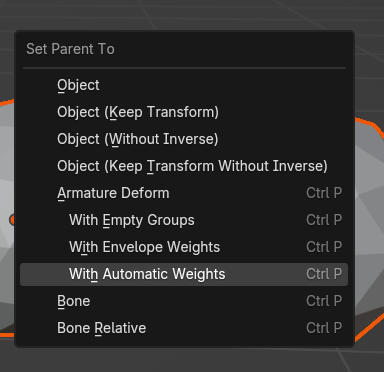
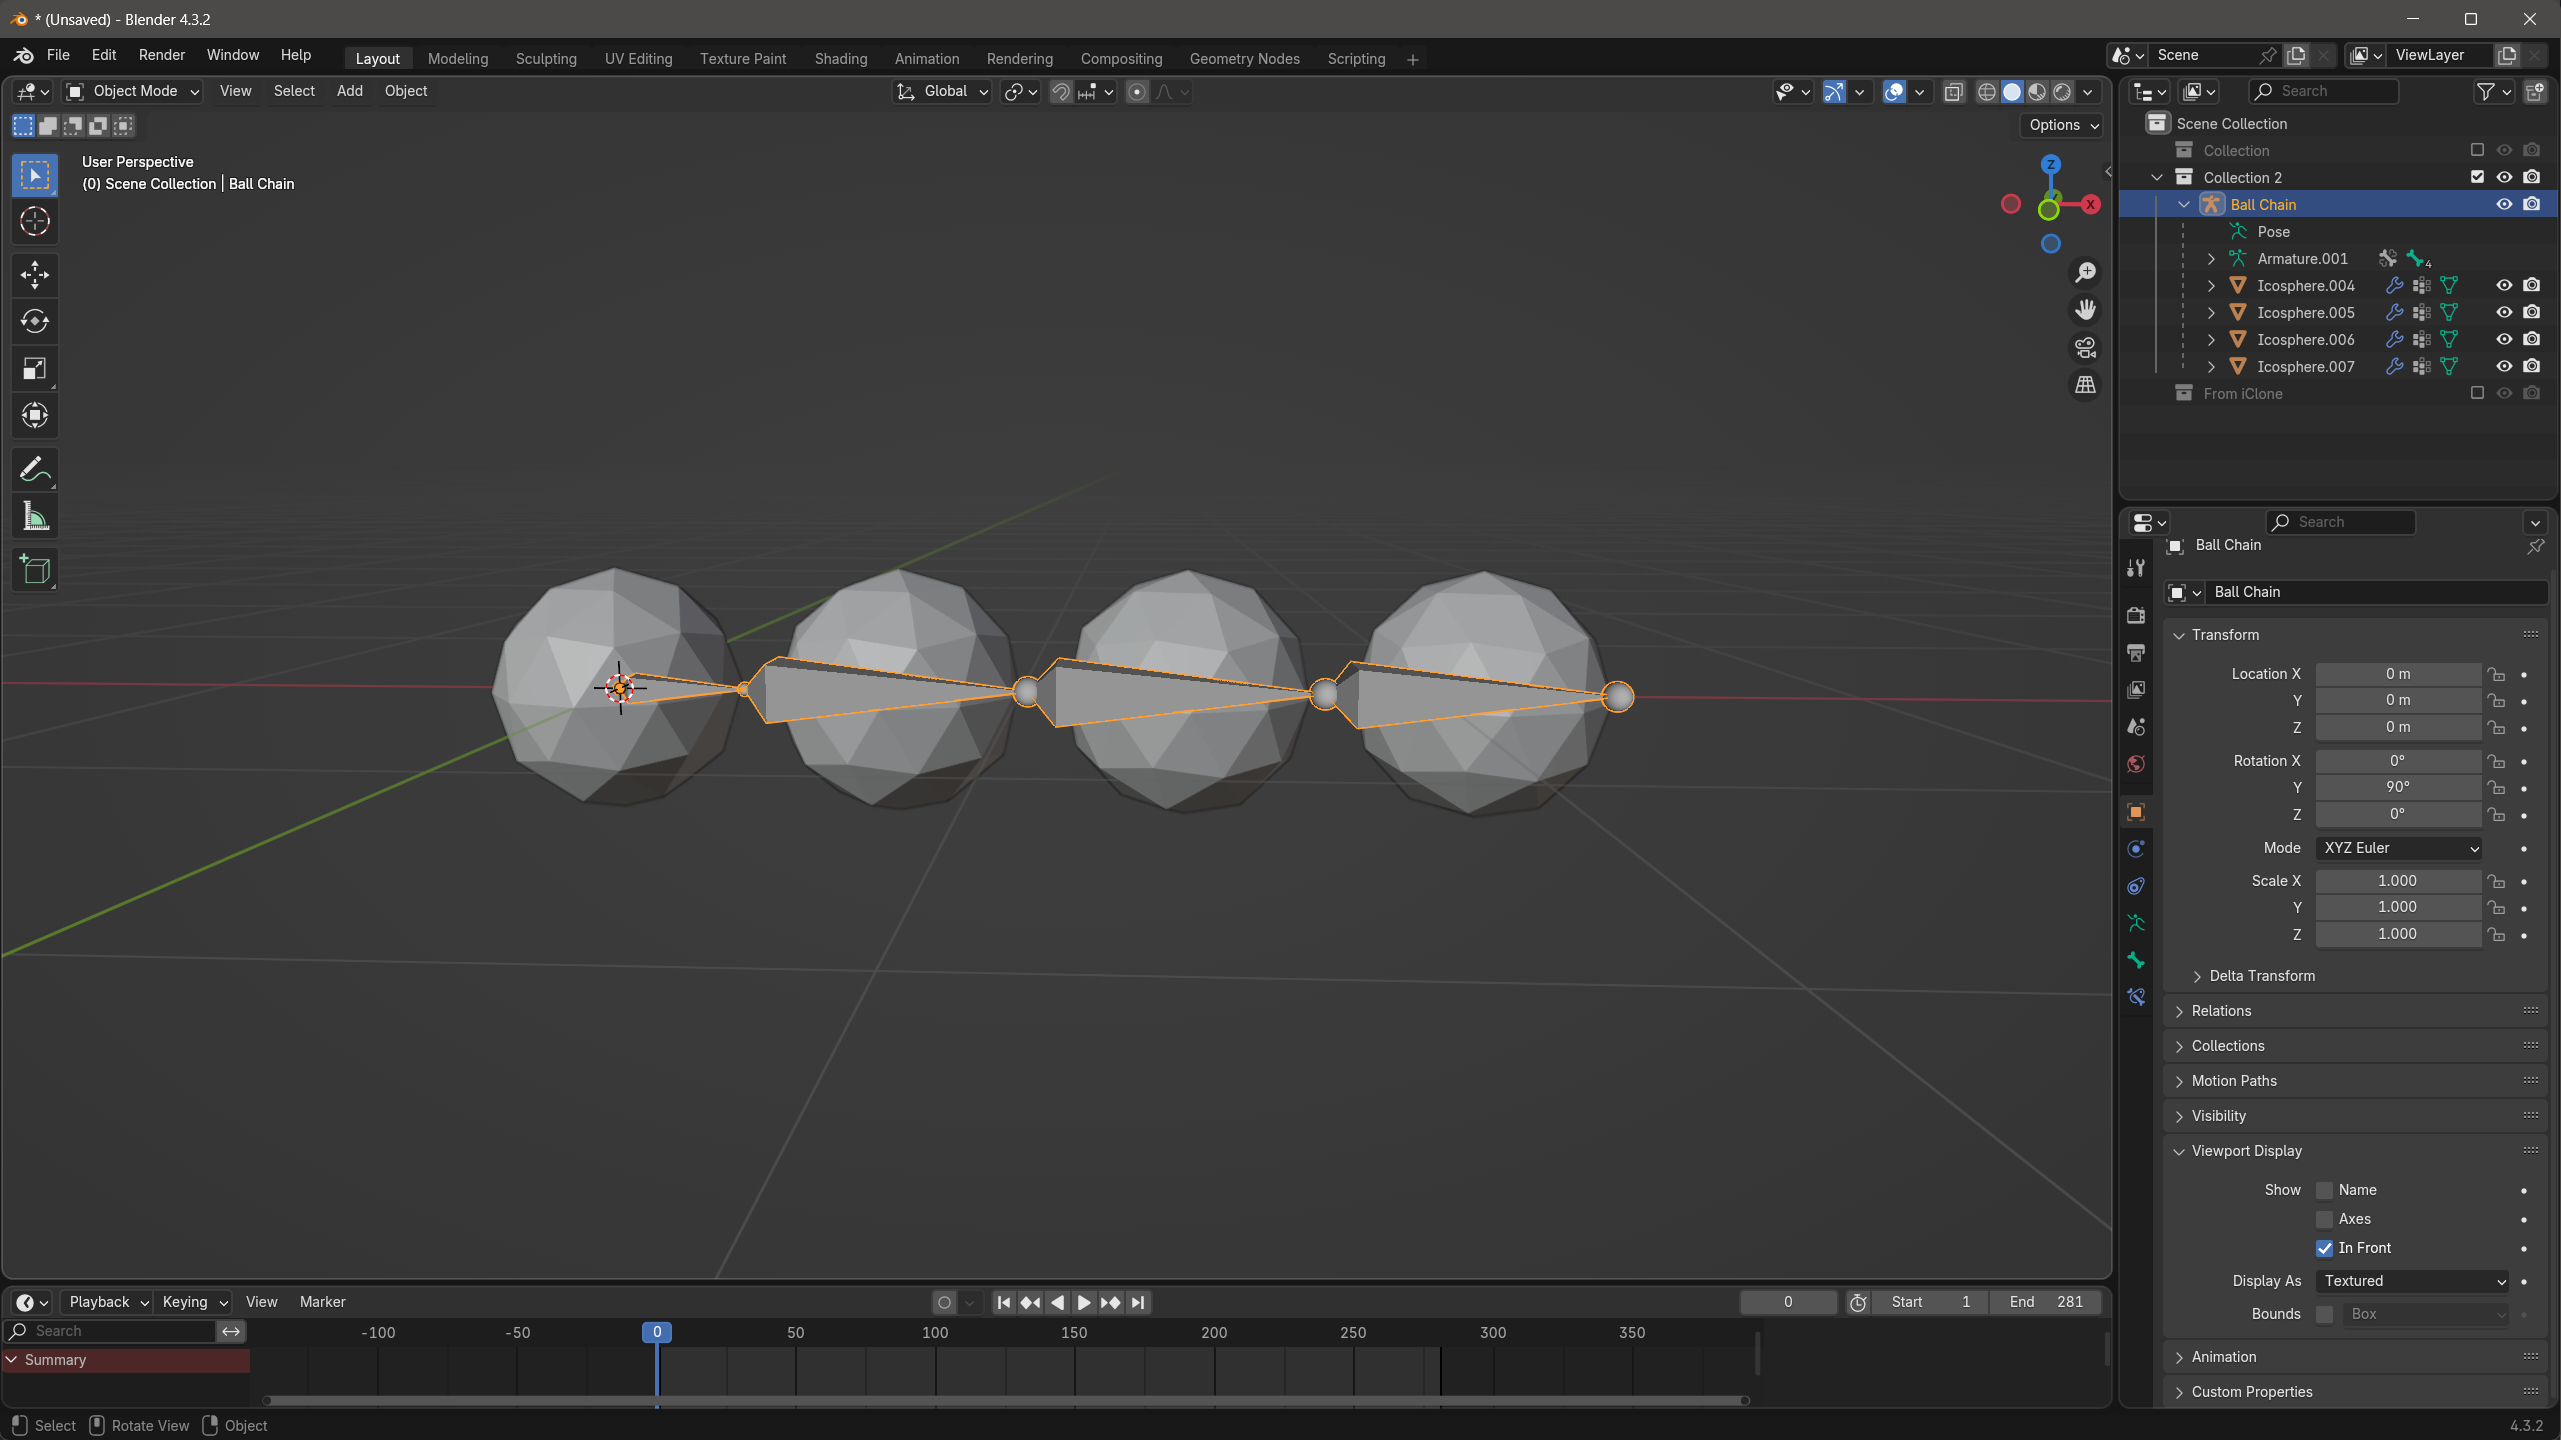
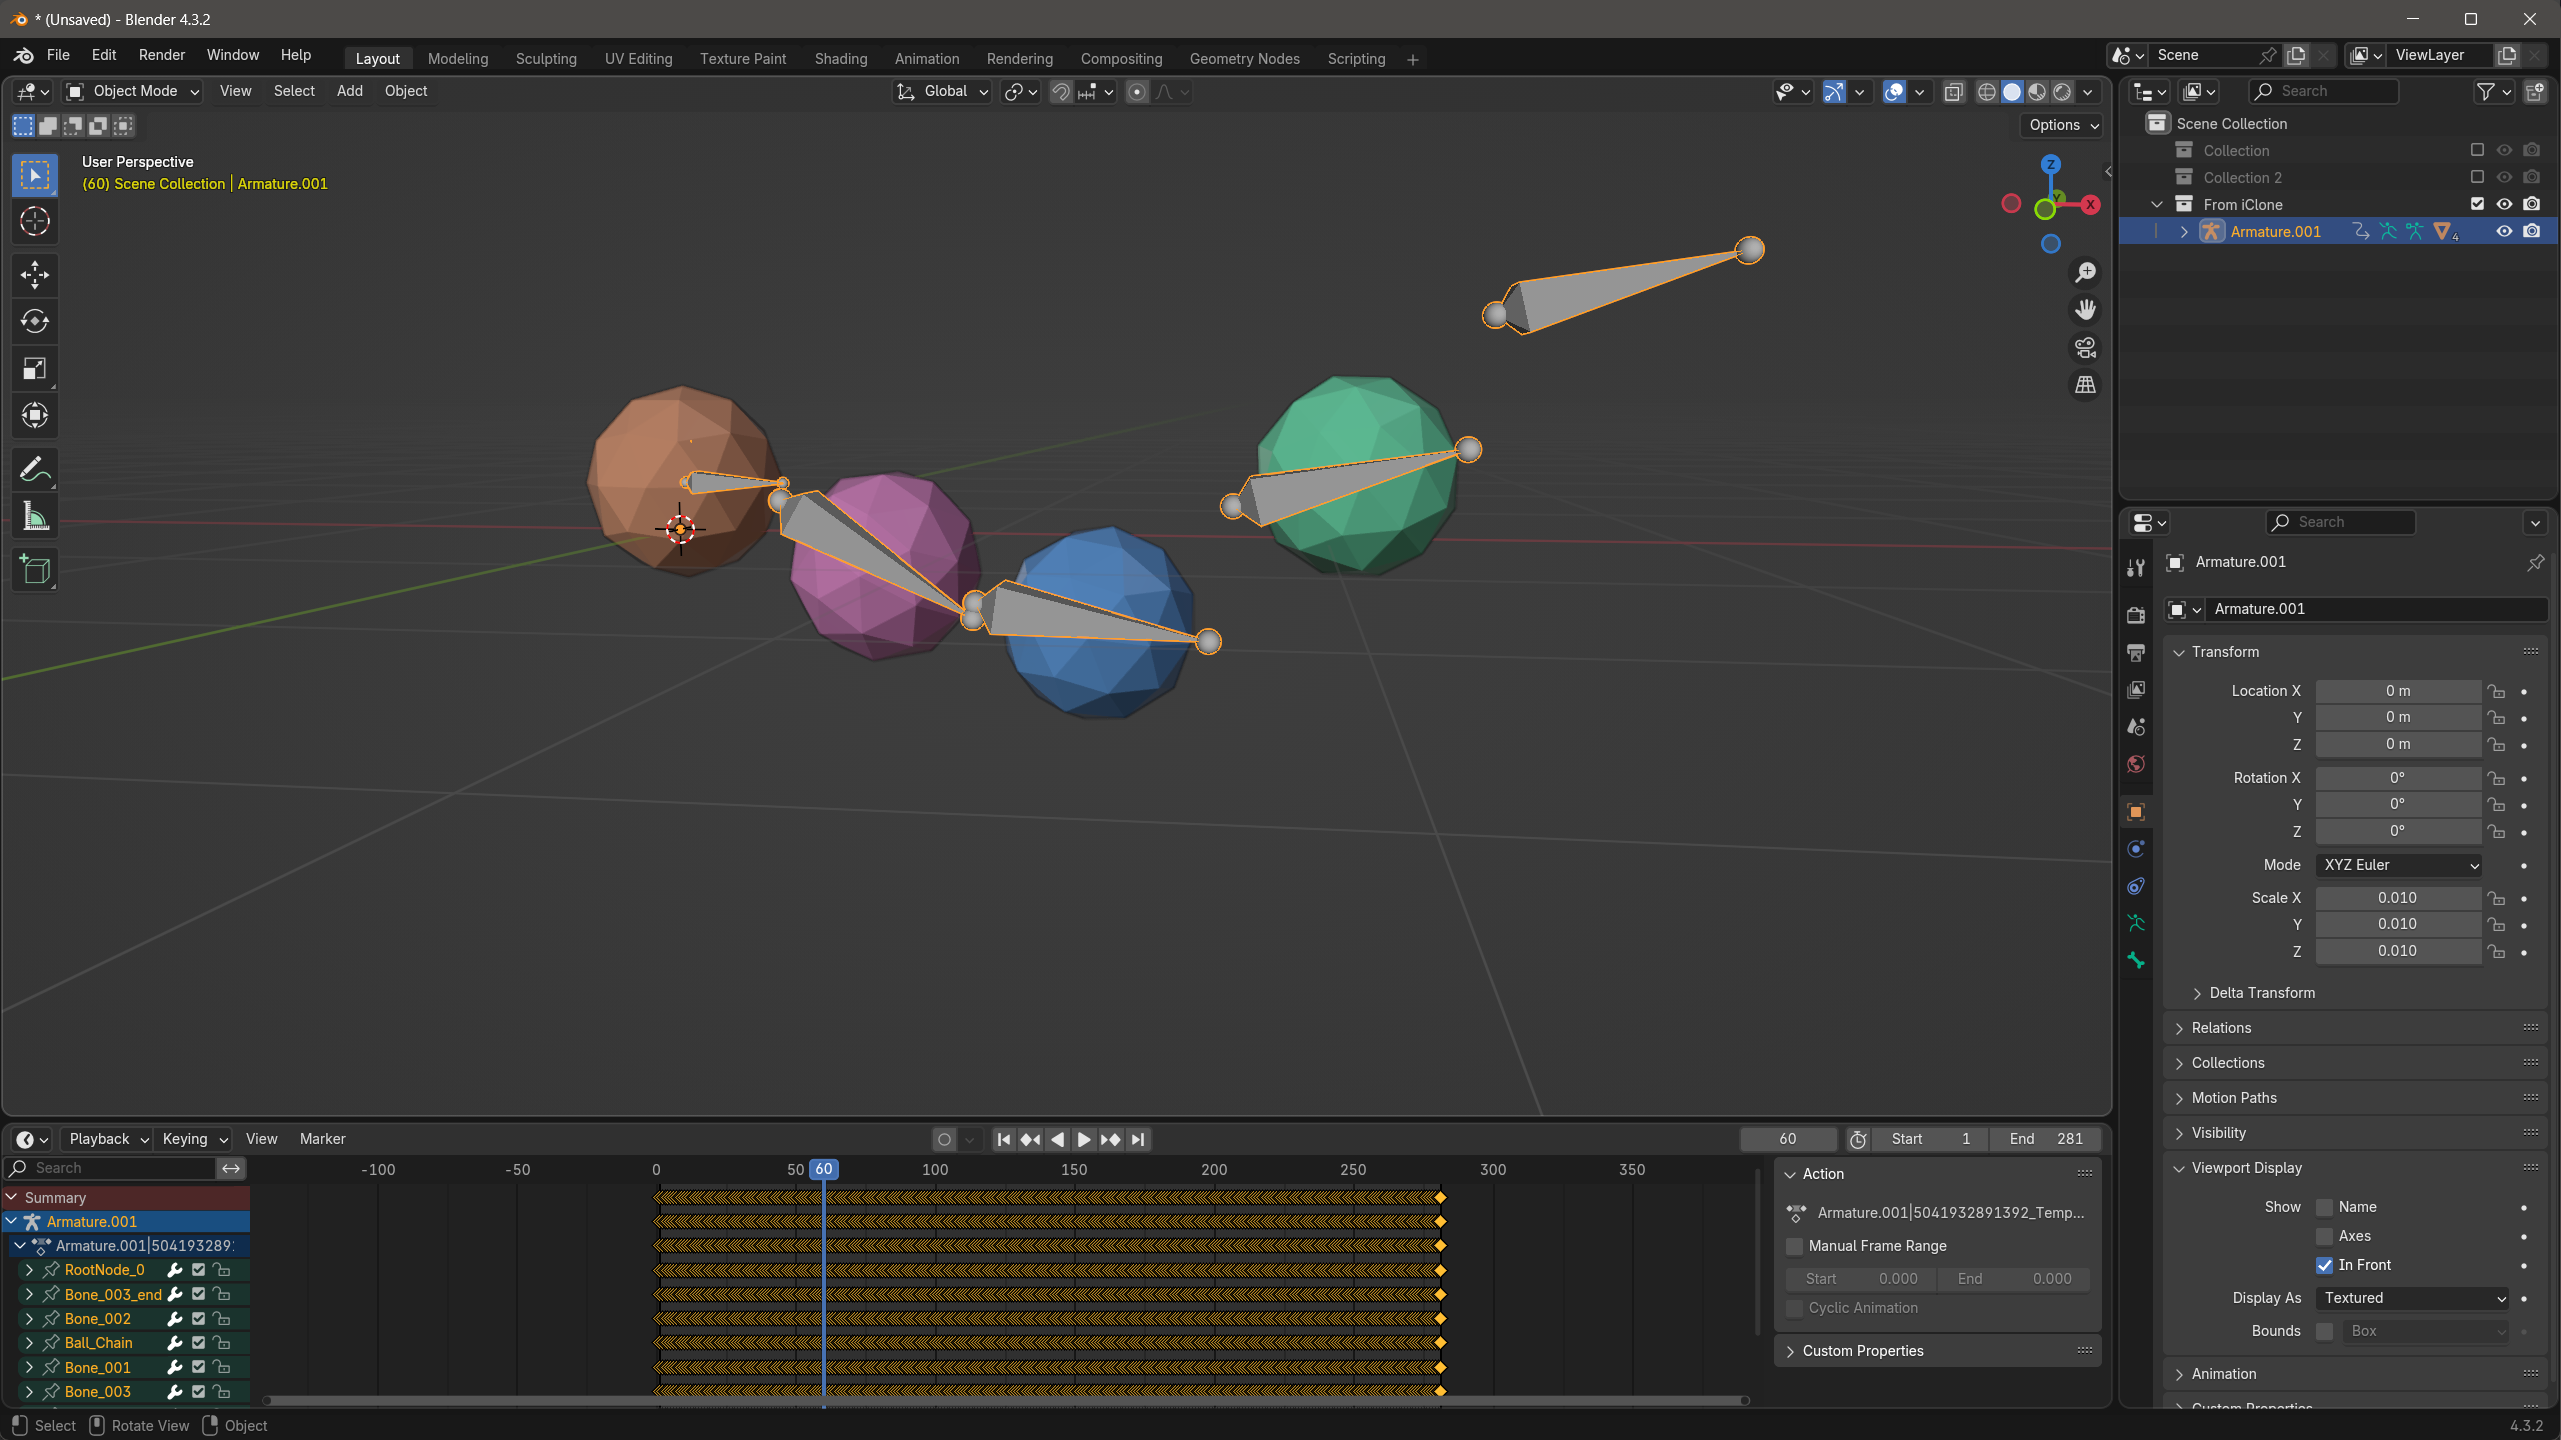
For my simple test I’ll create a quick chain of four icospheres in Blender. I’ll also create an armature, then parent the spheres to it using “with automatic weights”. This will now let me pose the chain using a skeleton. Without bones and a skeleton, iClone won’t be able to infer the spring effect.
Here’s what my Blender scene looks like. I’ll export this as FBX file.
Setting up Springs in Character Creator
You’d think we can just import our FBX into iClone and click the “spring” button, but that would be too easy. All advanced import functionality that involves custom setups have to come through Character Creator. No iClone user should be without it. Let’s choose File – Import and we’ll see our chain setup like we had it in Blender.
We have to tell CC what bones need the spring effect, and we can choose how much or how little we want the effect to apply per bone. On more complex models this is a really nice feature: imagine a car model with an antenna that needs to wobble, but everything else needs to remain static (although I’d probably just separate the antenna and deal with it separately, but that’s not for here).
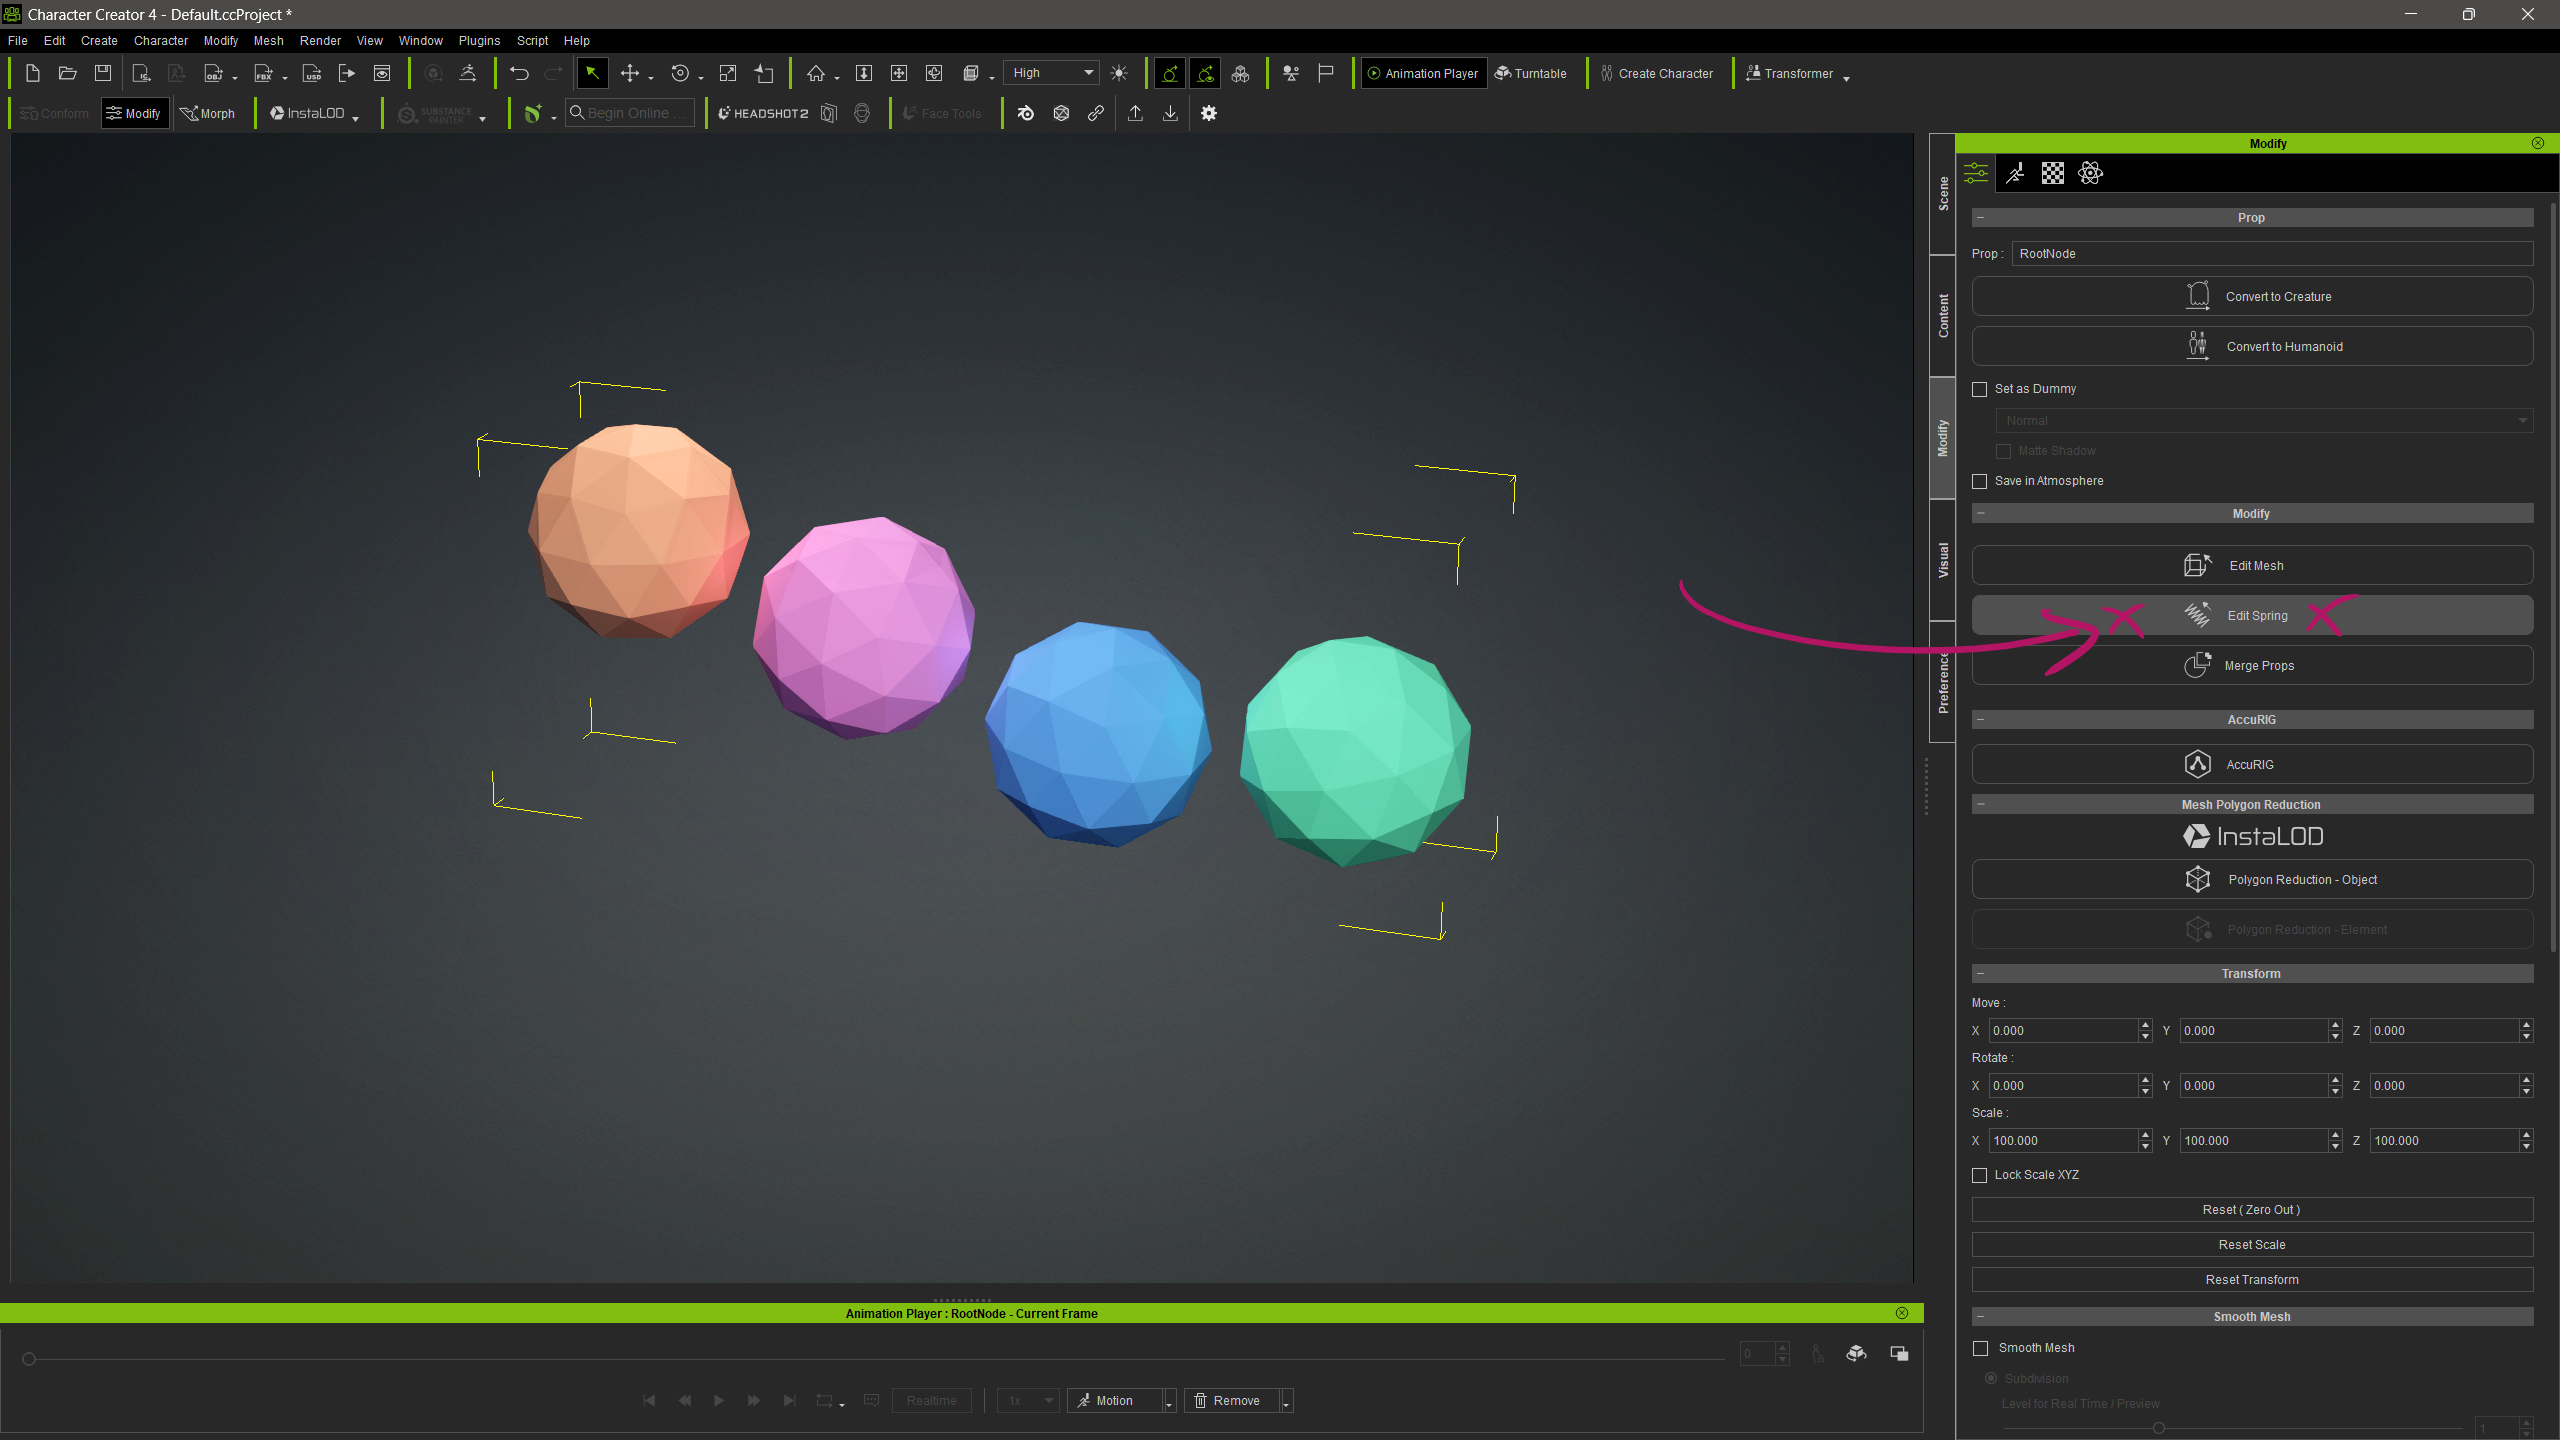
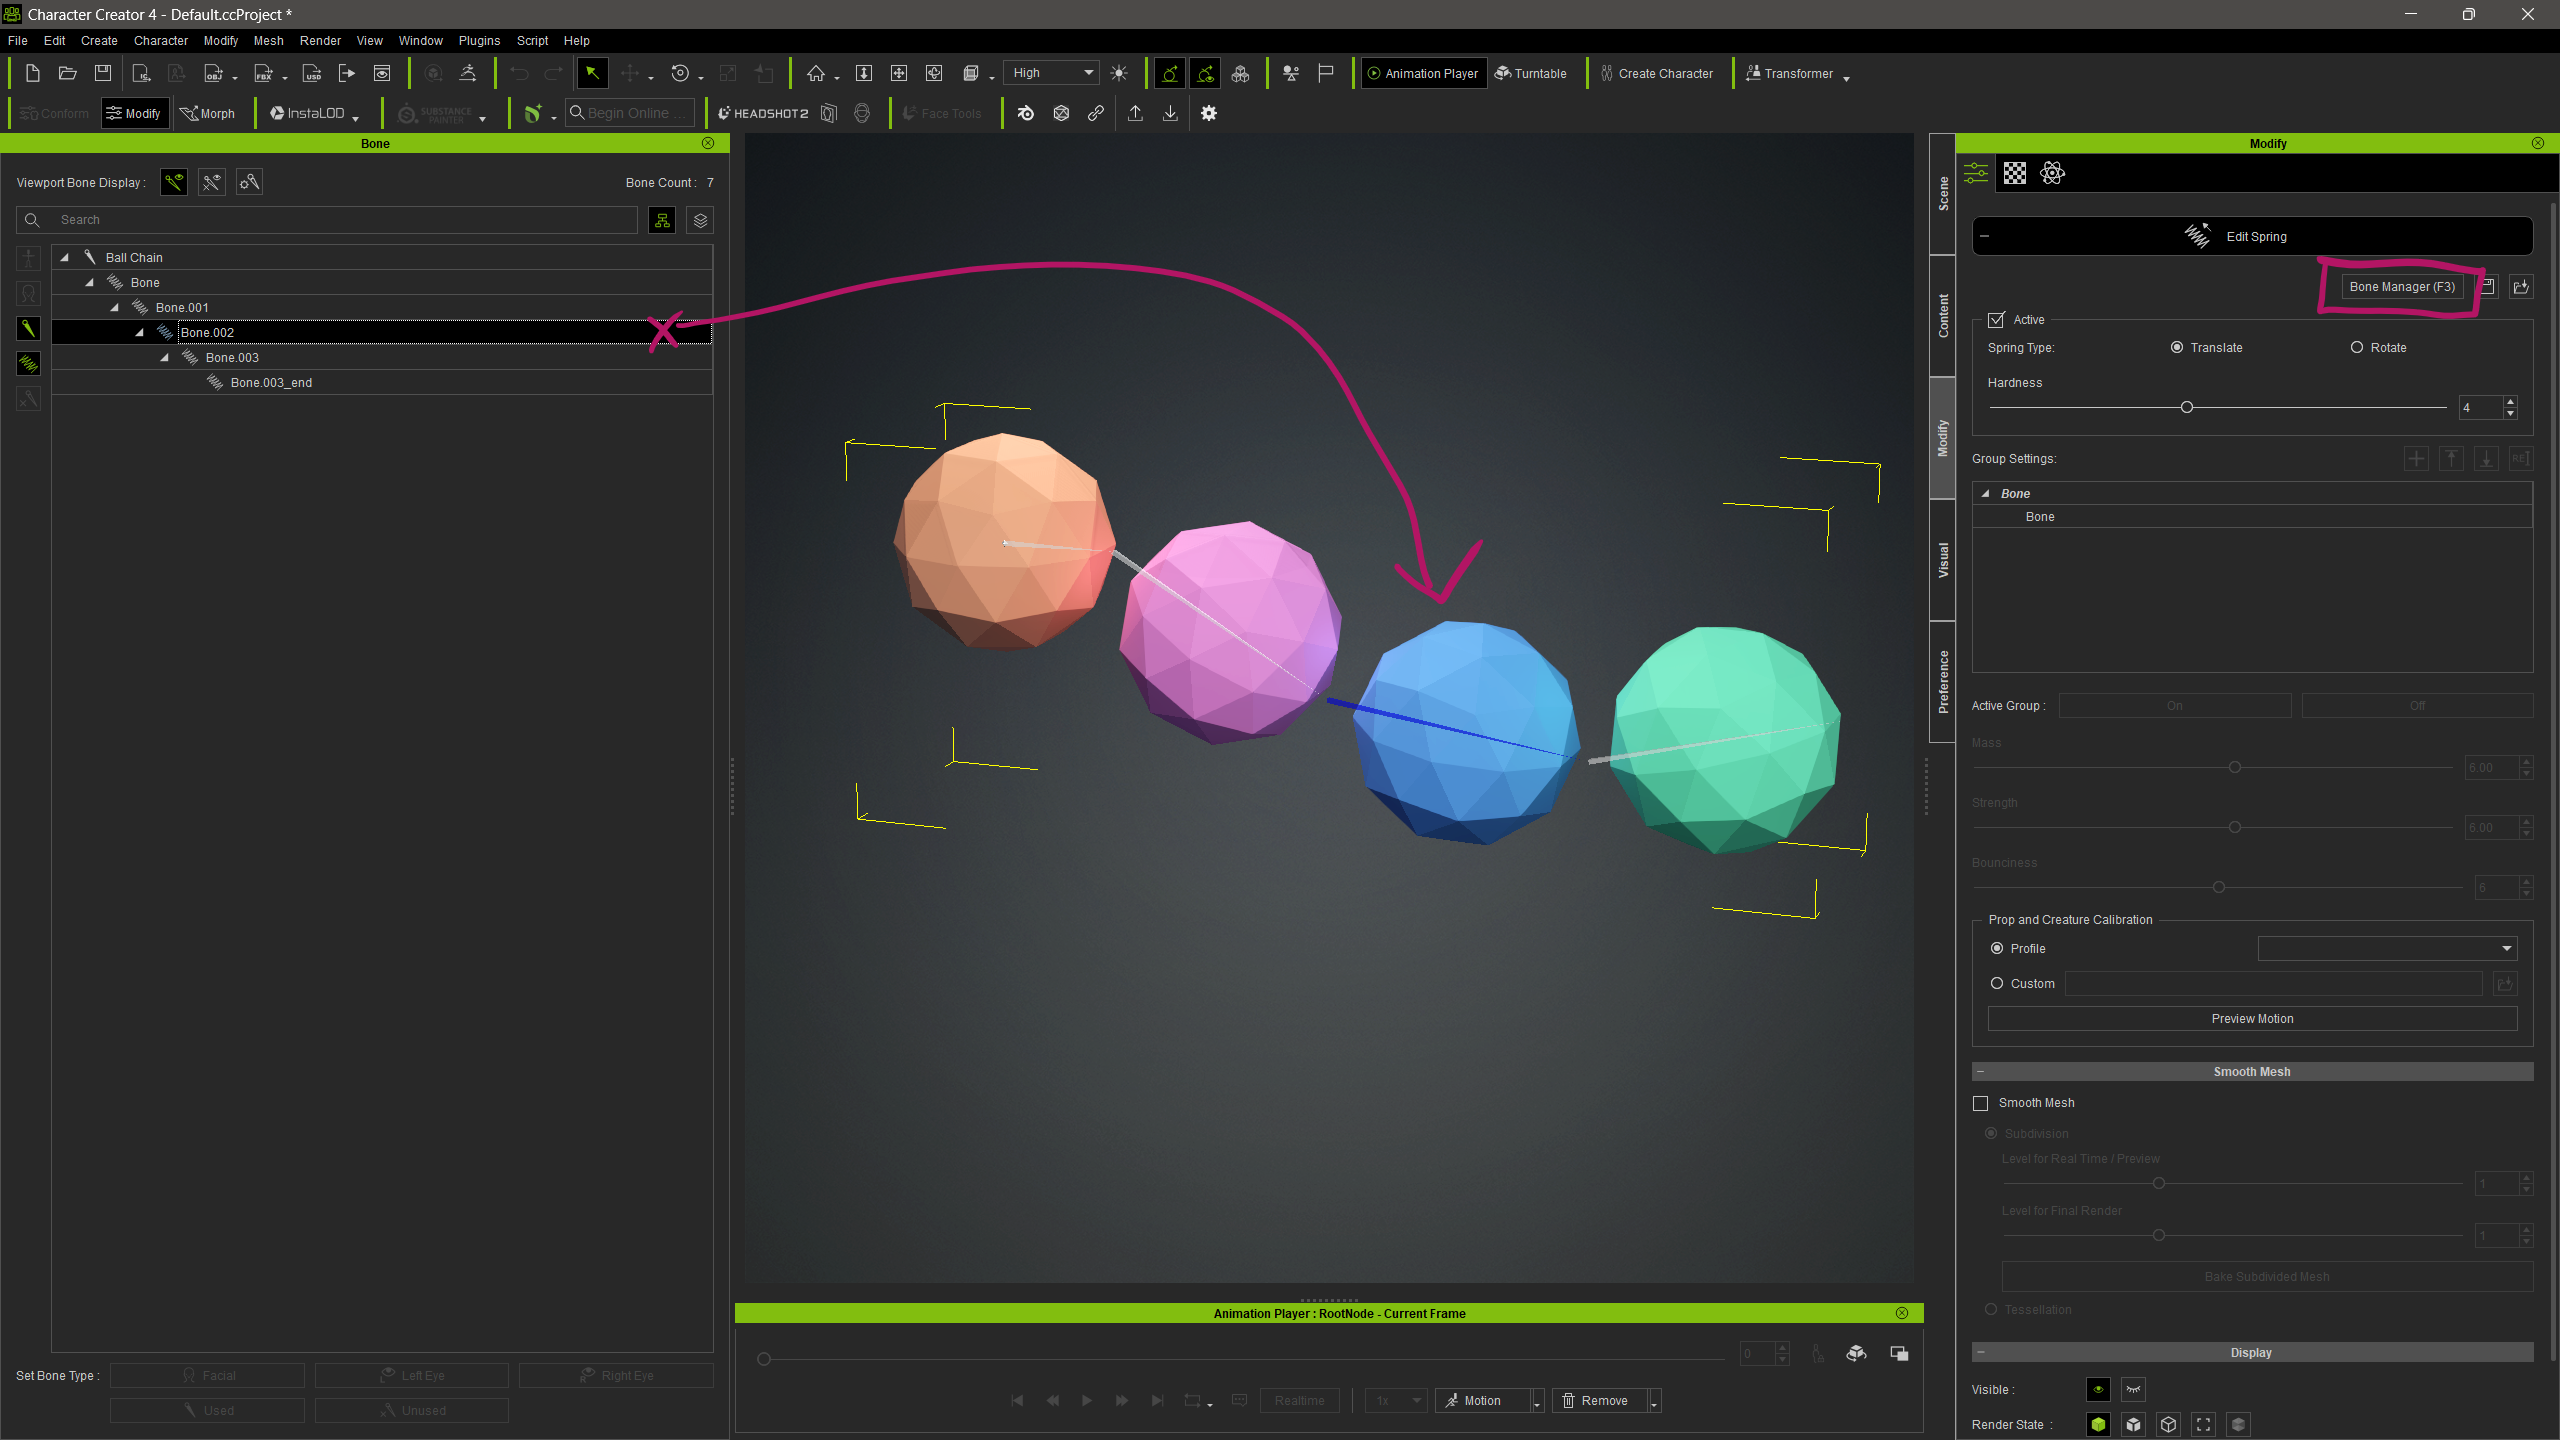
Head over to the Modify section and select Edit Spring. Also enable the Bone Manager to select bones a bit easier. Pick a bone and choose if the spring is supposed to be active, and if it’s supposed to rotate or translate the bone. You can also set the hardness value, which is how much movement will be applied (less hardness means more springiness).
You can setup a quick animation in iClone and send it over to CC to preview for complex adjustments, although we will have some global spring settings once we animate our object in iClone too.
Depending on your original export settings (from Blender in my case), you may find that your object has leaf bones. In my example, the last bone in the chain is called “Bone.003_end”, and it’s not showing in the viewport. Those bones don’t need a spring effect.
Come out of Spring Editing mode, then choose File – Export – Send to iClone to start animating.
Animating Spring Effects in iClone
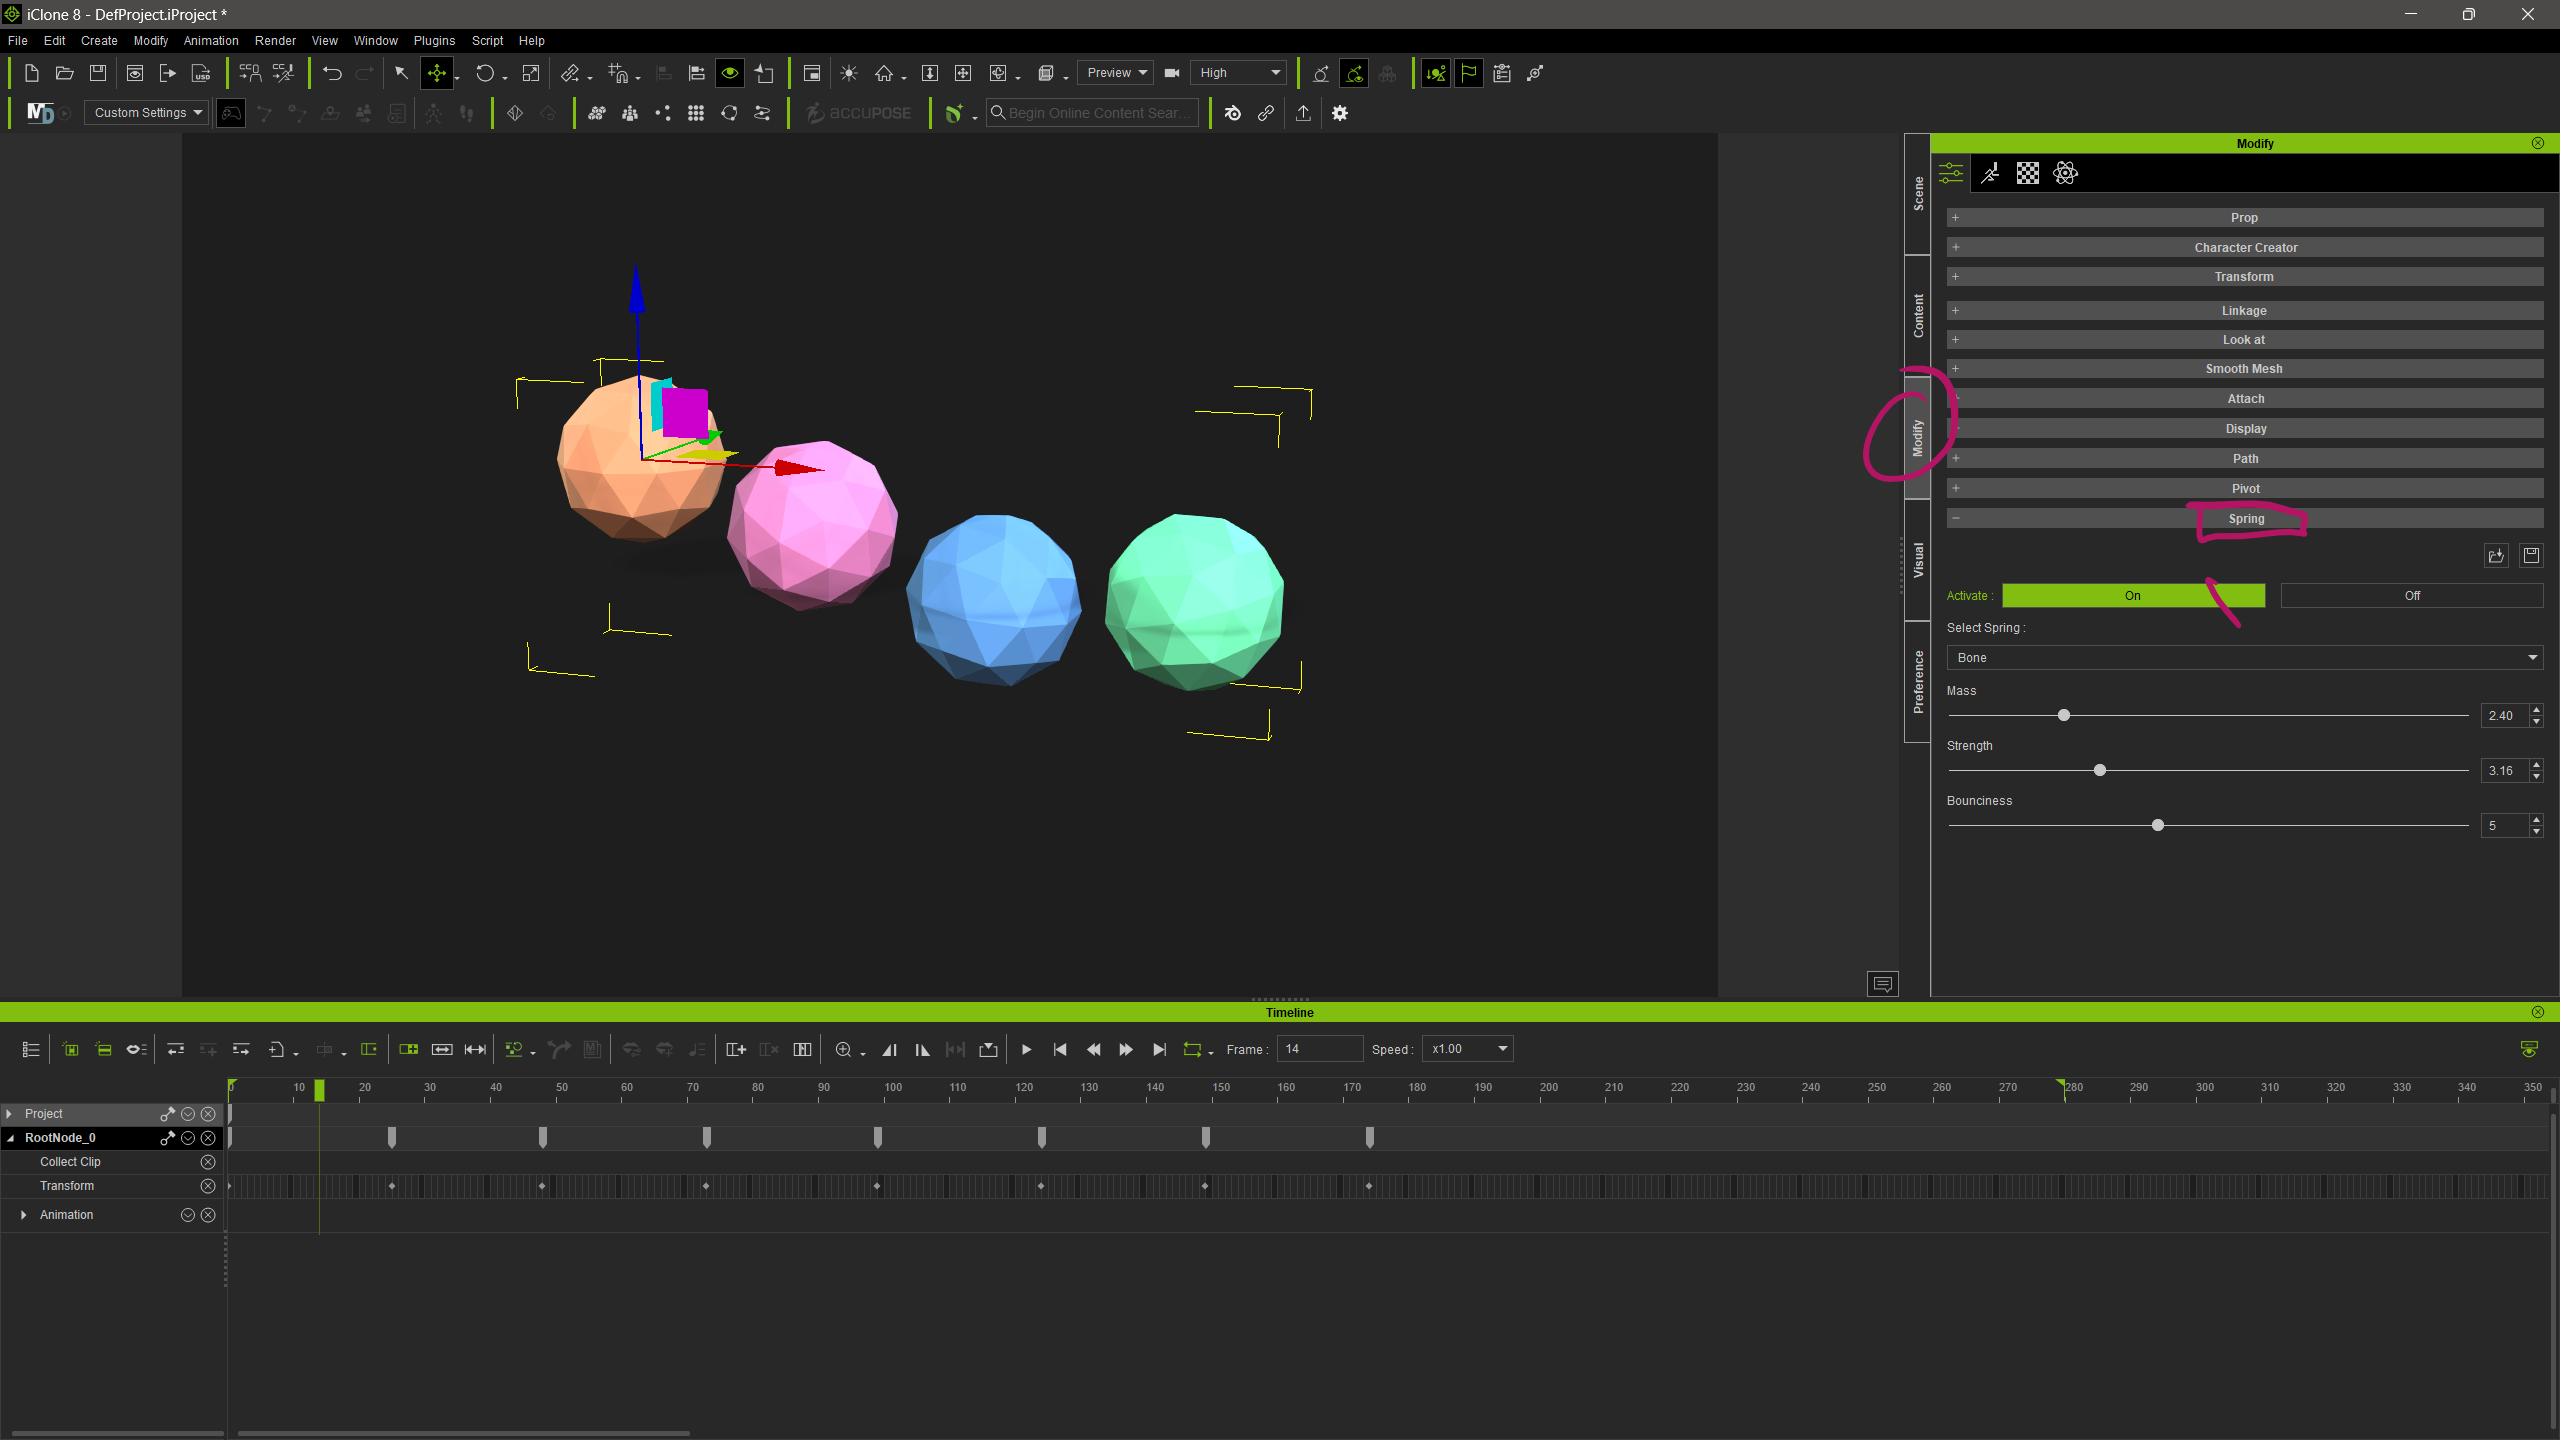
Select your object and start animating its location. I’m using a simple up and down motion for mine. As it plays, with the spring effect active, you’ll see anything with a spring on the bone bounce around now. Adjust the values for Mass, Strength and Bounciness to exaggerate or minimise the effect.
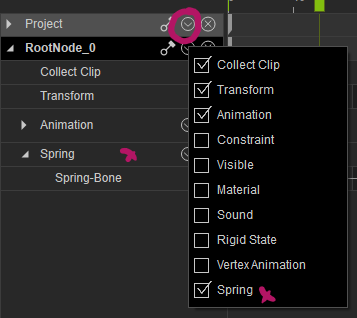
Note that the Spring Activate parameter is green, so it can be animated itself. If the bounce isn’t supposed to happen until a certain part in your animation, you can switch it off for a duration, or on only when necessary. To see this track in the timeline, we must enable it via the filter menu (it’s of course disabled by default).
Note that the strength of the effect is global for the whole object, so if you want to make adjustments to individual bones, you’ll have to go back to CC and send an updated version of your object back. Also note that a bounciness value of 4 and lower with stiffer springs can cause playback issues in iClone.
Exporting the effect for use in other apps
If I want to use my animated bouncy object in other apps, you’ll be pleased to hear that we can simply export it out. Both Unreal Engine and Blender can handle these animations via FBX, and if your target app can’t, there’s even an Alembic export option from iClone too. So with the object selected, I’ll choose File – Export FBX, choose my playback range and target preset.
I’ll use Blender, and after import I can see that all springy values have been keyframed and my motion looks just as smooth as it did in iClone.
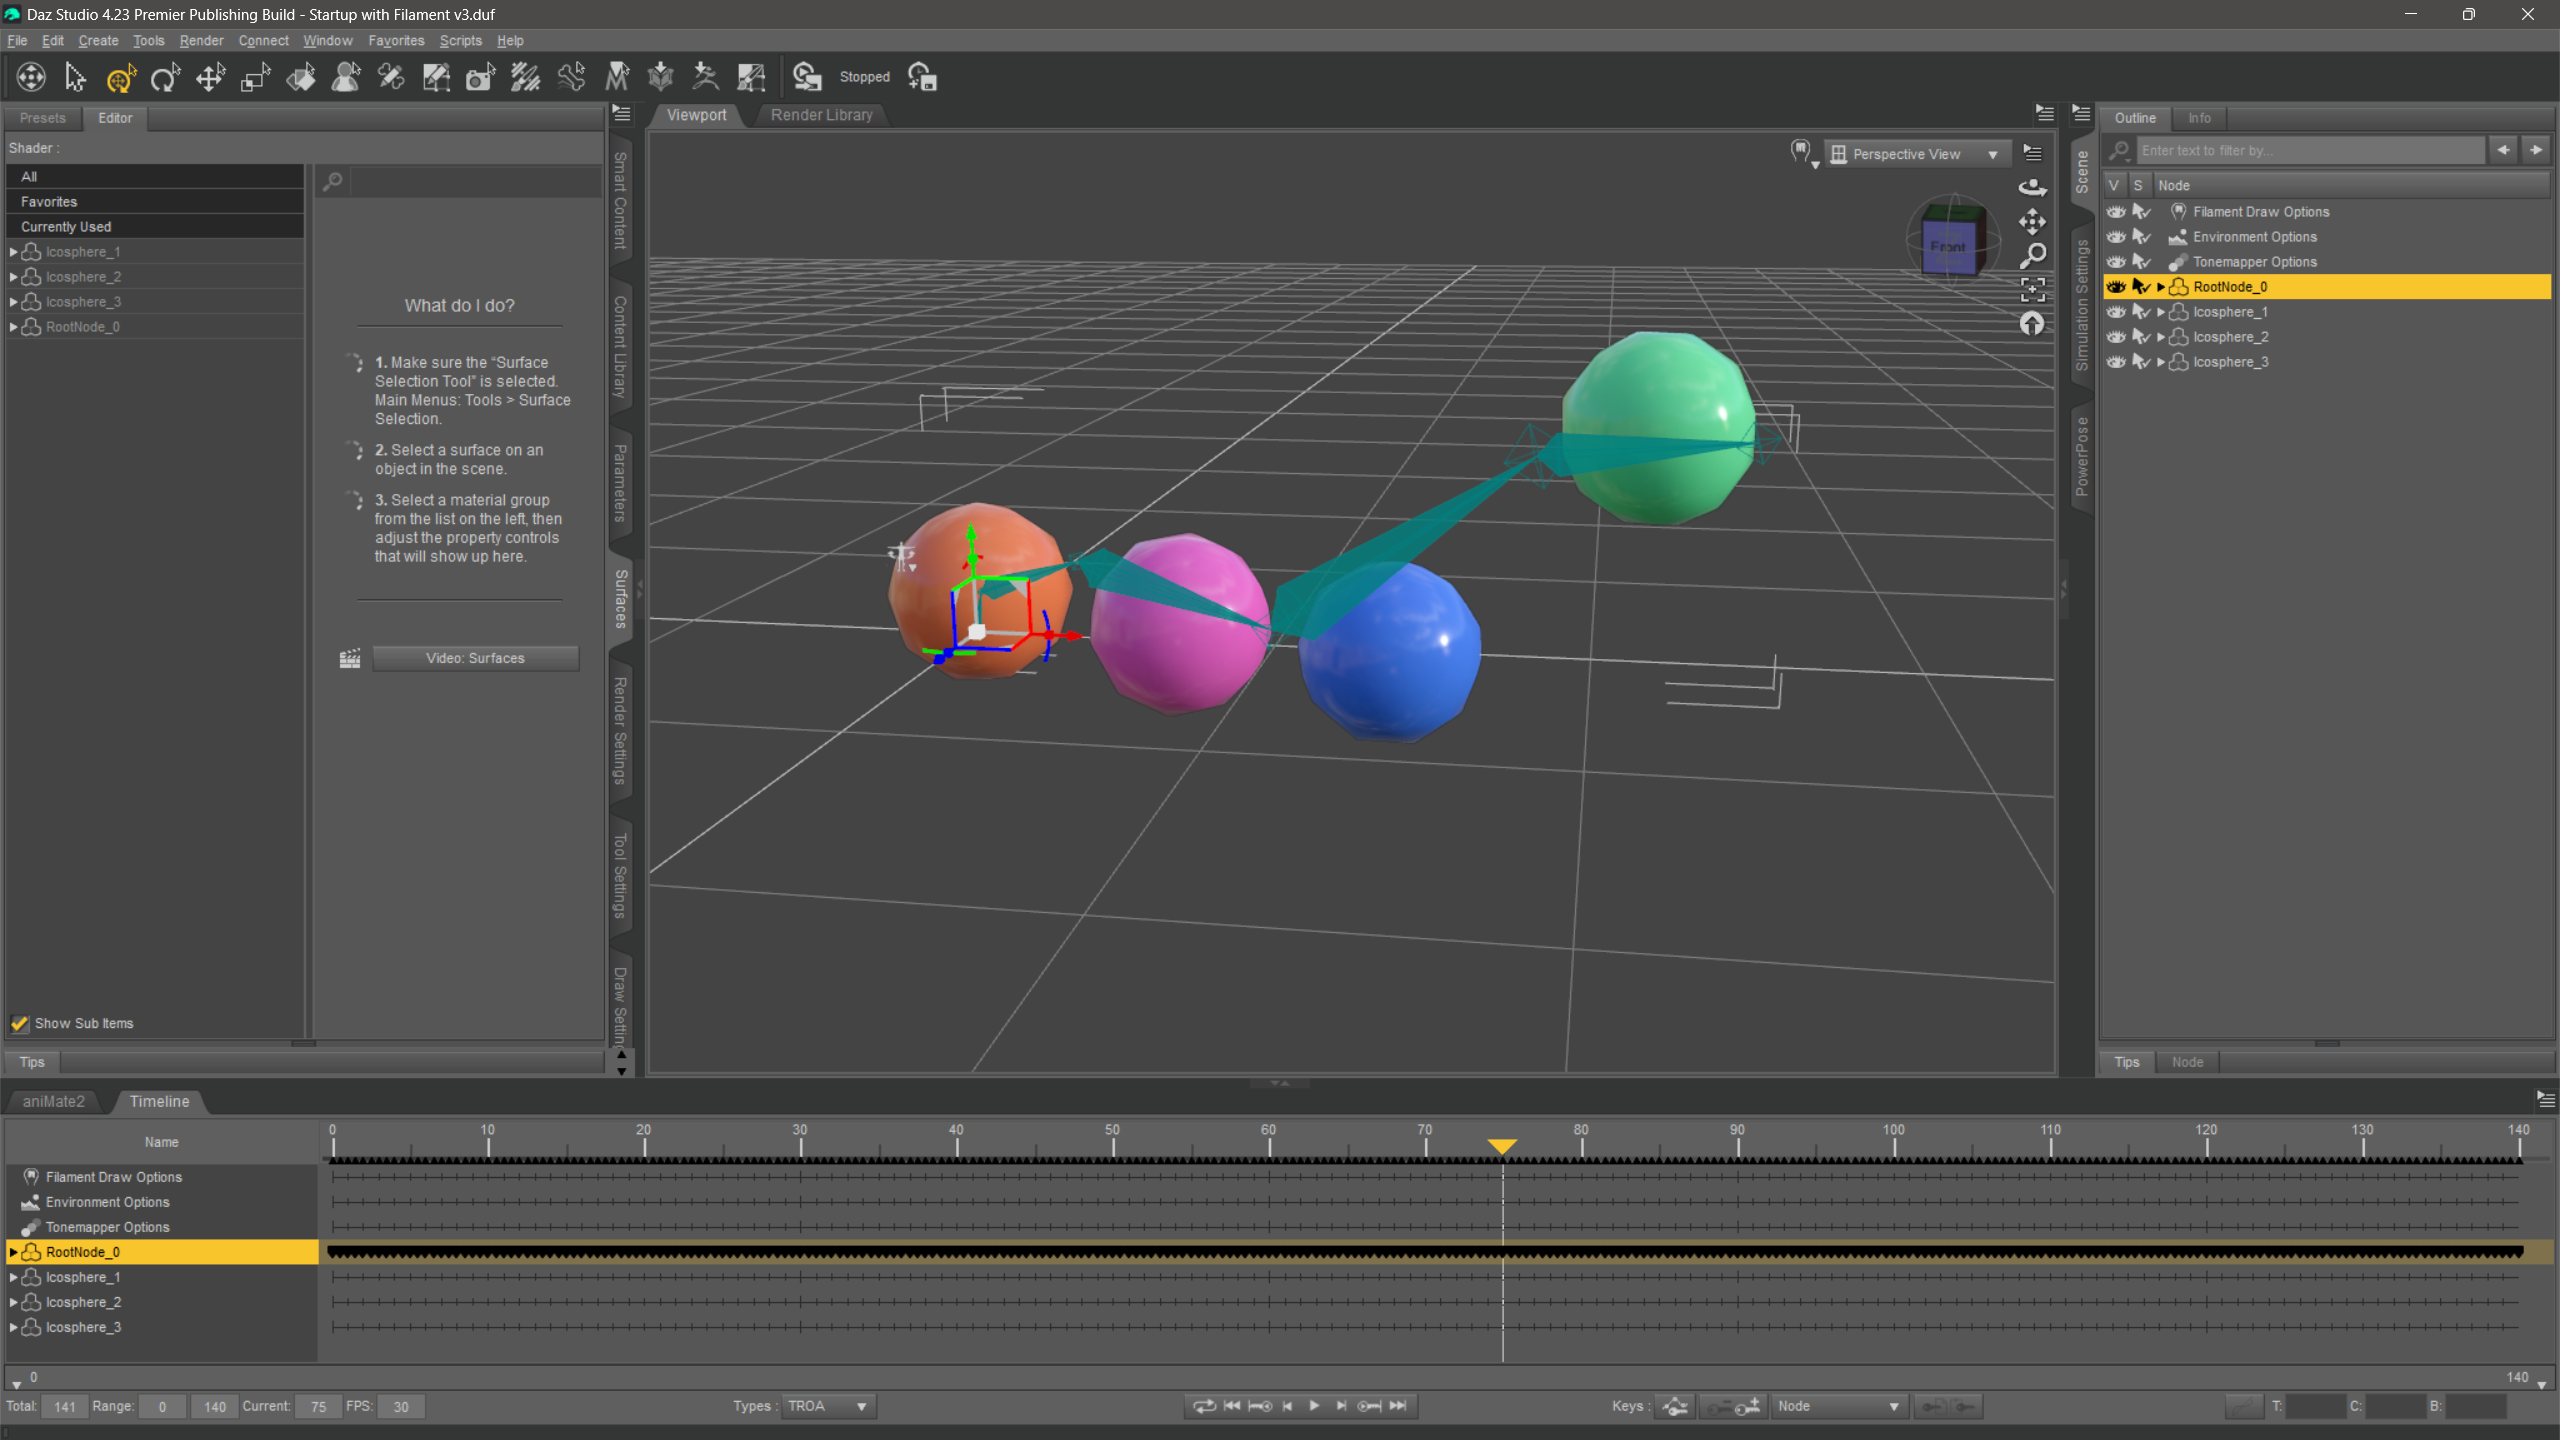
It even works going into Daz Studio (tested in 4.23):