 ZAppLink is a ZBrush feature that allows you to use 2D painting tools to paint the texture on a 3D object, as it’s seen in the workspace. Rather than exporting, editing and re-importing textures, drawing on awkwardly layed out UVs, or solely relying on 3D painting tools, you can simply frame your object and draw on it – with anything that supports the PSD file format.
This is different to using GoZ which relies on 3D features of a painting app (such as Photoshop Extended – which I don’t have). ZAppLink allows you to use other 2D tools in your pipeline such as SketchBook Pro, Manga Studio, Corel Painter and many others.
Here’s a quick guide on how to use ZAppLink in ZBrush 4R6.
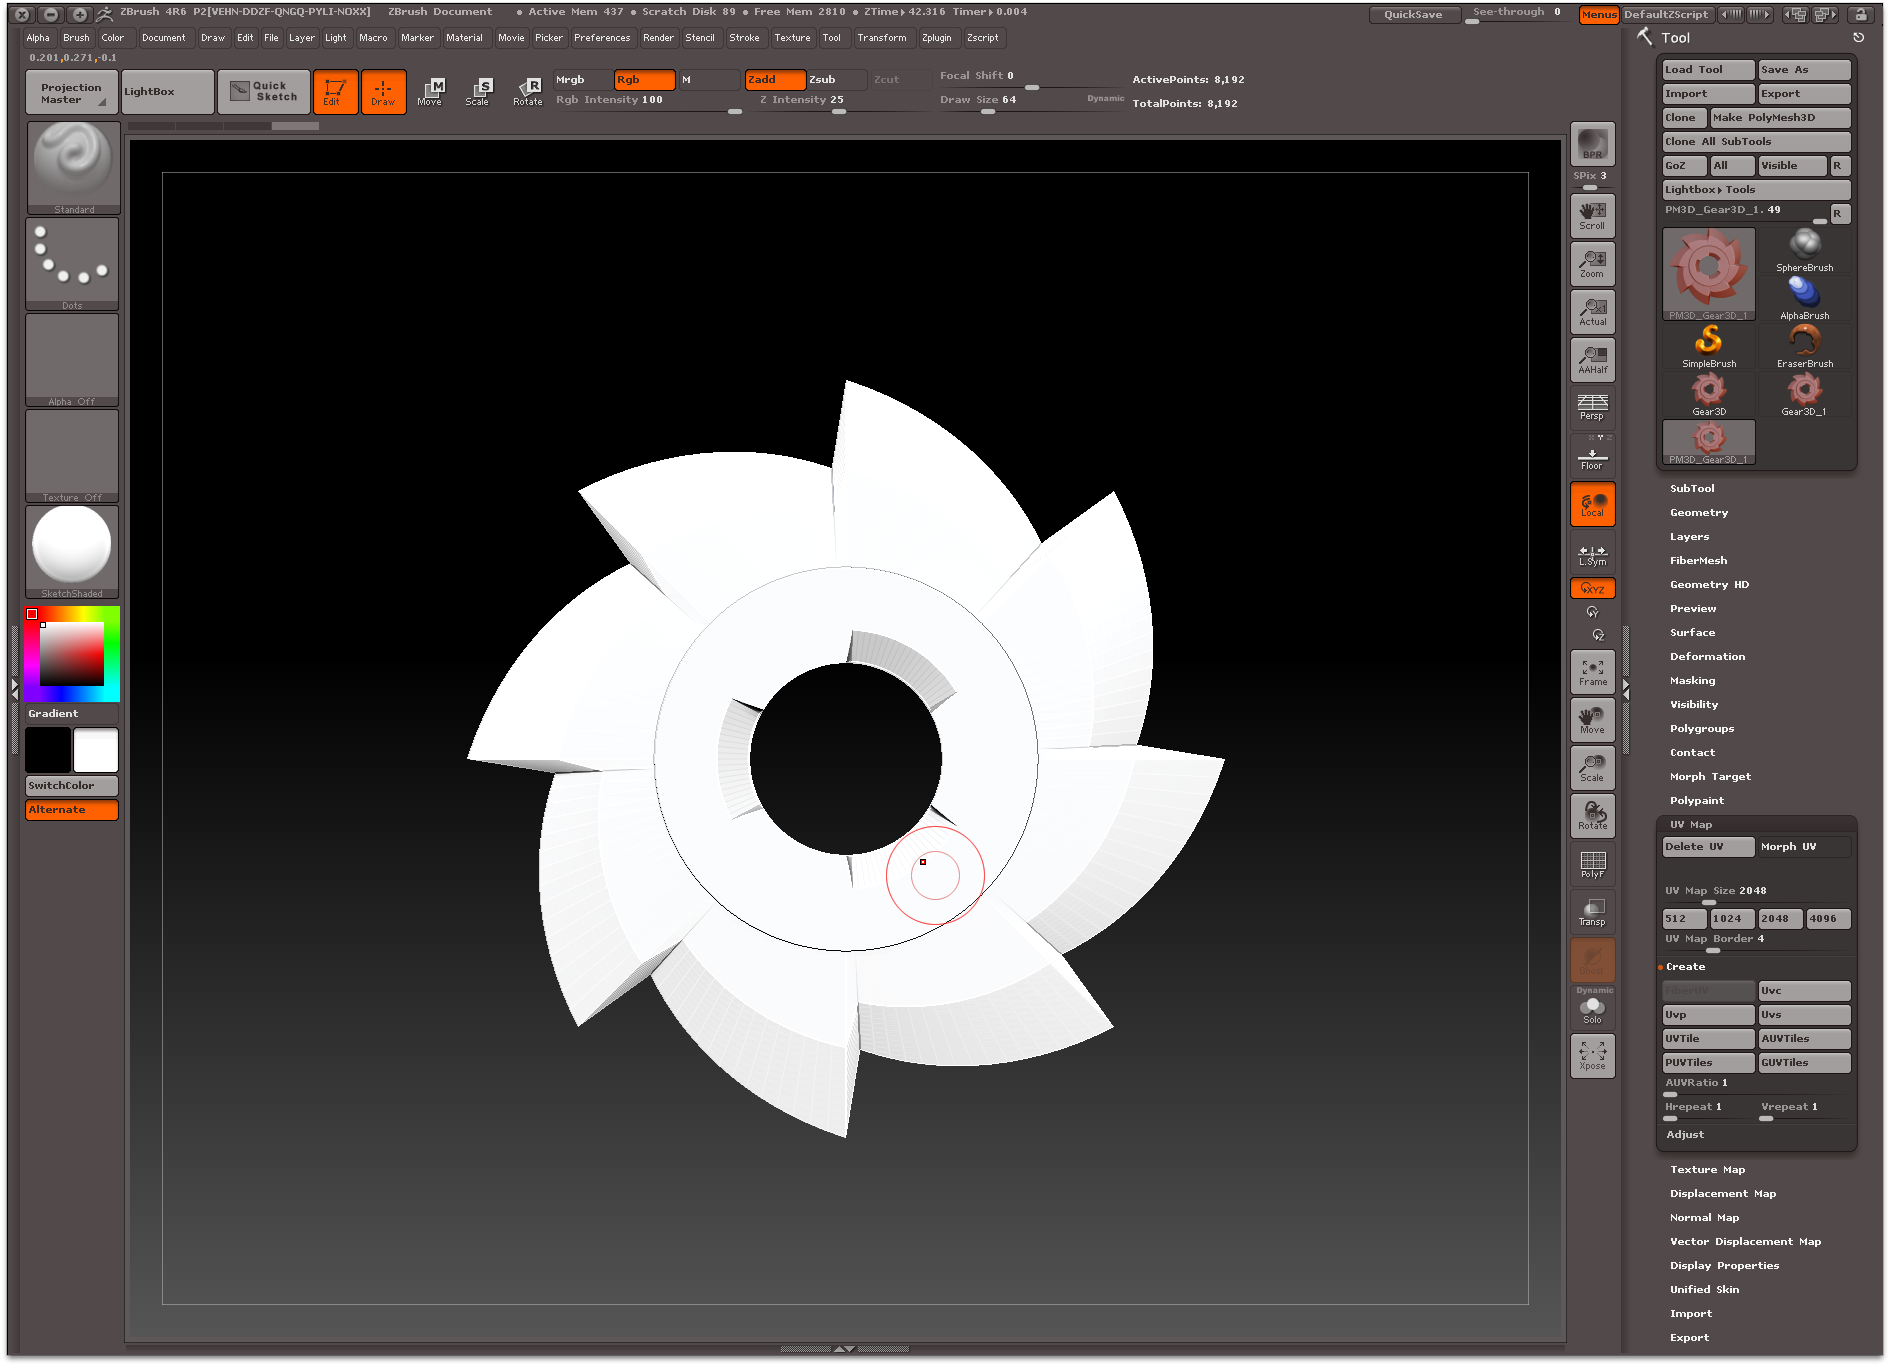
- pick a 3D object of your choice (under Tool, either with Load or Import)
- hit Edit to enter 3D Mode
- pick a Material for your object (like SketchShaded, anything but dark red wax will do)
- pick a Colour from the Colour Picker (white is appropriate here so you can see your brush strokes)
Your object needs UVs so that a texture can be exchanged with the ZAppLink app. These are not the final UVs, they’re simply going to be used so that a 2D image data can be baked back into the Pixols of your object.
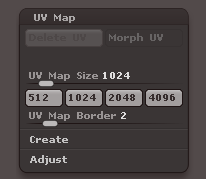
For now, let’s just create simple potentially messy UVs by heading over to UV Map and select a size (say 1024×1024). Under Create select PUVTiles. This will unwrap your object. Alternatively, you can use UV Master (under Zplugin) or an external application.
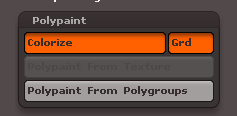
To draw on the object, select Polypaint – Colorize. If you forget this step, ZBrush will kindly remind you before launching ZAppLink.
In the viewport, position your object as you see fit, any viewing angle will do. You can use SHIFT while panning and dollying for orthographic views if you like, but that’s not necessary – it may just make texturing in your 2D tool a bit easier (like full-on Left, Right, Top, etc).
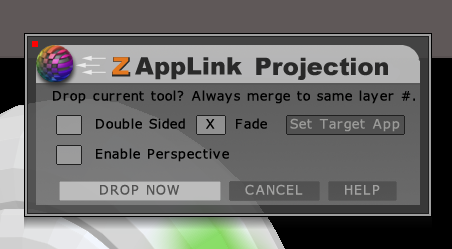
Now head over to Document – ZAppLink to bring up a dialogue box. This will let you select a Target App capable of loading PSD files. I’ll use Photoshop CS5 here, but Manga Studio and SketchBook Pro 6 work just as well. Pick your desired app under Set Target App, then click Drop Now.
This will launch your external app and “lock” ZBrush until you’re done. Over in Photoshop you’ll see an open file named TempZAppLinkExport.psd, containing three layers, a mask and a depth channel. Don’t draw or otherwise meddle with the top and bottom layer labelled “do not edit” – ZBrush needs those to import the texture back onto the 3D object.
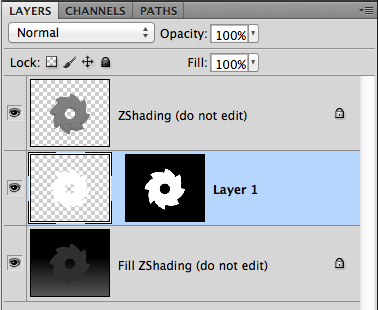
You can draw on the middle layer (aptly titled Layer 1), or create additional layers and draw on those. Make sure you merge them onto Layer 1 before you save the file again, otherwise ZBrush will import any extra layers as 2D layers – very likely not what you want.
When you’re done, simply save the file. Back ZBrush you’ll see that it’s still waiting for you with the following dialogue box:
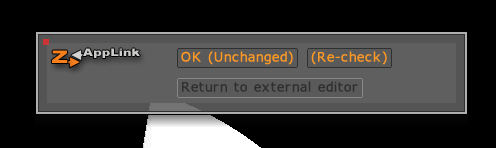
Select Re-check to import your changes (OK will disregard what you’ve saved in Photoshop). This will bring up another little box – select Re-enter ZBrush to preview your changes on the 3D Model.
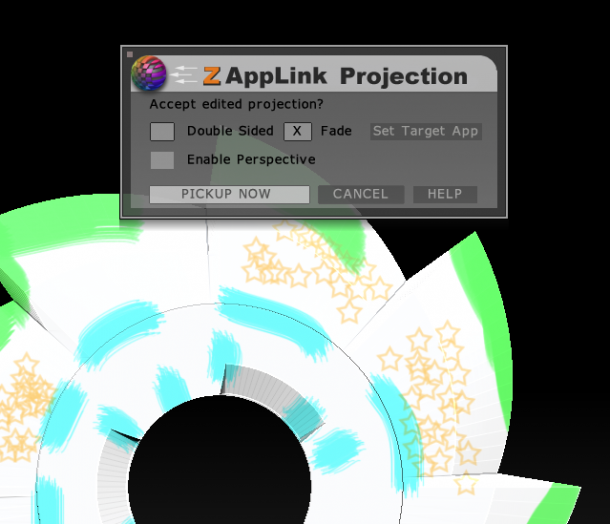
Another dialogue box opens. You have a final chance to discard your edits (by clicking Cancel), or you can select Pickup Now to bake the changes into the 3D object.
Troubleshooting
You may notice that your texturing efforts may lose a bit of detail when you hit that last button. It’s important to understand what’s happening here:
Even though you’ve been painting on a 2D image, ZBrush has not applied your changes to a 2D texture map. Instead it has baked them back into the polypainted surface of your object, and hence into Pixols (TM). This means that the resolution of your changes is directly related to the resolution (subdivision) of your object. Only high polygon count objects have a high enough resolution for polypainting or ZAppLinking.
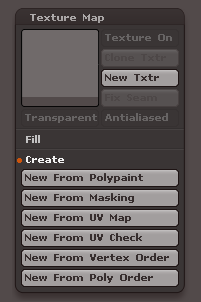
If you head over to Tool – Texture Map you’ll see that there is no active texture map, even though we had UV’s setup. The good news is that you can now create new UVs, perhaps better layed out and properly unwrapped this time, while all your polypainted changes are safely stored as part of the ZBRush tool.
I’ve explained how to create a texture map and how to setup UVs via UV Master in previous articles.
ZAppLink is a phenomenal addition to polypainting and Spotlight in ZBRush, and the three tools complement each other very well. What you can’t do in ZBrush, you can do in Photoshop and vice versa.
Where is that temp file?
On a Mac the TempZAppLinkExport.psd file is located inside the main application folder:
- Applications/ZBrushOSX 4R6/ZStartup/ZPlugs/ZAppLinkData_4.0
I’ve experienced permission trouble before whereby SketchBookPro 6 only had read access to that file. This can be fixed by first changing all permissions in that folder to read-only, then changing them back to read and write – much like I’ve explained in this article for a very similar GoZ issue.
Happy ZAppLinking!