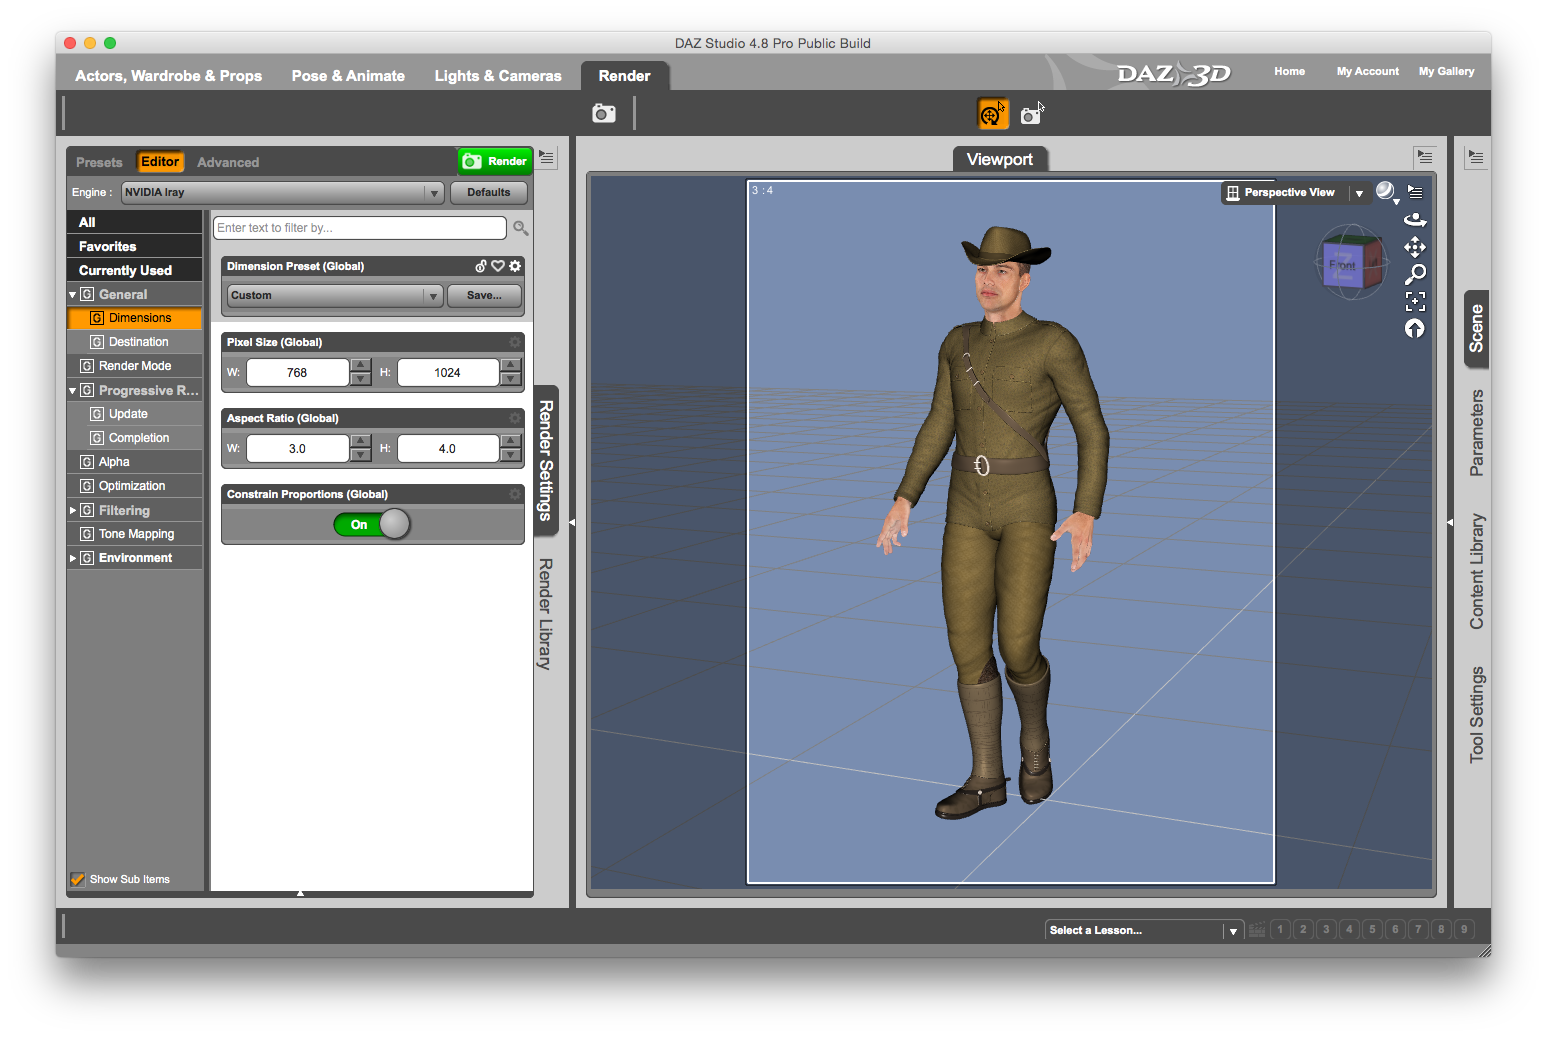
By default DAZ Studio will render everything in the current viewport, whose size depends on now much space the viewport occupies on your computer screen.
That’s not necessarily the size or aspect ratio you’d like to render. To frame the camera accurately, we need to be able to see what the camera sees.
There are two parts to making this happen: setup a custom aspect ratio and display what DAZ Studio calls the Aspect Frame. Let’s see how this works.
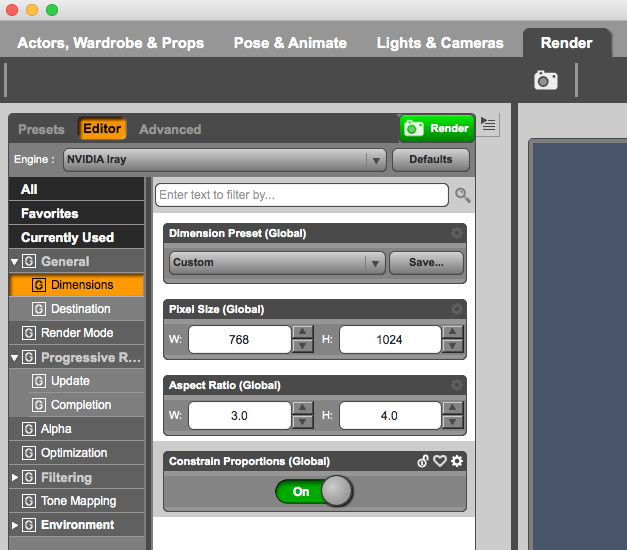
Render Dimensions
You can specify the exact size of your render on the Render Tab, under General – Dimensions. Either pick a size from the drop down menu or add your own in pixels:
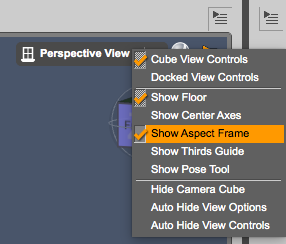
Displaying the Camera Frame
With that set, you’ll want to see this particular portion highlighted in your viewport. Other apps may call this feature “camera frame” or “production frame”. DAZ Studio calls it “Aspect Frame”, and it can be switched on in the viewport.
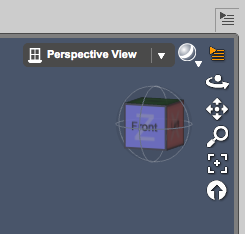
Notice these two little lined icons with the triangle, at the top right corner of the Viewport Window:
Click the lower one (orange in the above screenshot), and a context menu will appear. Select Show Aspect Frame to display your render dimensions.
Now part of your scene is dimmed, and everything inside the white frame will be rendered.