DAZ Studio can handle two types of animation: aniMate aniBlocks, as well as traditional keyframe animations, much like many other 3D applications. The principle of animating objects is very simple, but as a scene becomes more complex you may find that additional tools (such as graphMate and keyMate) may be of help.
Here’s how it works:
- select an object and set a keyframe (in the Timeline Tab)
- move the timeline slider to a new position
- move your object to a new position
- and set another keyframe
When you move the timeline slider back and forth, DAZ Studio will calculate the movement between the two positions. All aspects of an object are animated, so with cameras it includes the depth of field and focal length, or with lights it would include the intensity. Sometimes you may need to tweak the keyframes, or set additional ones if the calculated motions aren’t working well.
Let’s see how this works with a primitive.
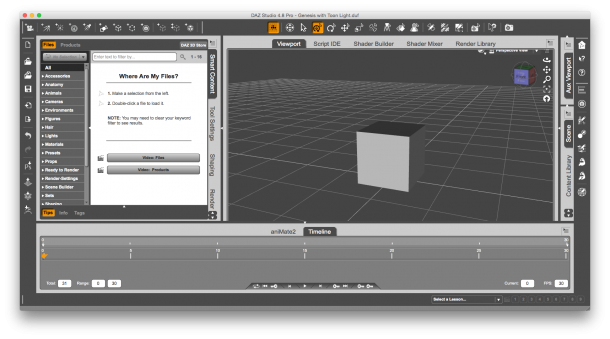
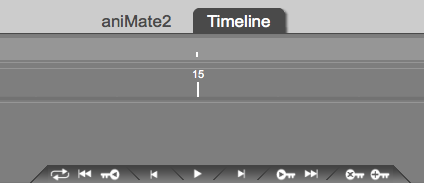
In a brand new scene, create a cube using Create – Primitive. Open the Timeline Tab to see the timeline slider and the tools we need to set keyframes. You’ll see something like this:
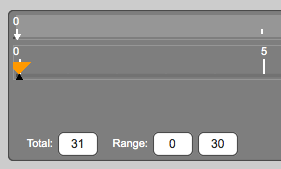
Notice the timeline slider at the bottom, it’s the tiny orange rectangle. Move the cube to a starting position (or leave it where it is) and set a keyframe using the “key with a plus icon” (on the far right bottom). Make sure the cube is selected before you set a keyframe.
Notice that there’s a tiny dark triangle underneath that tiny orange rectangle now. This means that the selected object has a keyframe set at this very position. We’ll set a few more in a moment. If you ever want to remove a keyframe, park on the one in question and use the “key with x icon”.
Now move the cube to a different position. Perhaps slightly further to the right, or further up, or both. Get creative. When you’re done, move the timeline slider to a new position, say to frame 10. At frame 10, set another keyframe.
Try moving the slider back and forth and see what happens to the cube: DAZ Studio calculates motion in between your two keyframes, and the cube moves as if by magic.
The process of calculating frames this way is called “tweening”, as in “in-between”. These terms were coined by the film animation industry where a lead animator would draw key poses of the characters (keyframes), and non-lead animators drew the “in-between” poses. Some applications use the term “tweener” to describe how this automatic calculation is to take place (linear, ease-in and ease-out, etc).
Apart from movement you can animate any property your object has to offer, anything that can be changed with a property dial can be animated as long as the object is selected.
The same goes for cameras: create a new camera, select it, then look through it to position the cube. Set a keyframe. DAZ Studio will keep track of each object separately, so the camera will have different keyframes than the cube.
Now move the camera to a new position – it’s easy to do when you look through it. Perhaps we’ll look at the cube from a different angle. Because camera movements look better when they’re executed with subtlety, position the timeline slider at frame 30 and – with the camera still selected – set a new keyframe.
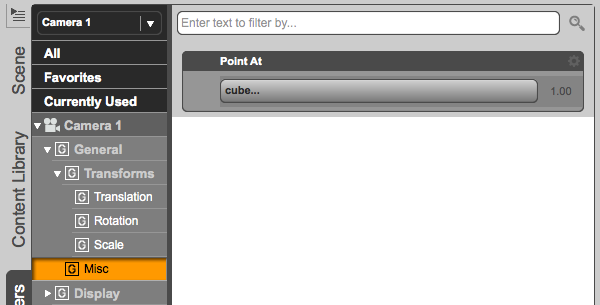
Cameras can do weird things when they’re animated, and potentially point away from the object you’d like to show. To alleviate this, take a look under the Misc option in the camera’s Parameter Tab. You’ll find a Point At drop-down. Select which object you’d like the camera to keep track of, and to which degree (values between 1 and 0 are allowed).
Getting animations right takes a lot of time and practice, especially when it comes to camera animations. Don’t give up though, you’ll soon get the hang of keyframe animations. The principle is the same in many other 3D apps.
An autokey button like in 3ds max would be really appreciated. So, we have allwas to check that the timeline is at zero, if we want manipulate somethin, but don’t want it animated. I was get in this trap again and again…… animate things which I just want to change in place….
Same here, I fall for it every time…