Manga Studio has a nice feature that makes colouring areas on another layer a breeze: Reference Layers. The idea is that you draw your line art on one layer, but fill in your colours on another layer.
The concept is the same as the Colour Drop feature in Procreate, but Manga Studio has a few more options up it’s sleeve.
Here’s how to do it:
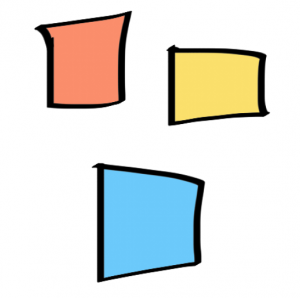
- draw out your line art on Layer 1
- select this layer and click on the little lighthouse icon
- create another layer for your colours
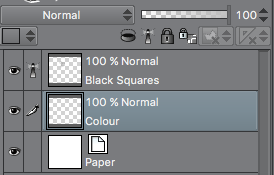
- select the Fill Bucket tool and pick a nice colour
- make sure the bucket’s Tool Settings are set to acknowledge the Reference Layer (tick Multiple Referencing, then select the lighthouse icon)
- fill in those closed spaces
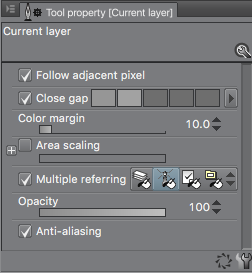
Bucket Tool Settings
If the bucket tool keeps filling your entire layer, make sure those gaps are closed properly – or play with the Close Gap value in the bucket’s Tool Settings. A higher value is more forgiving, a lower value is more strict when looking at those gaps.
Another interesting feature in these settings is the Area Scaling option. When enabled, a value of 0 means the fill stops at the border of the reference layer’s line. A negative value will make the filled area smaller by n pixels (see below), while positive value will fill in n pixels more.

omg thank you for this short but succinct post. I’ve been doing this for years and never fully bothered to play with these settings. jfc.