When we setup a standard material for Blender’s Cycles render engine, it’ll start with just a single diffuse node like this:
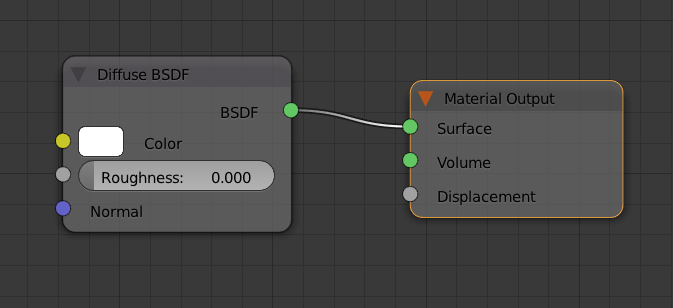
Feel free to change the diffuse colour or add a texture map to it’s colour input.
To add a Bump Map to this setup, we’ll need to add two things:
- a new Texture Map node (Add – Texture – Image Texture)
- a new Bump Map node (Add – Vector – Bump)
Open your bump map in the texture node, then connect its colour output to the Height input of the Bump node. If you don’t have a black and white bump map and use a colour map instead (like a diffuse map), choose the Alpha output and connect it to the Height input.
Now connect the Normal output of the Bump node to the Normal input of the Diffuse node and see your bump map applied to the model. Change the viewport to Rendered to see live results.
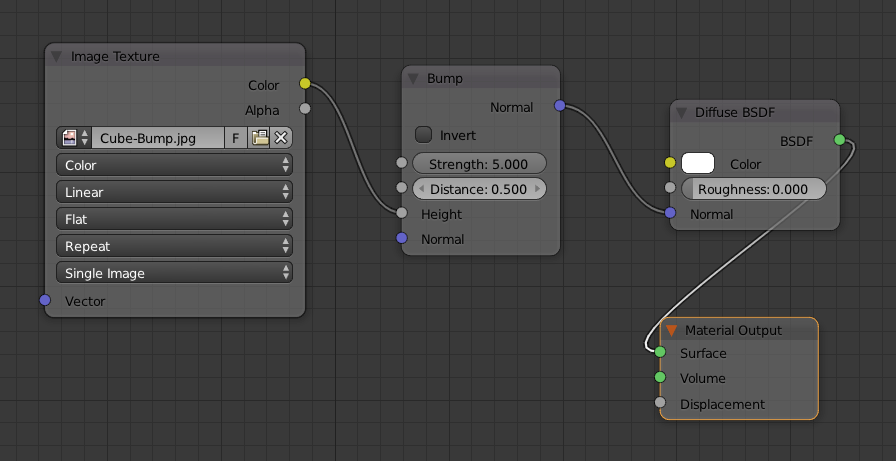
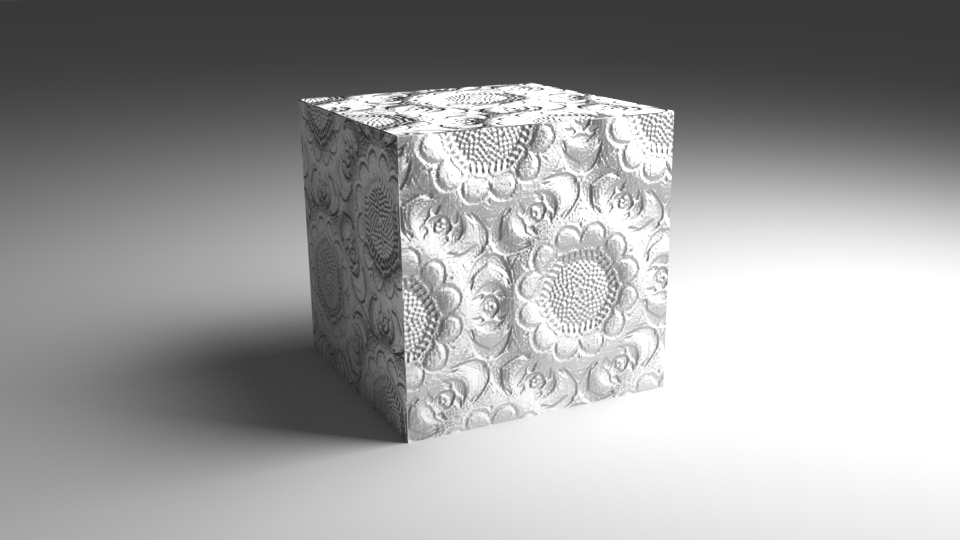
To change the intensity of the bump effect, fiddle with the Strength and Distance values. Here’s what my cube looks like with a bump map applied:
For me, the bumpmap doesn’t render… It’s on the material but once I render I only see the material’s color on my object, not the Bumpmap texture 🙁 What could be wrong?
Hi Michael, that’s not easy to diagnose indeed without seeing the particulars of your shader. I’d probably put a plain colour into the diffuse channel for now and see how the bump effect looks. If it’s absolutely smooth, check that the bump strength is set to something adequately high. Play with the height and distance values and see what happens. Good luck!